MORNING SESSION : THE BASICS and MORE all time periods are approximate
9:00 AM – 9:45 SKETCHUP CONCEPTS AND BASICS
Pro vs Free (on line) Versions
What is SketchUp and what can I Accomplish with it?
The Basic Drawing Tools and how they Function Line, Circle, Rectangle,
Polygon, Arc (curve), Freehand
Navigating the Model: 3 Button Mouse
Pan (scroll + shift) or H, Orbit (Depress Scroll), Zoom (Scroll),
Placement of Cursor, Zoom Extents (Shift>Z)
The importance of Maintaining the 3D axes and Co-Planar Faces
Personalizing SketchUp’s Default Settings for a Default Template
9:45 AM – 10:45 BEST MODELING TECHNIQUES
Develop and Utilize Groups, Components and Tags to Stay Organized
Entity Selection ; Click, Dbl Click, Triple Click, Window, Crossing Window
Modifiers: Shift, Ctrl (option), Shift>Ctrl
Creation of 3D Objects and Massings
Entity Isolation to Protect Model Structure
Navigating through SketchUp with a 3 Button Mouse
Scenes as an Organizational and Navigation Tool
10 minute break
10:50 AM – 12:00 MODEL CREATION
Starting a Model from Scratch; from External File
Drawing in 3D Perspective and 2D Parallel Modes
Creation of and Using Straight and Angled Guides (Construction Lines)
The Editing tools:
Move, Copy, Multi-copy (array), Rotate, Scale, Erase (delete)
Offset, Tape Measure, Protractor, Push-Pull, Follow-Me and Styles
SketchUp’s Viewing tools
2D parallel projection, 3D perspective and Standard Views
Look around, Walk around, Sections and Scenes
Position Camera for a new view, for an elevation
Modifiers: Cntl (Option), Shift, Alt, Arrow Keys, Shortcuts
AFTERNOON SESSION : BUILDING AND PRESENTING THE MODEL
1:30 AM – 3:30 The afternoon session will be spent interactively constructing a model
Including:
How to use Groups, Components, Tags and Scenes to simplify modeling
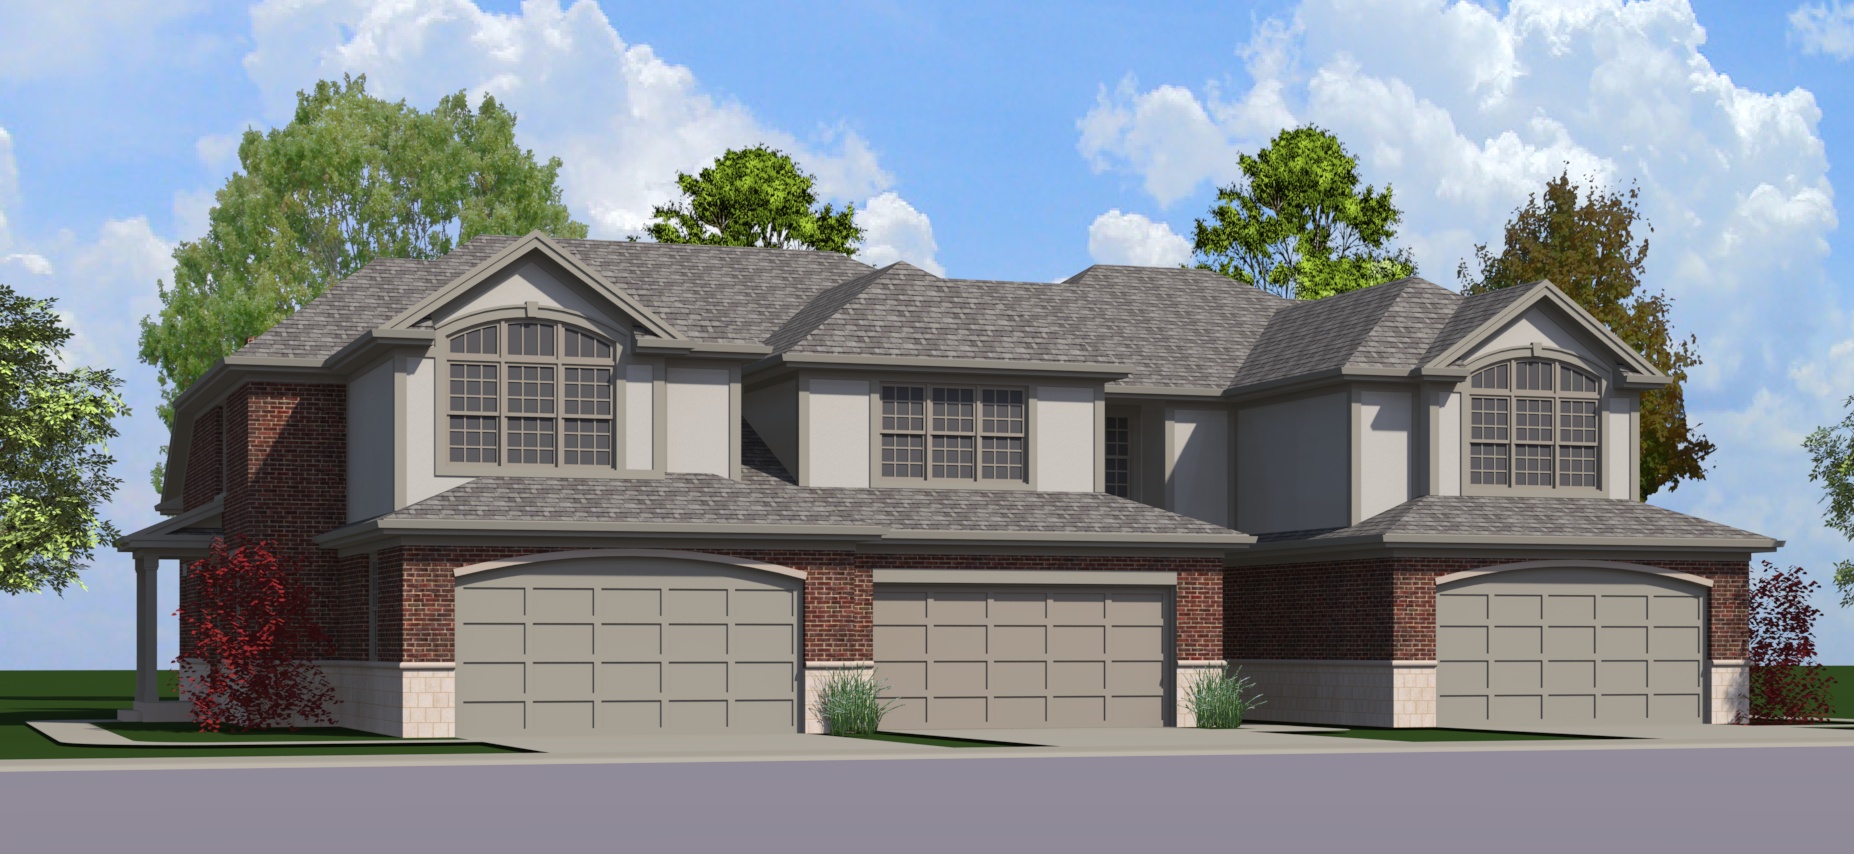
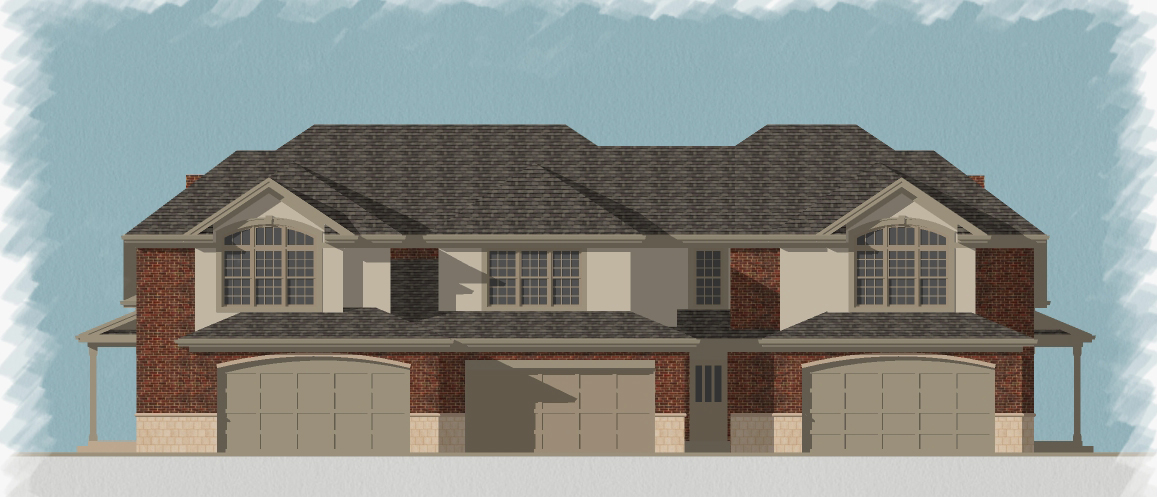
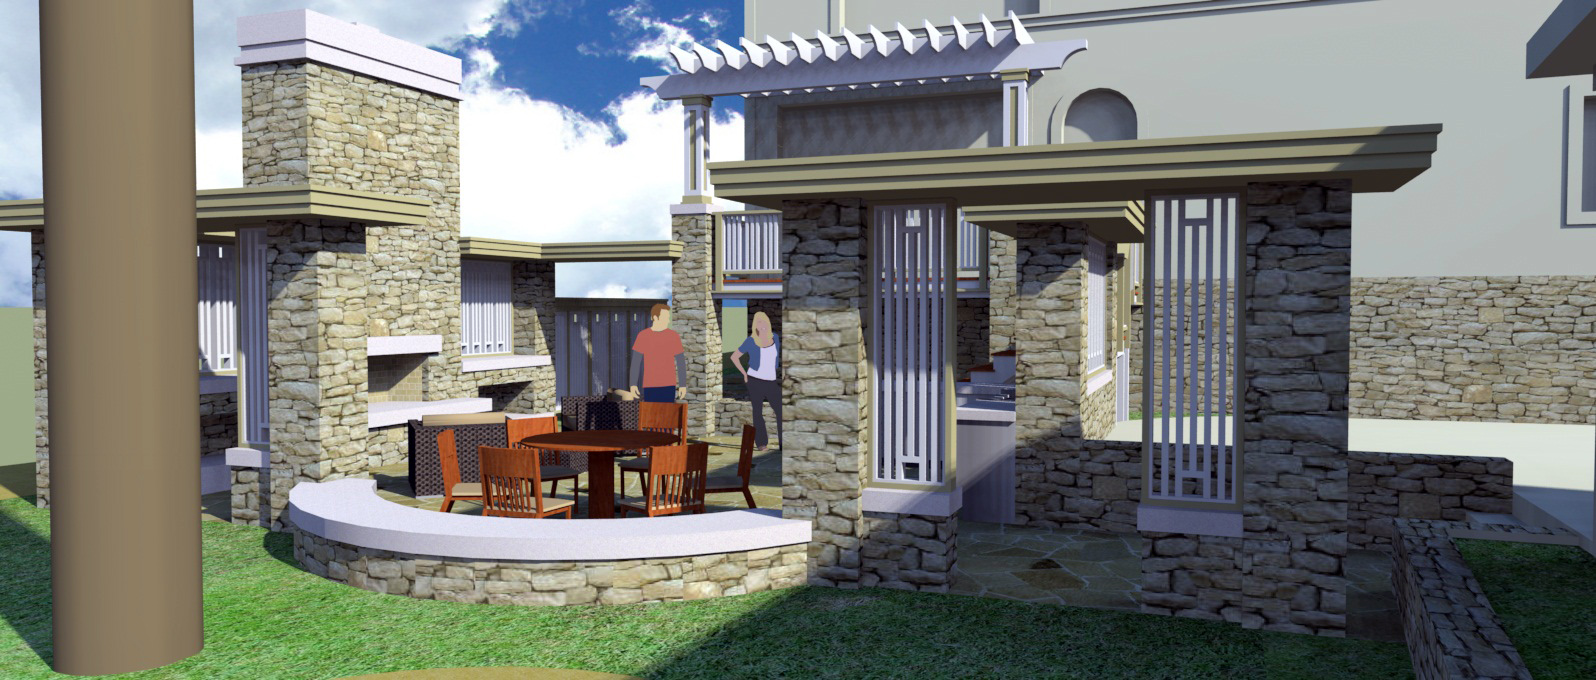
Build a simple 2 story building with flat or pitched roofs
Incorporating Arcs and Curves
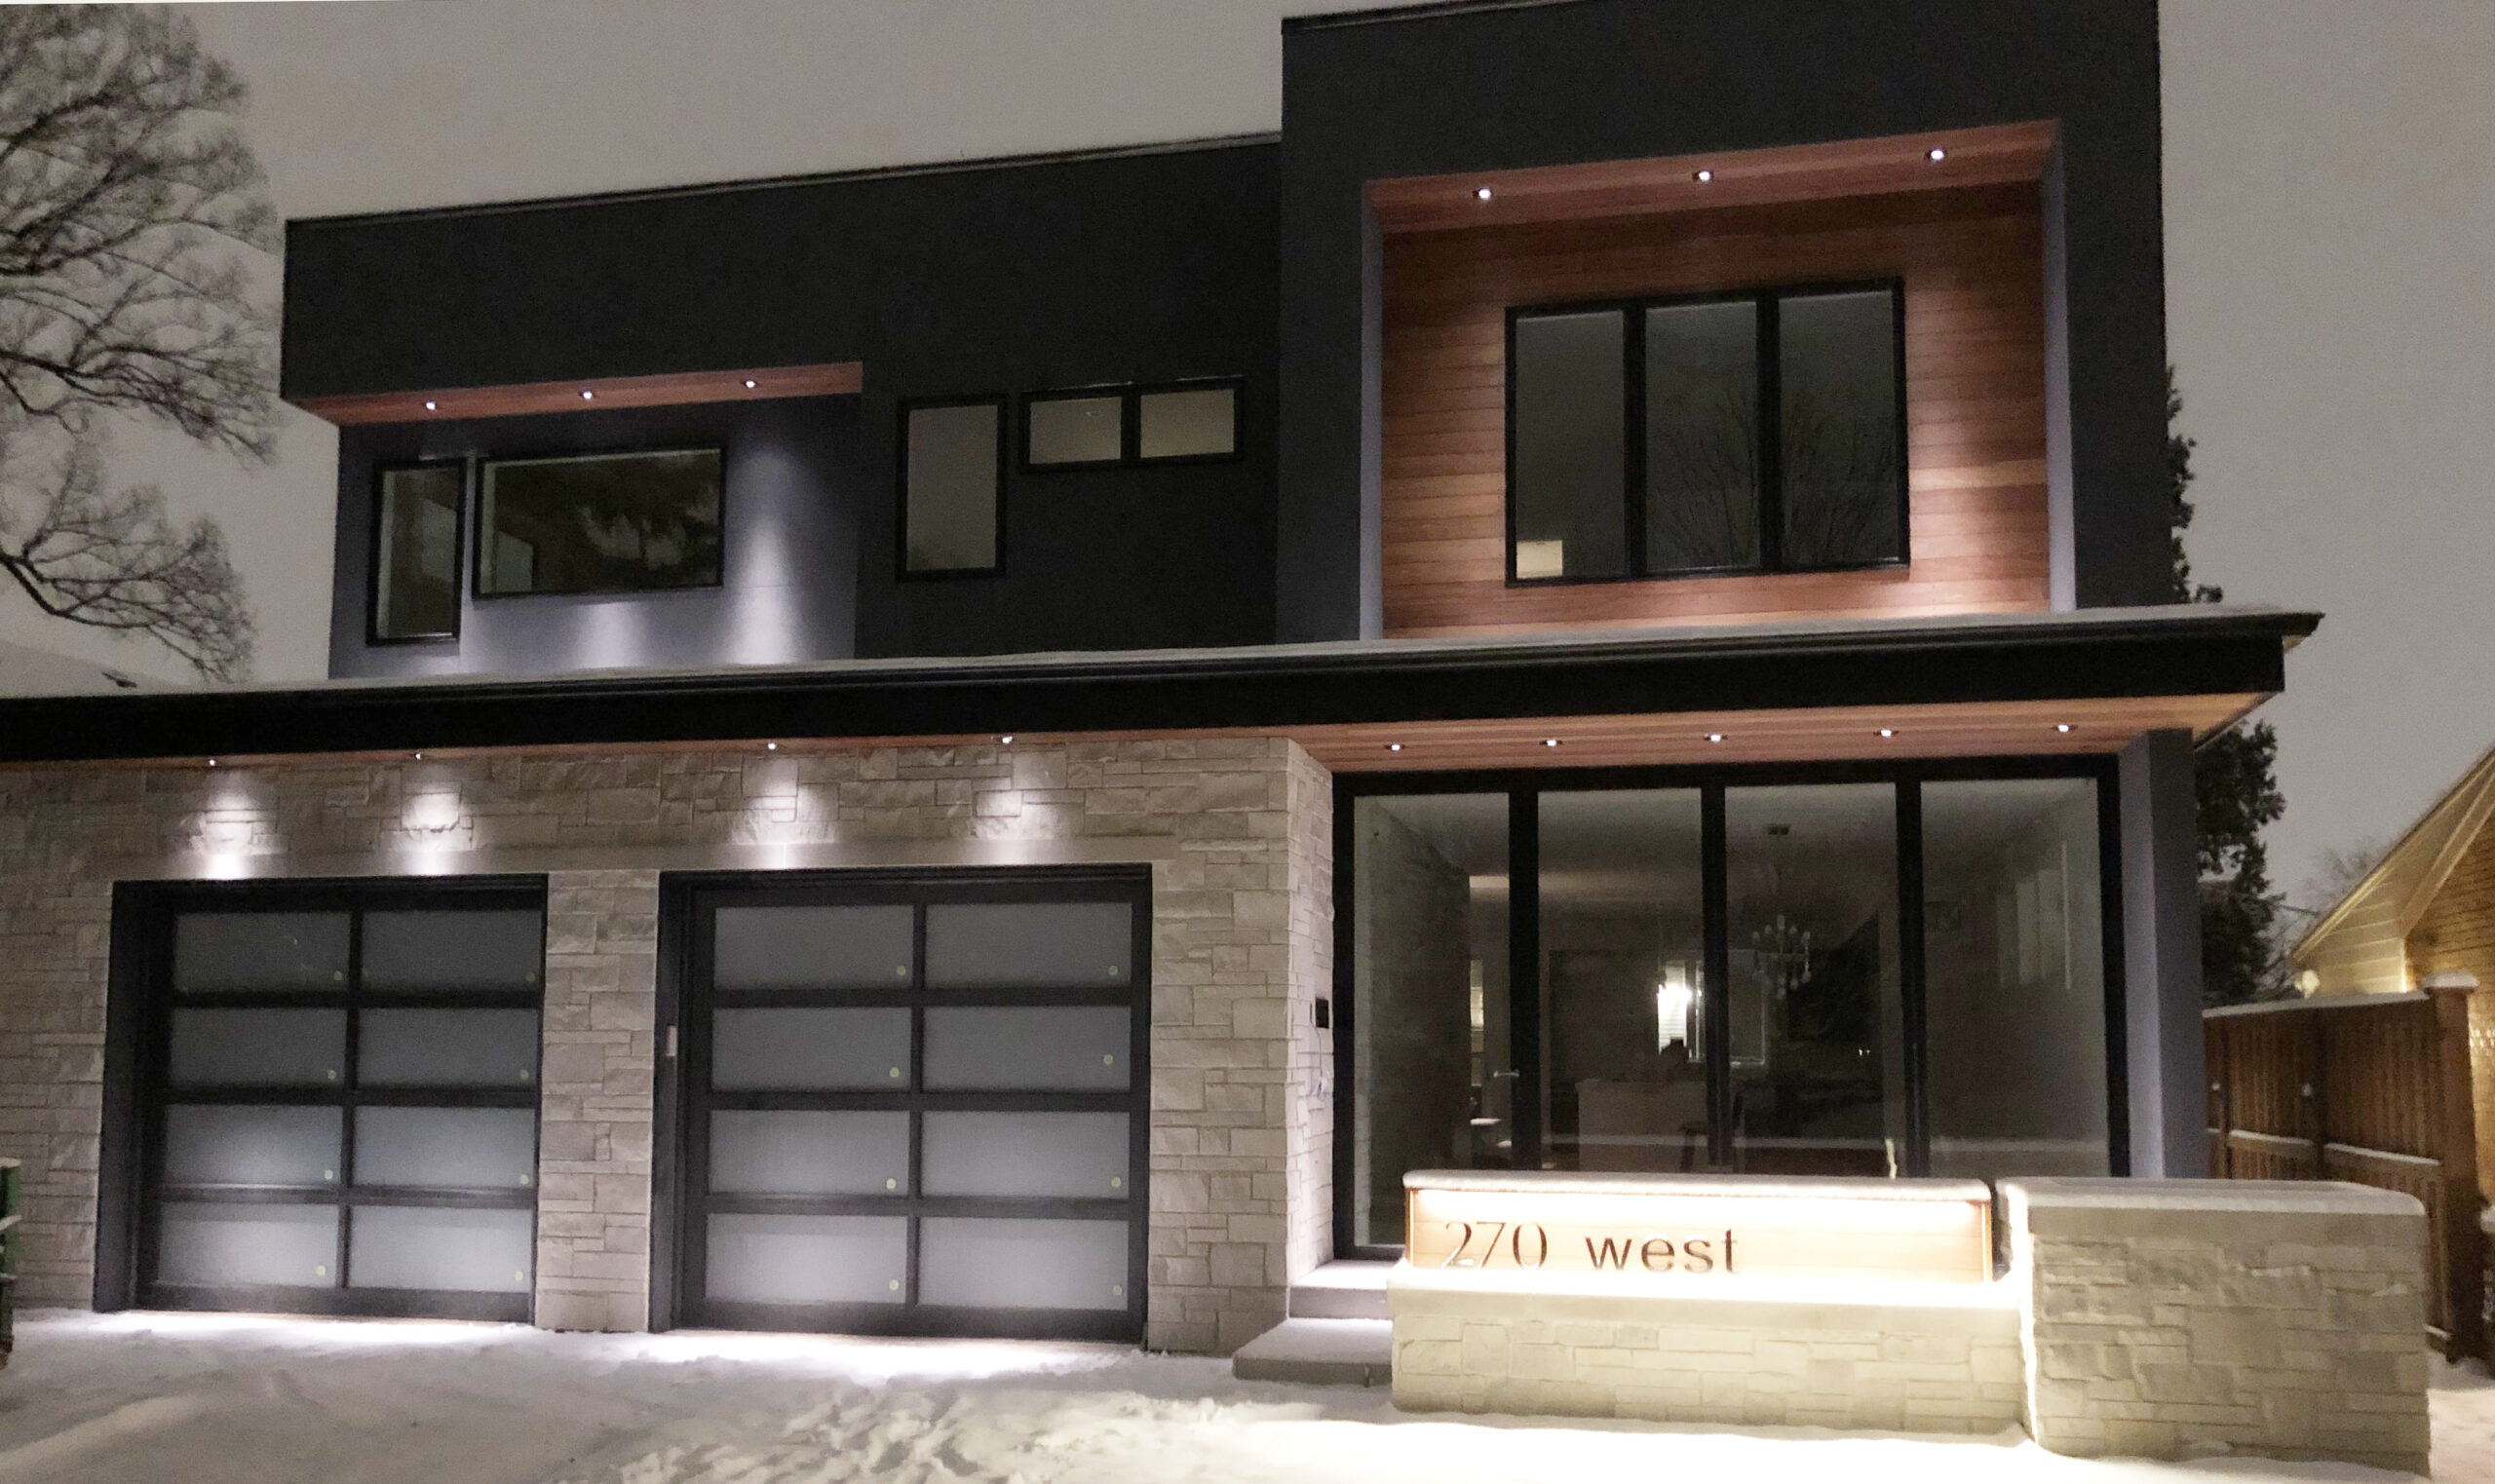
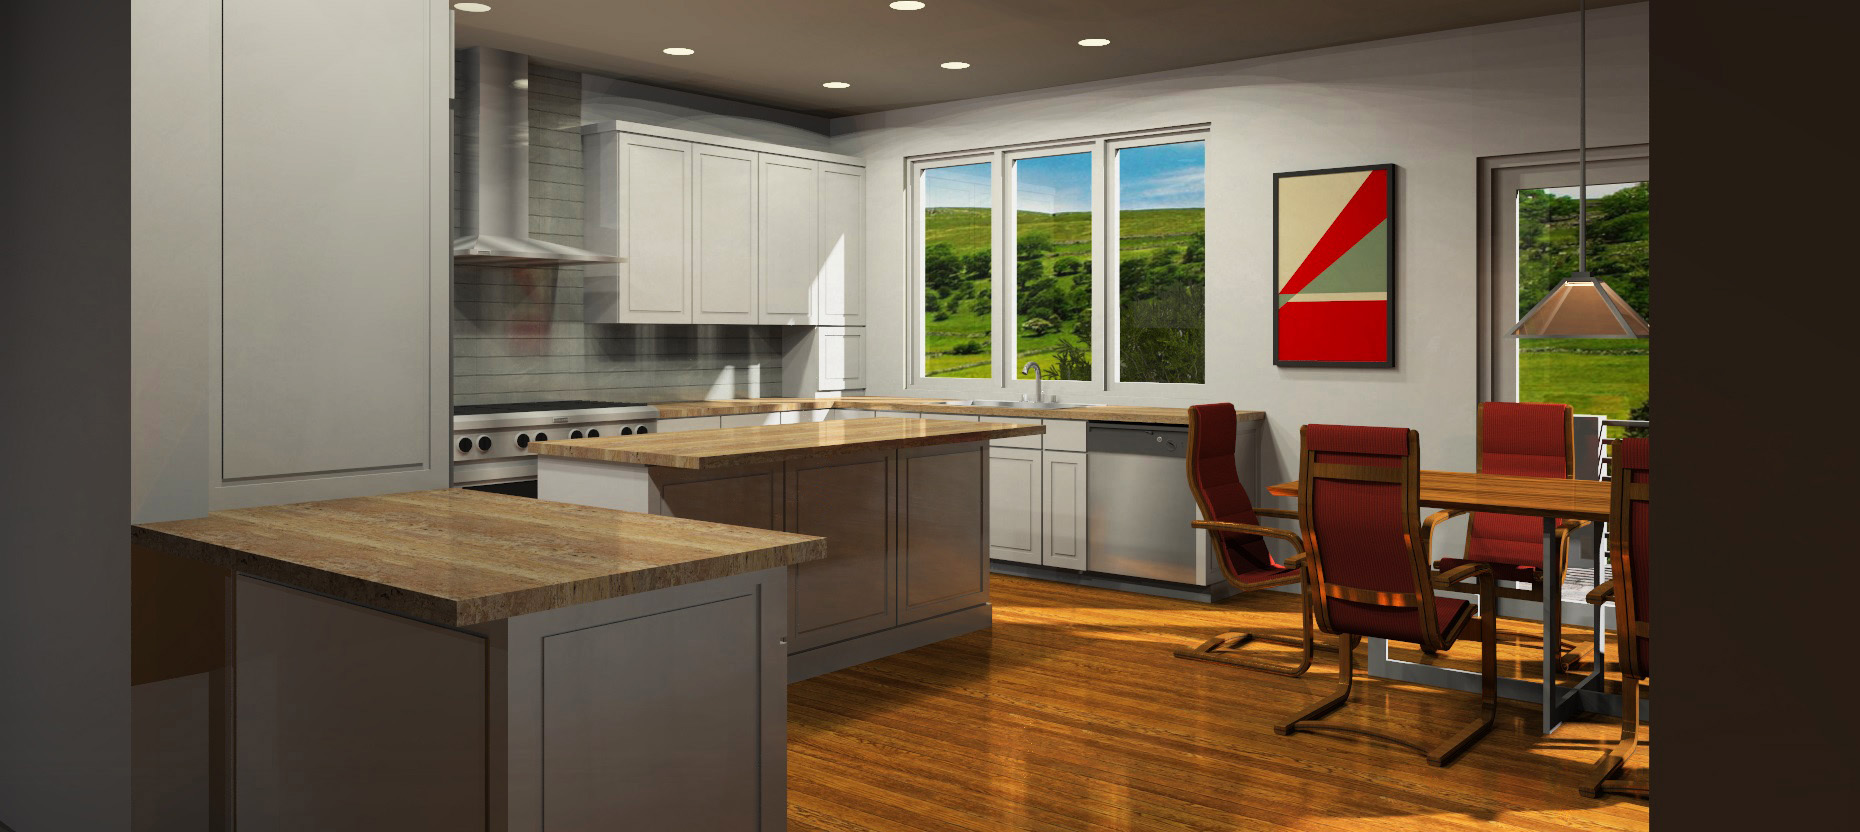
Add materials and colors
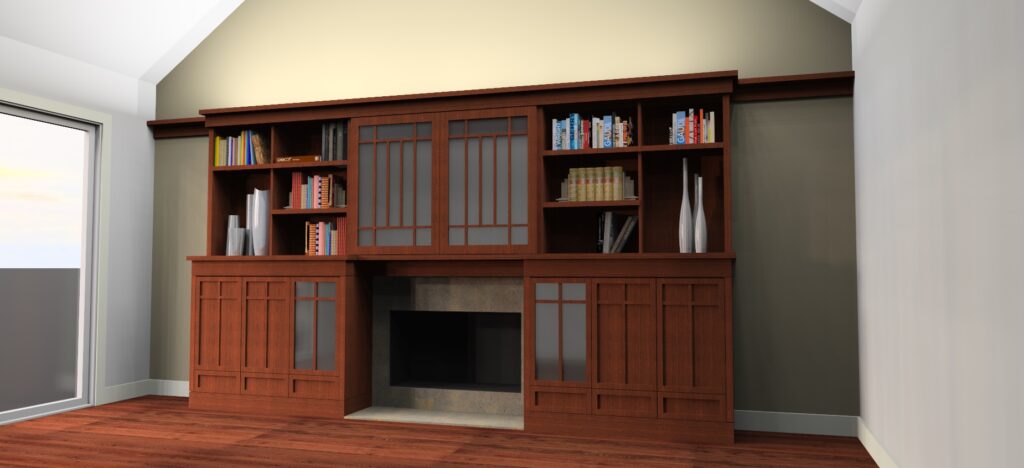
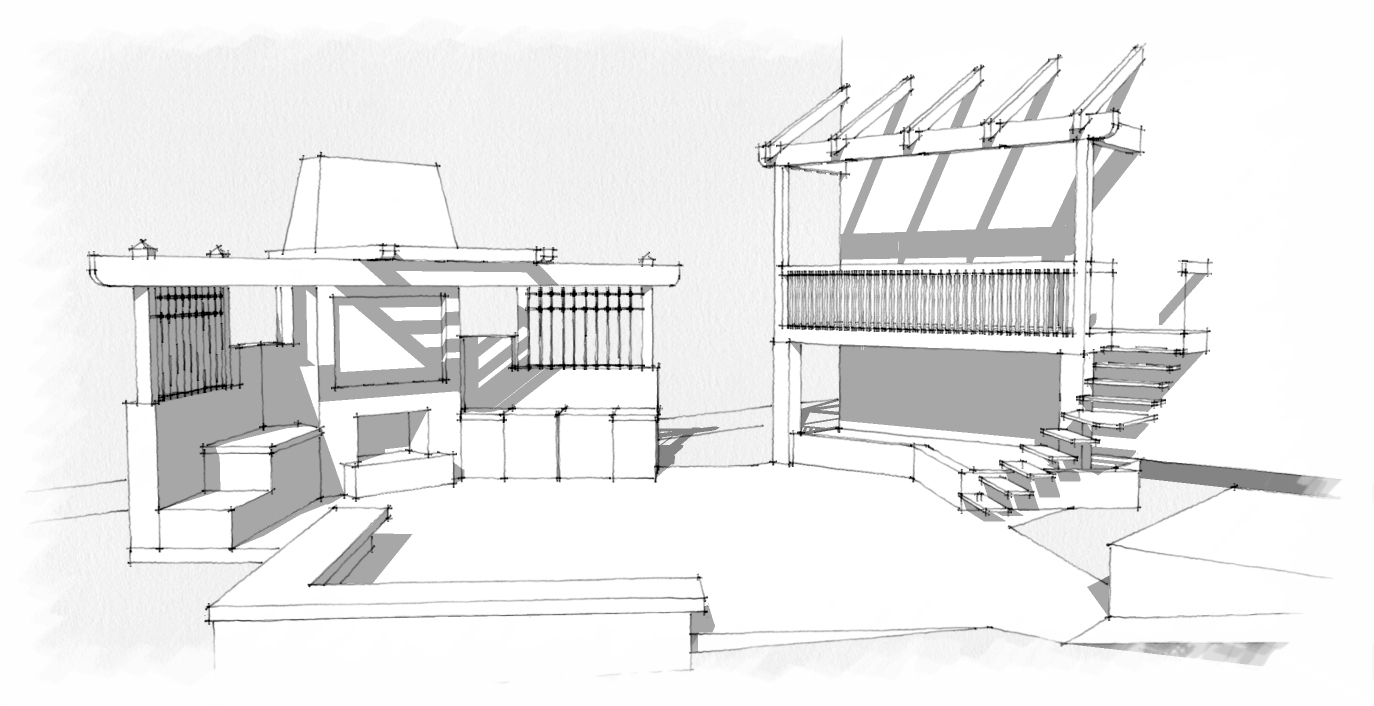
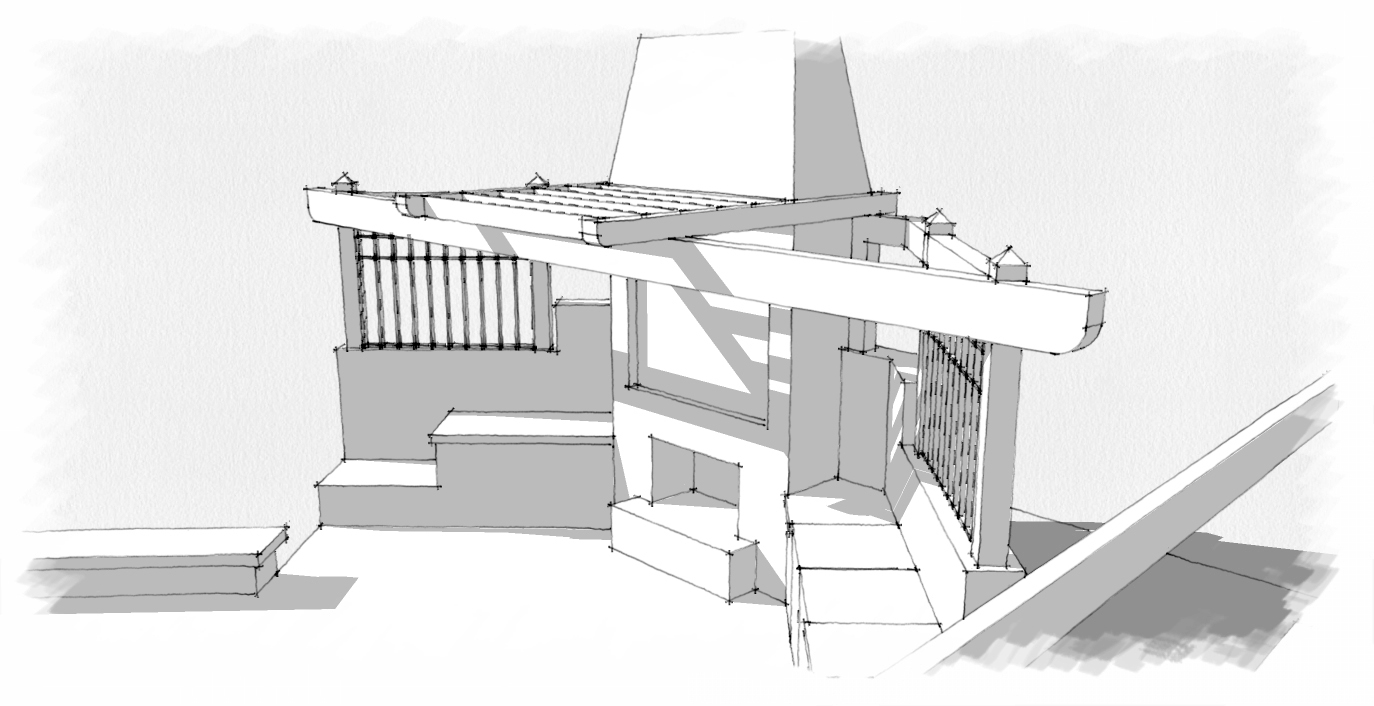
Develop your own custom objects (Components)
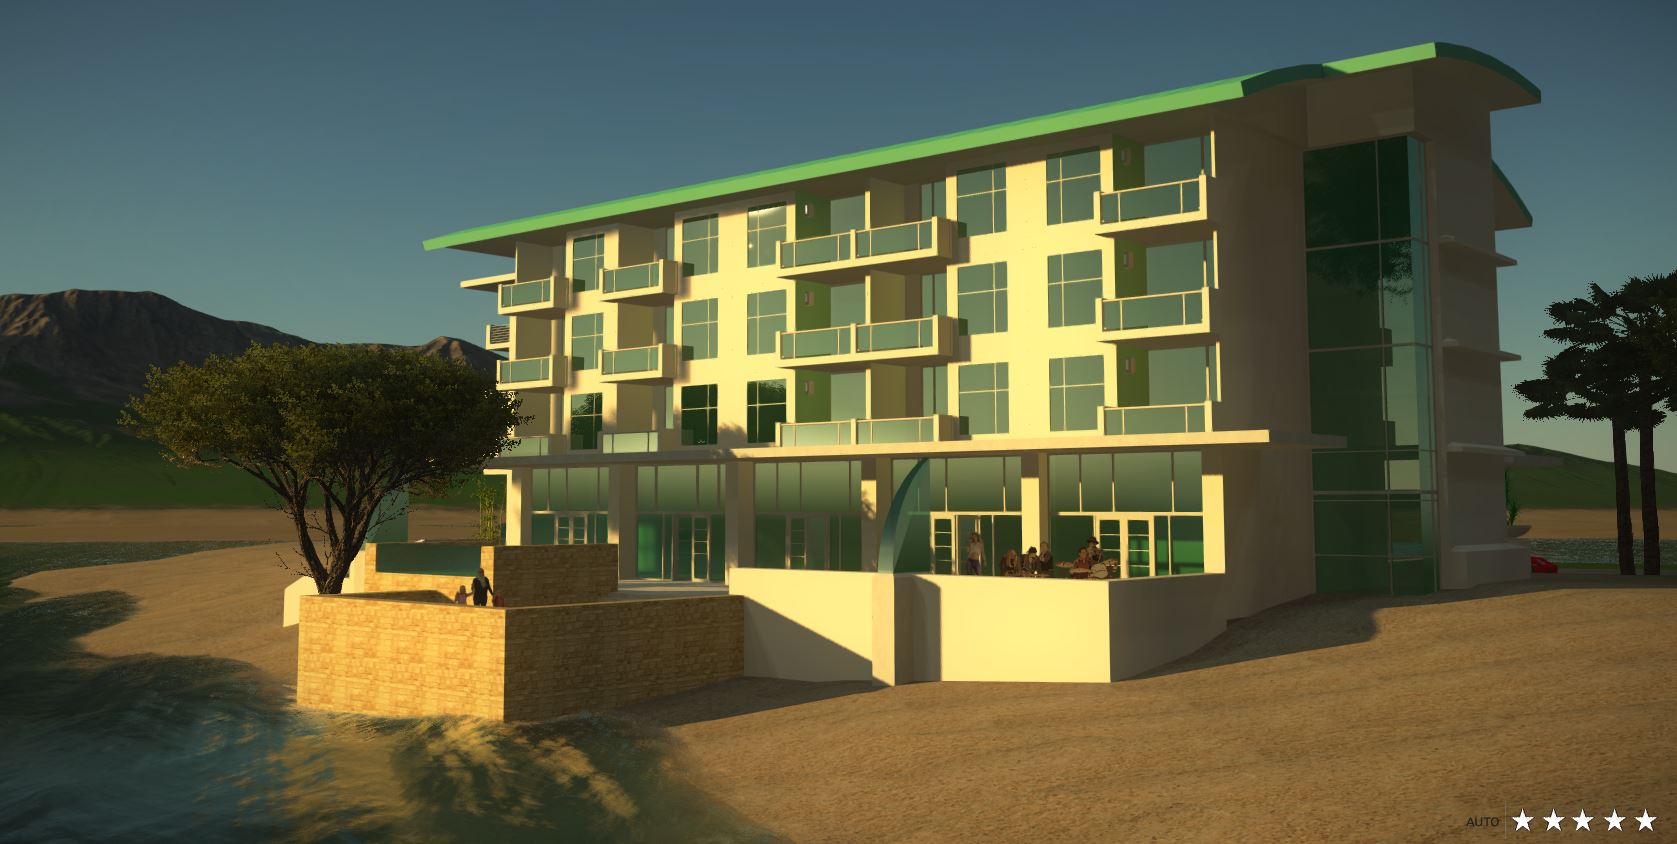
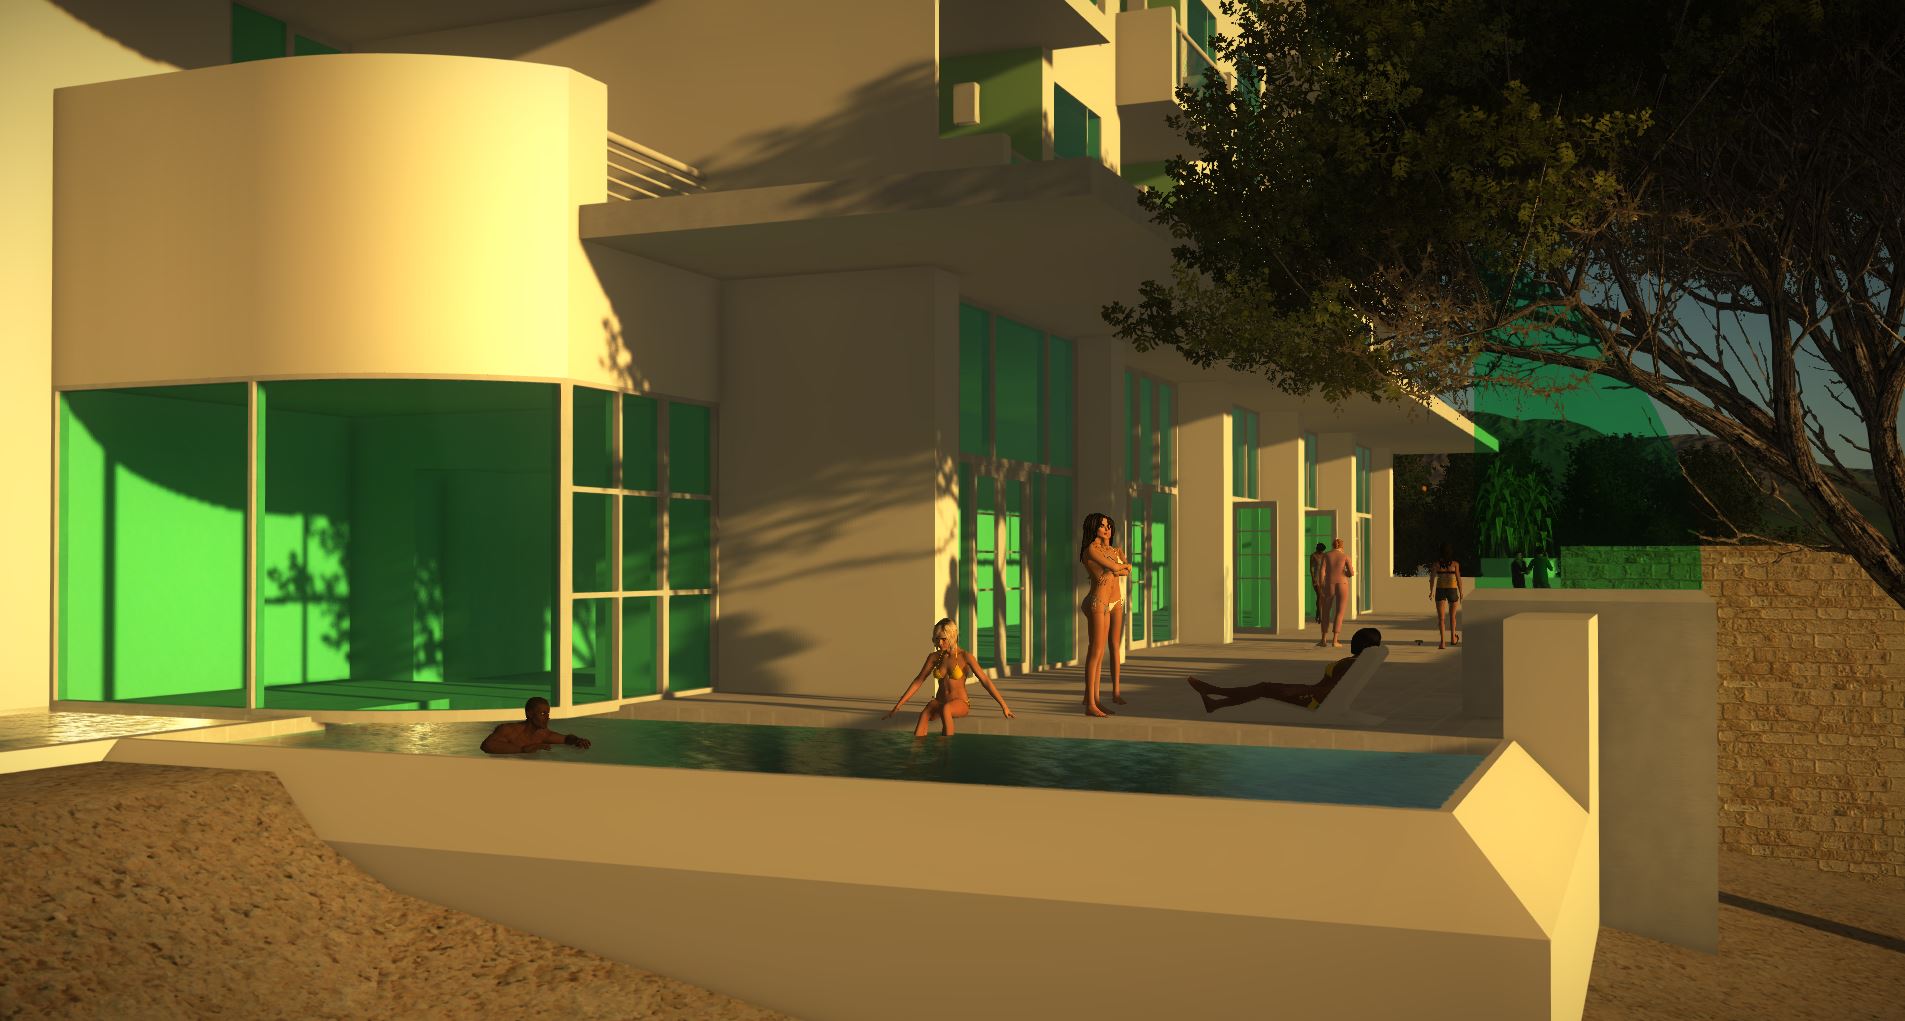
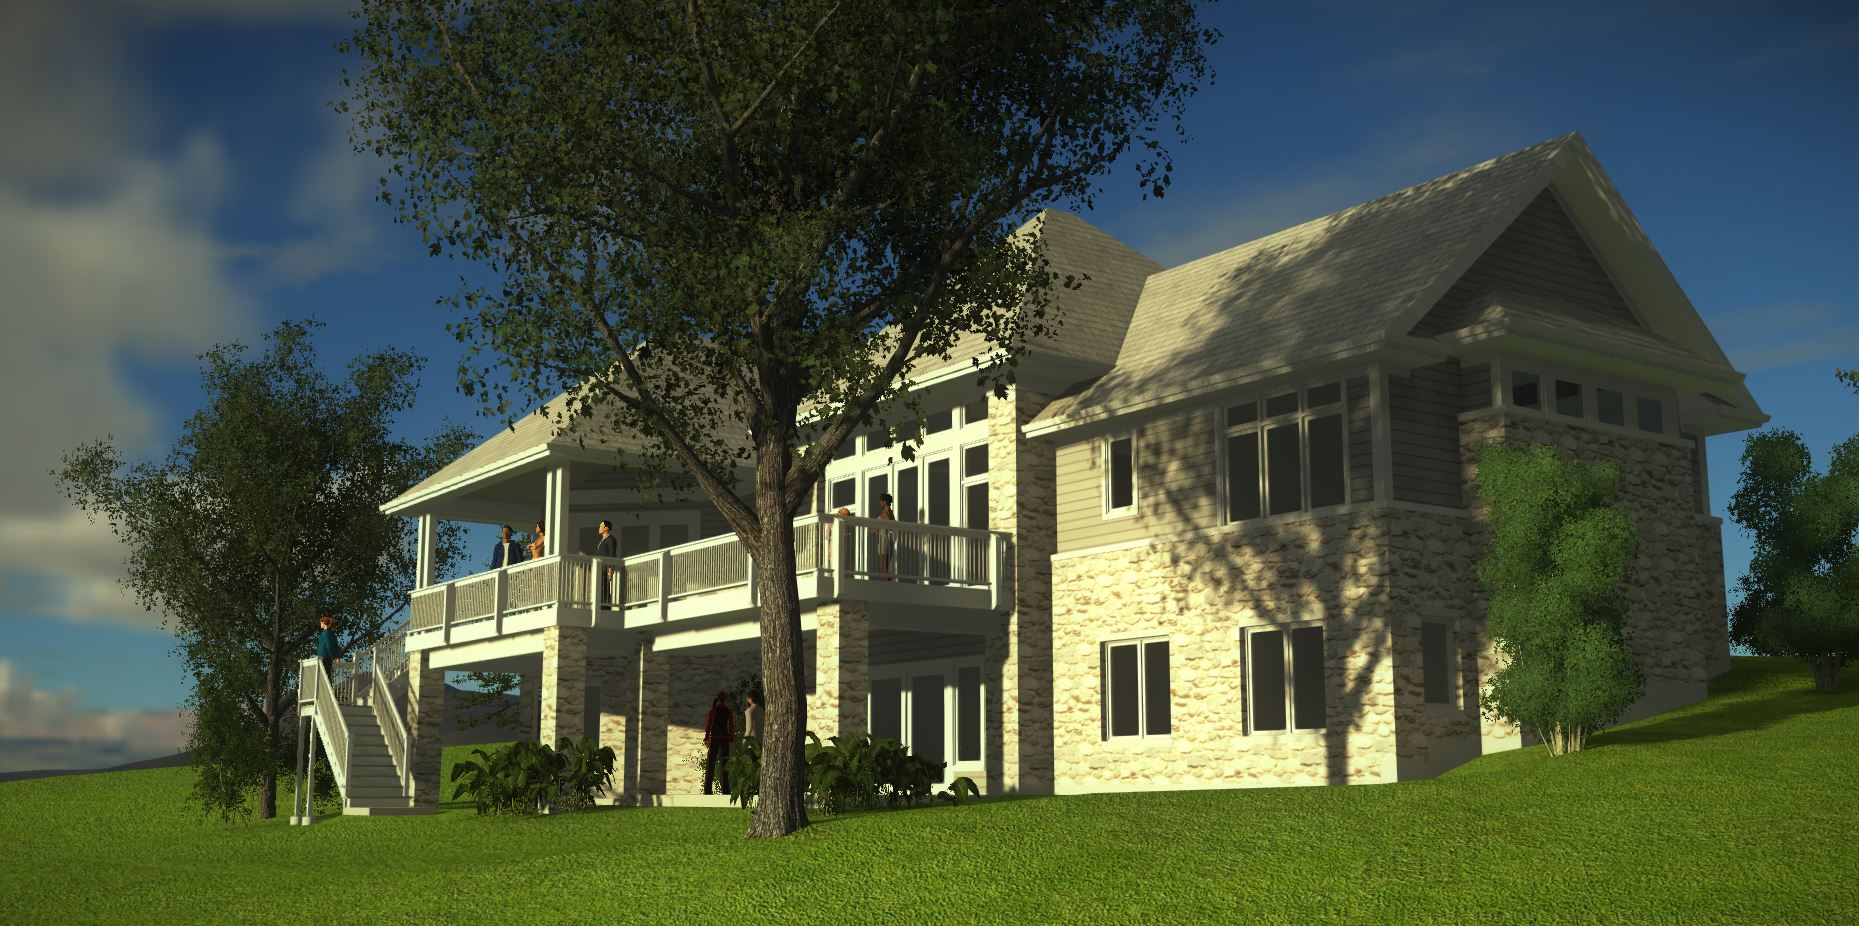
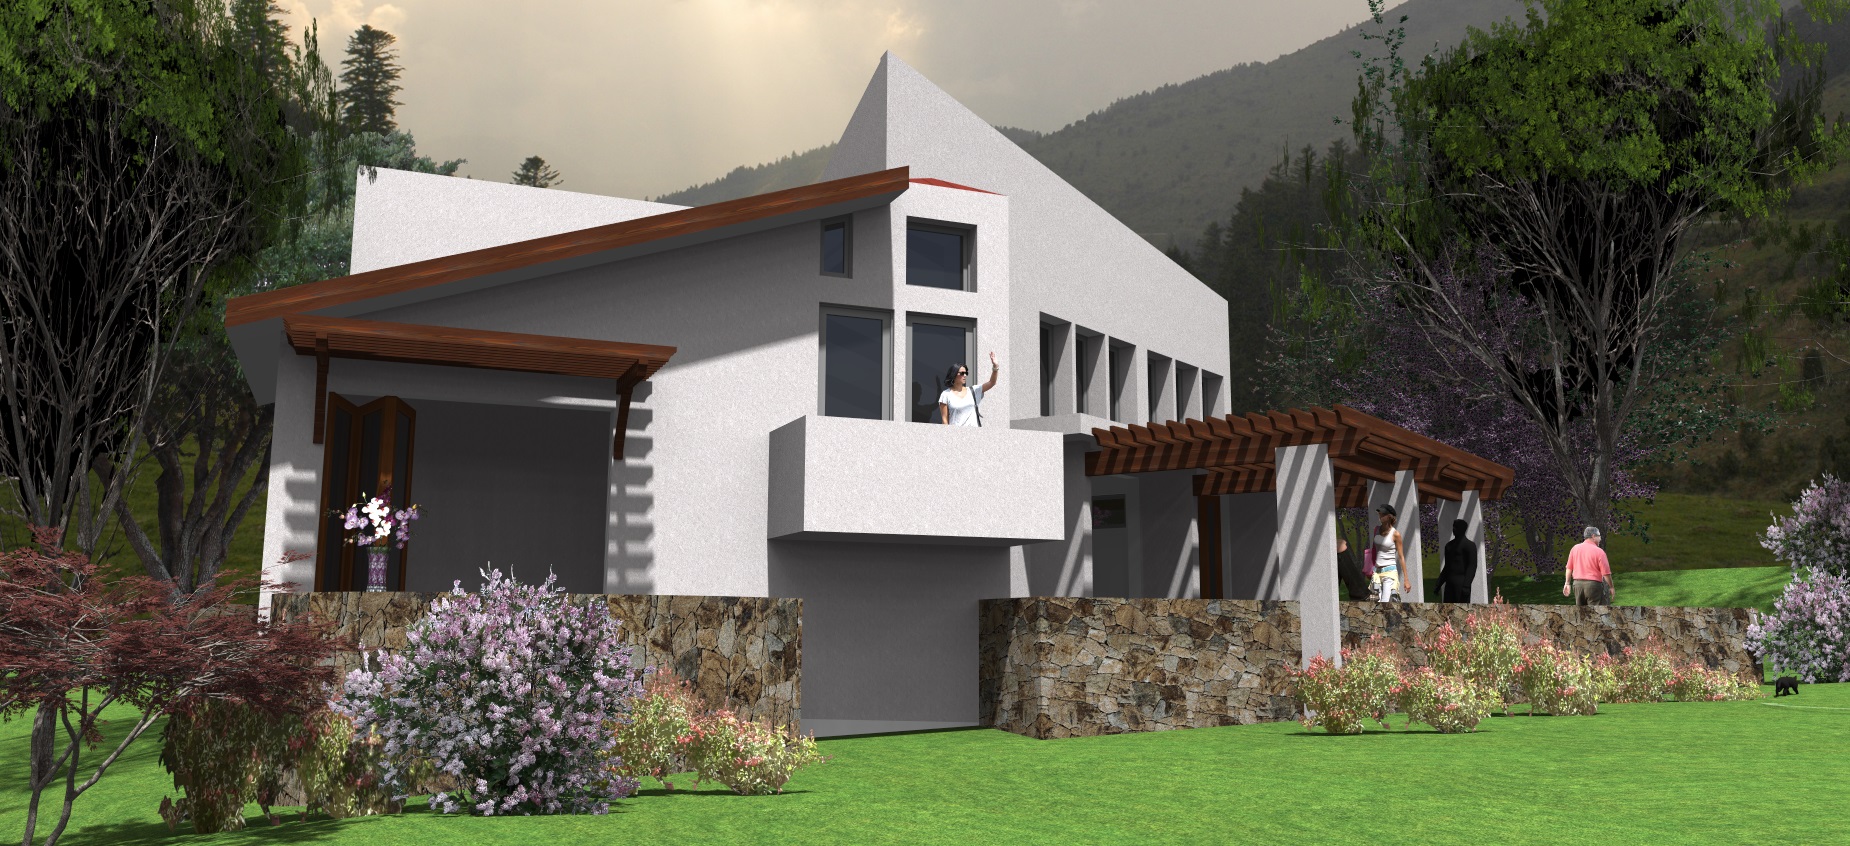
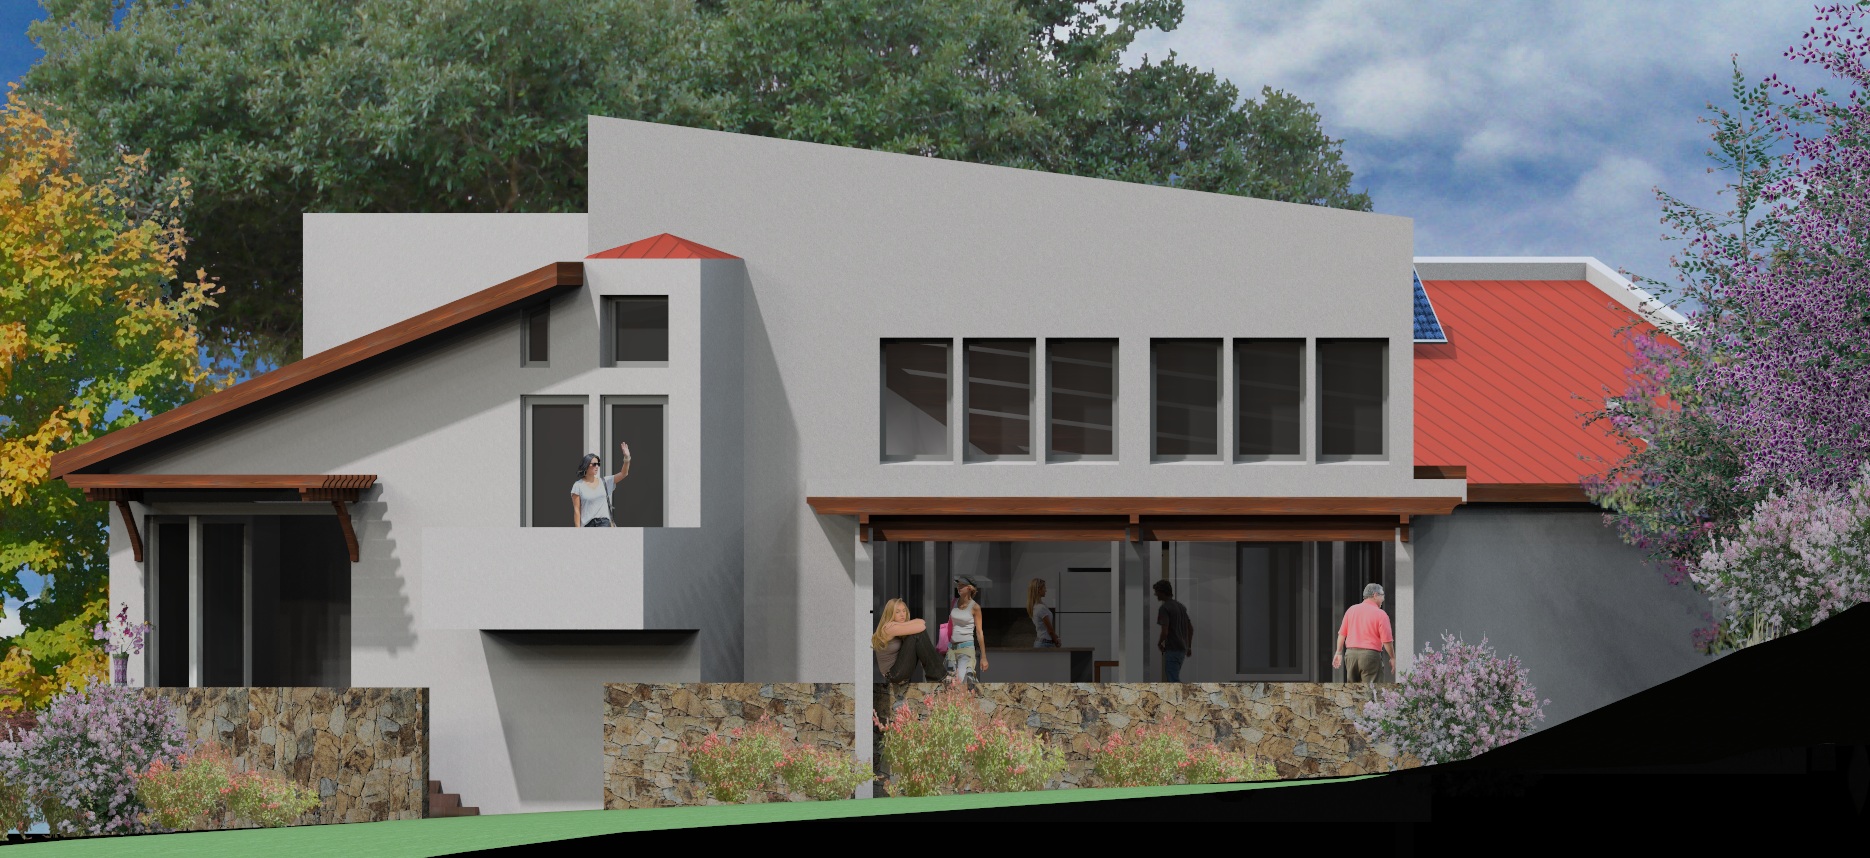
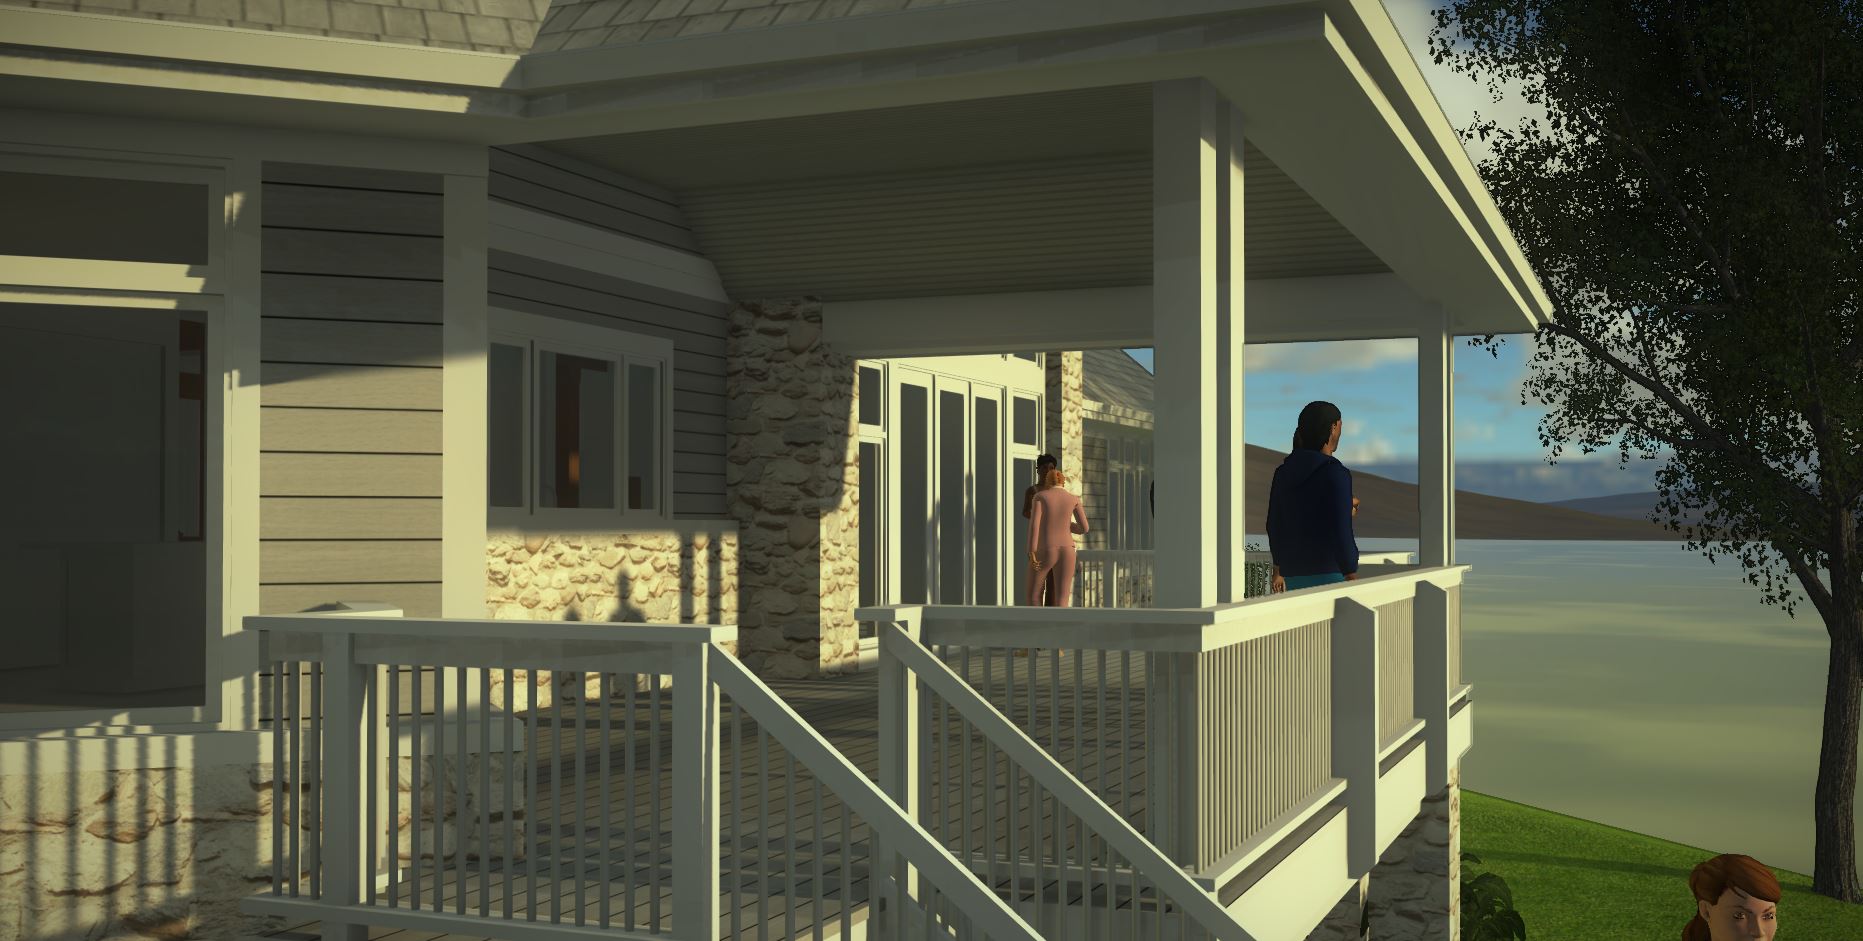
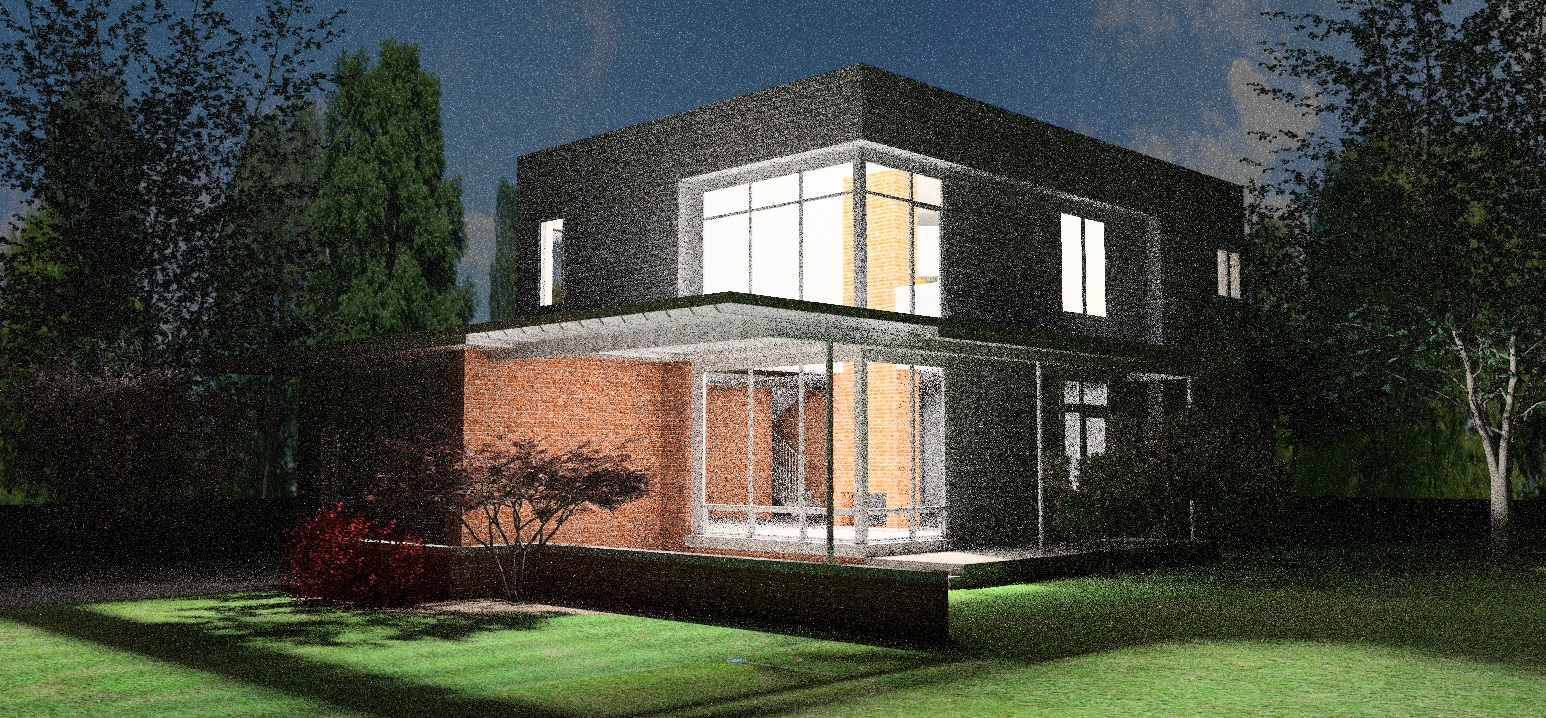
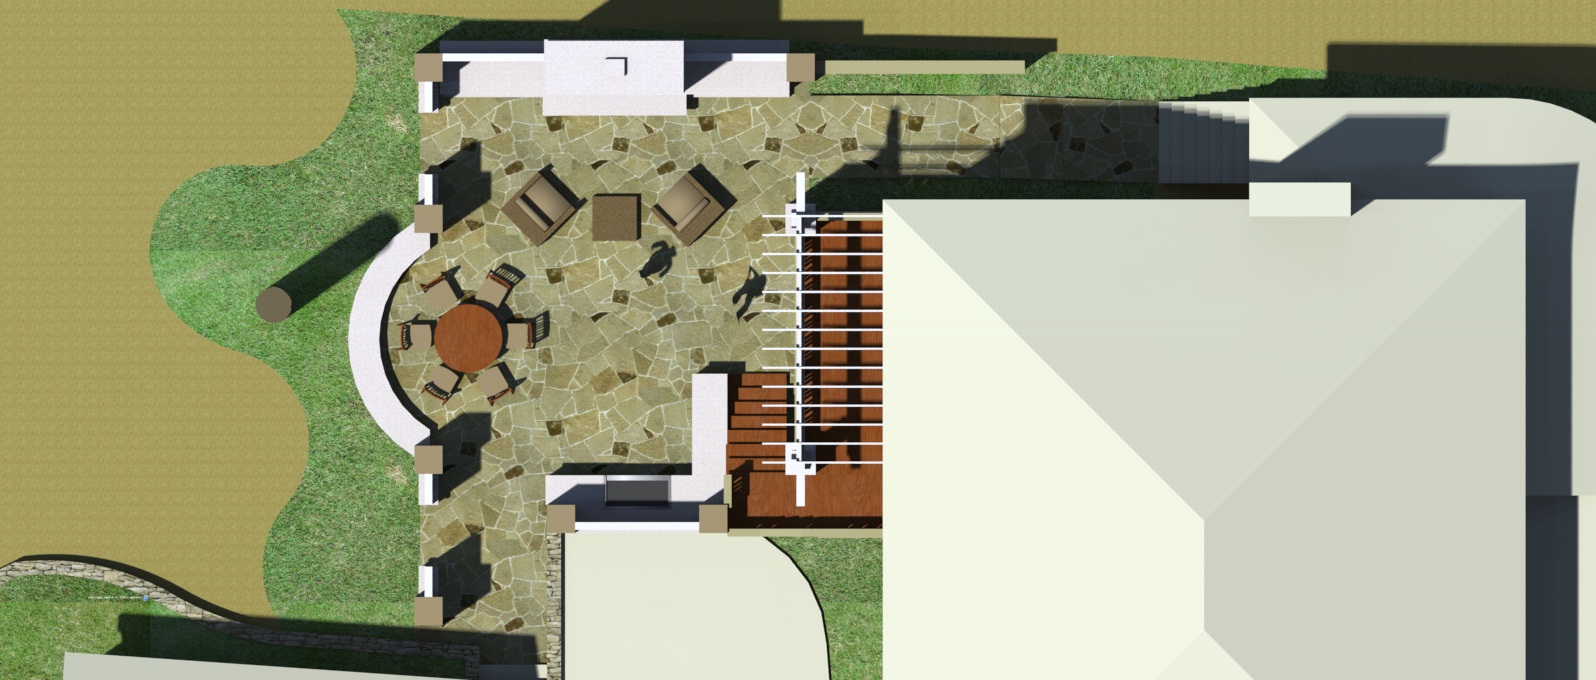
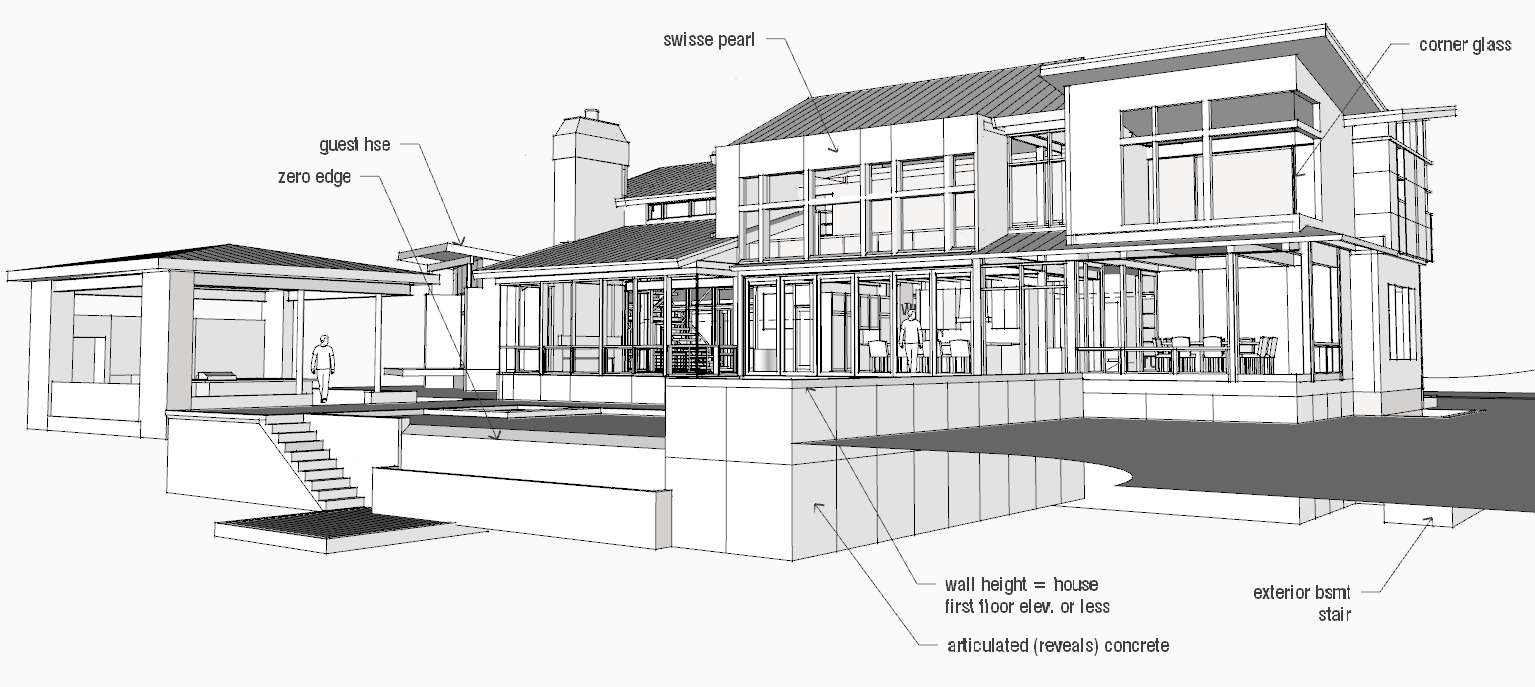
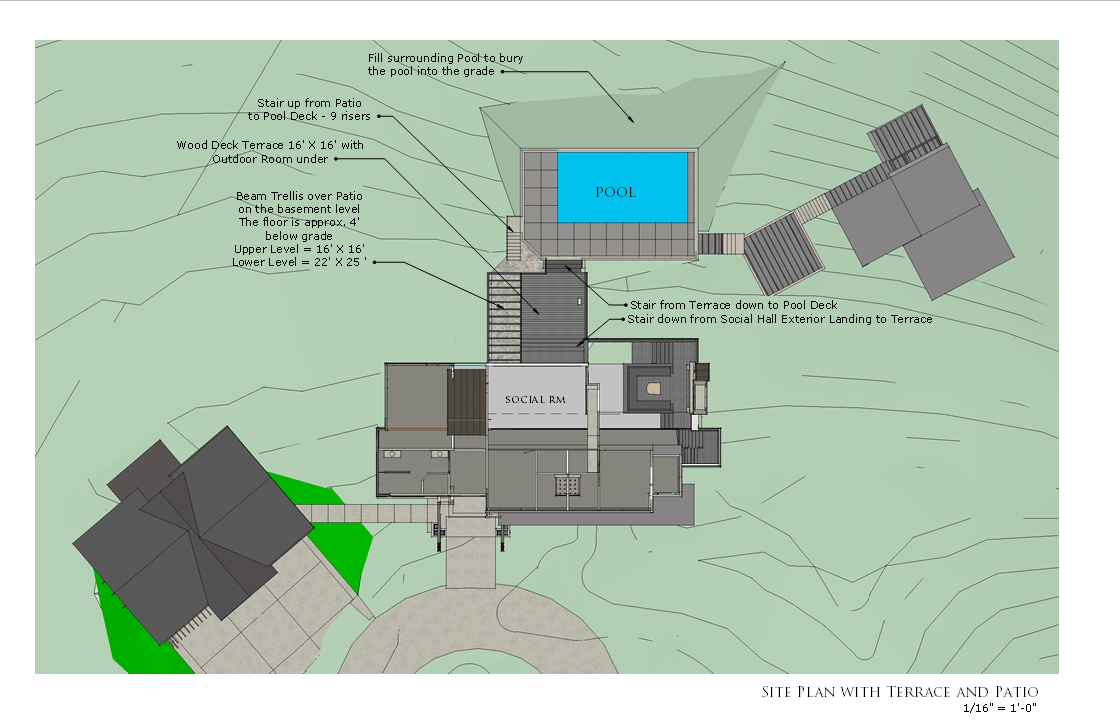
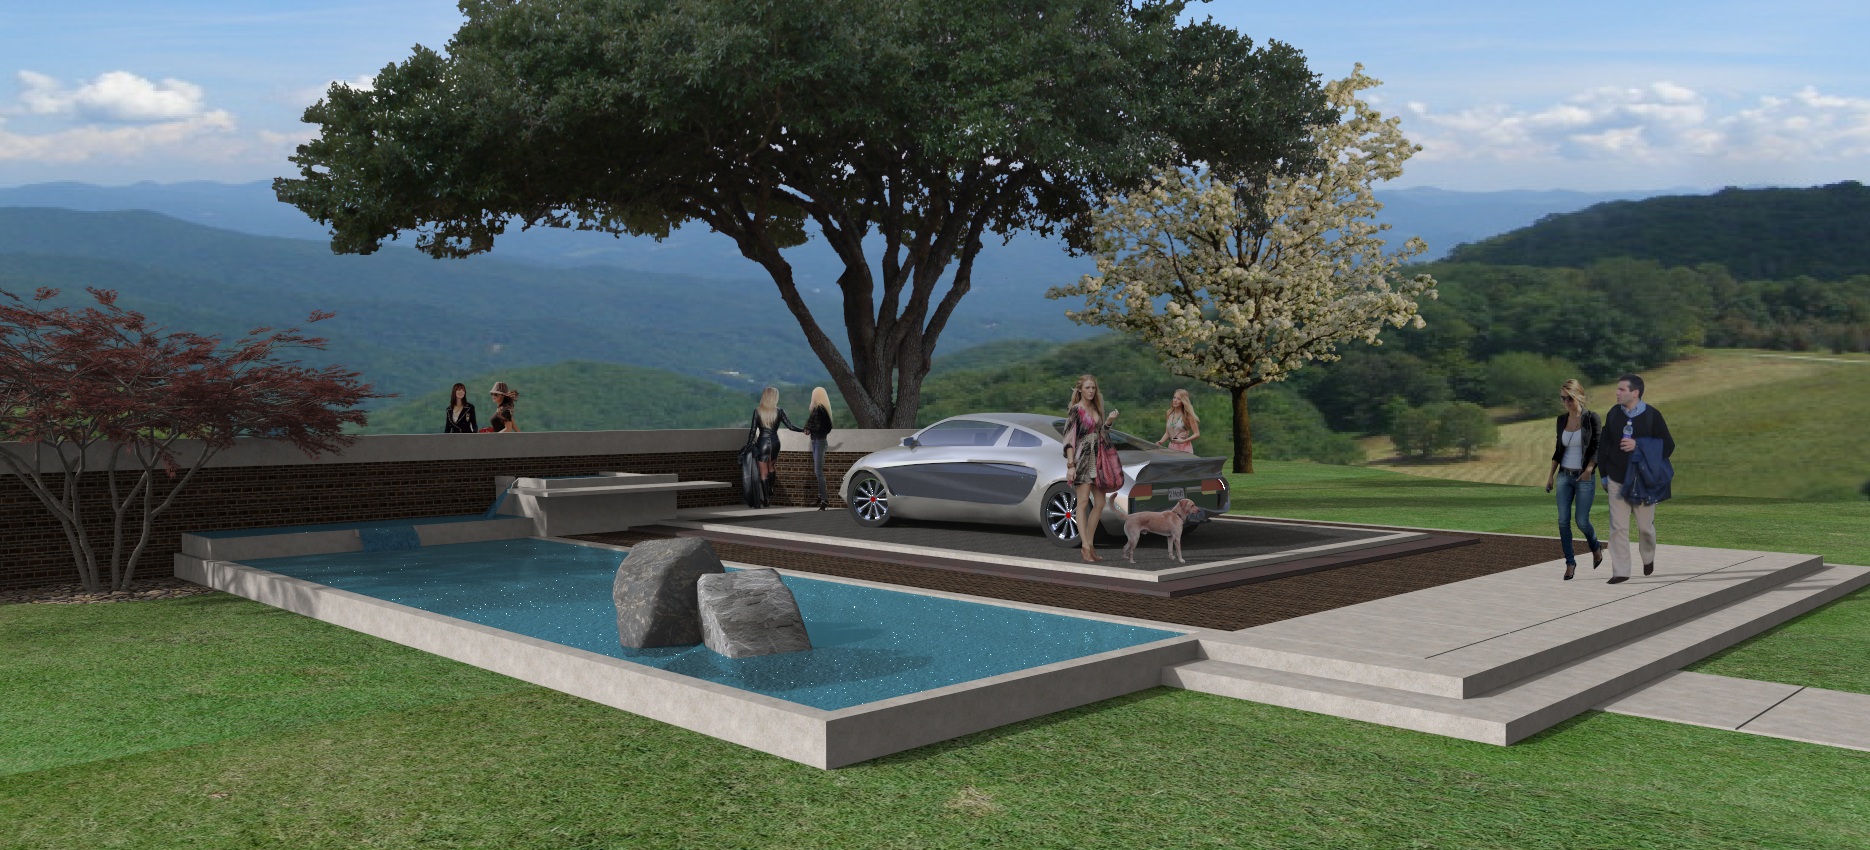
Add shadows and study the effects of sunlight (example site drawing)
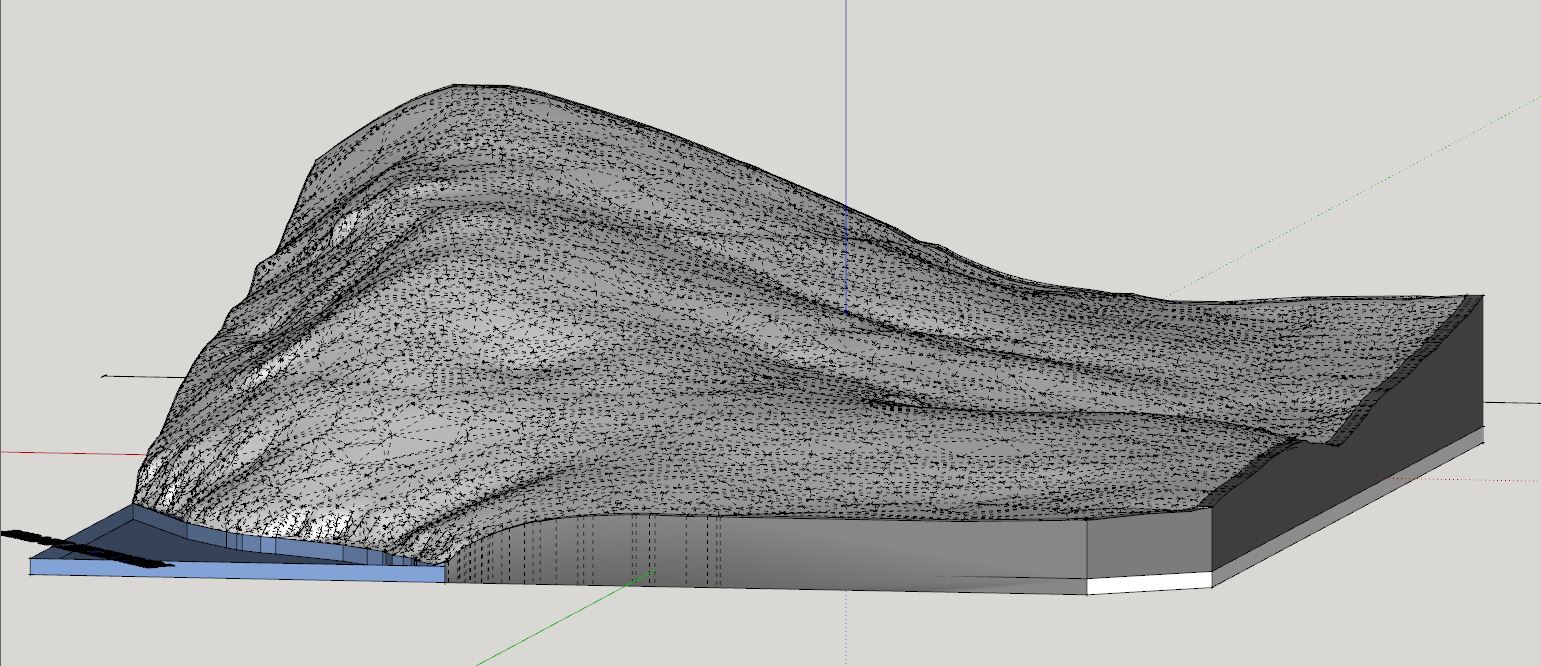
Develop topography with the Sandbox tools and GIS
Add a Background with a Styles Watermark Underlay
Working with CAD files and SketchUp (Pro Only)
10 minute break
3:40 AM –4:30 Presenting the Model
Create presentations from within SketchUp (and LayOut Pro)
Export Images and files for CAD
Create an Animation using Scenes; create MPG Video
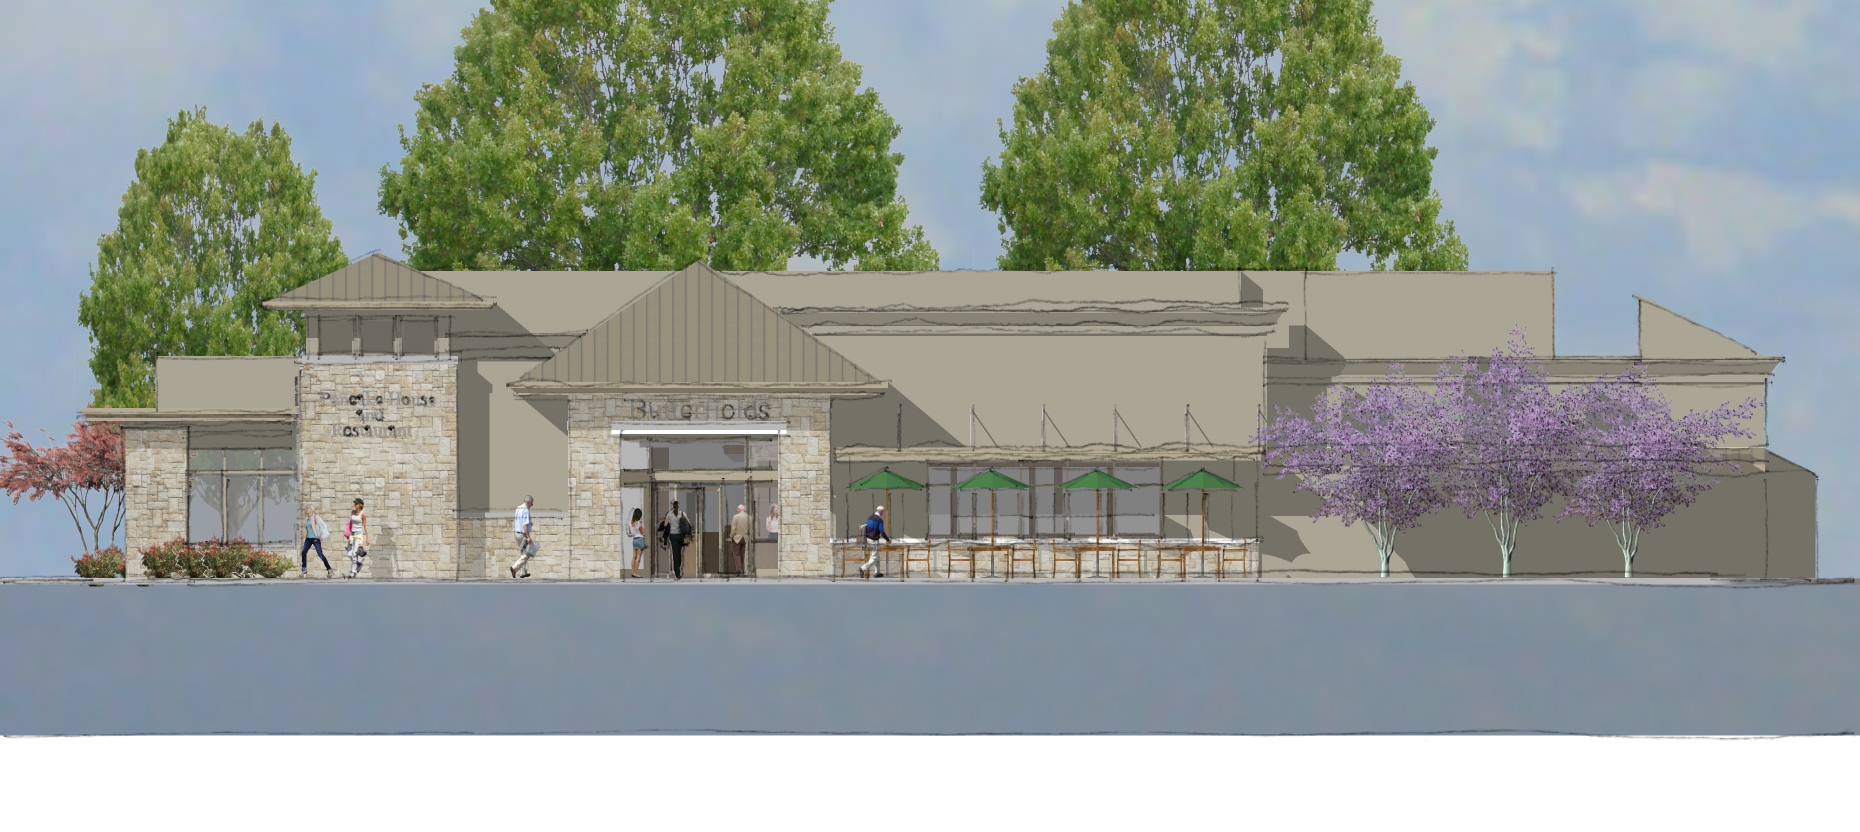
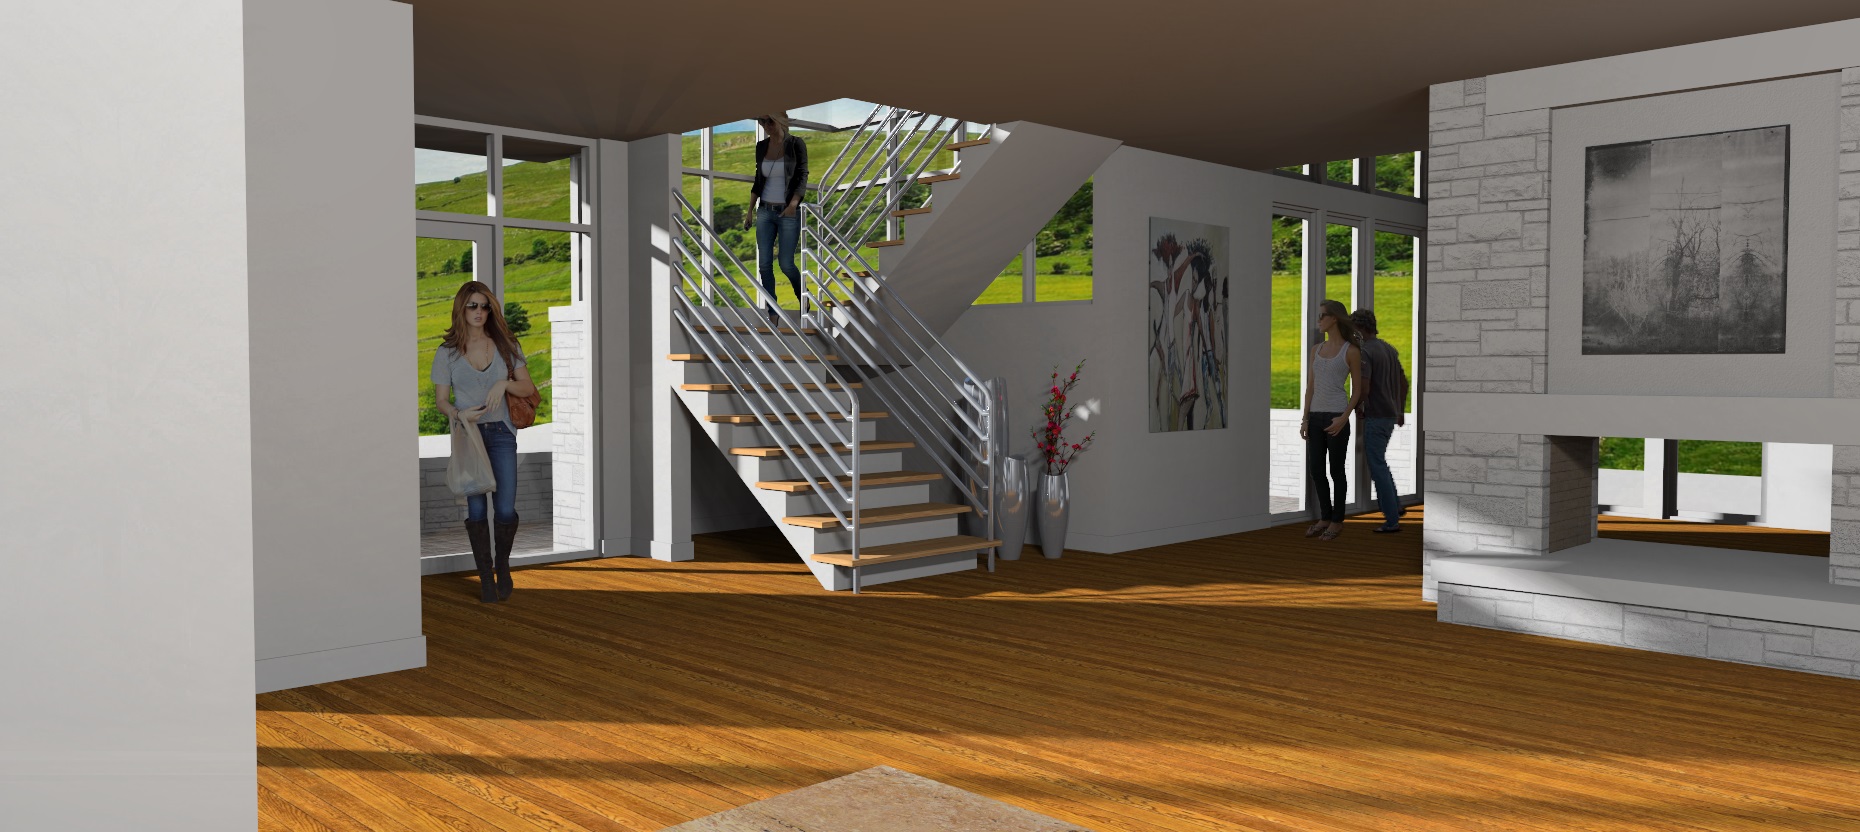
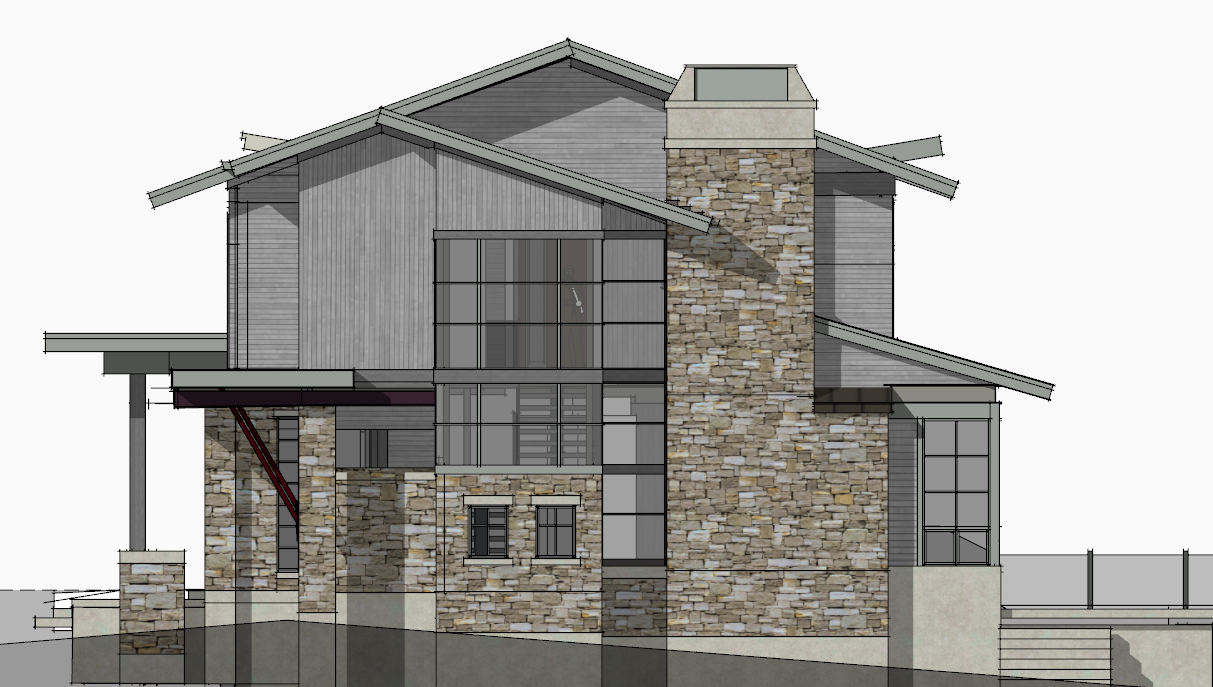
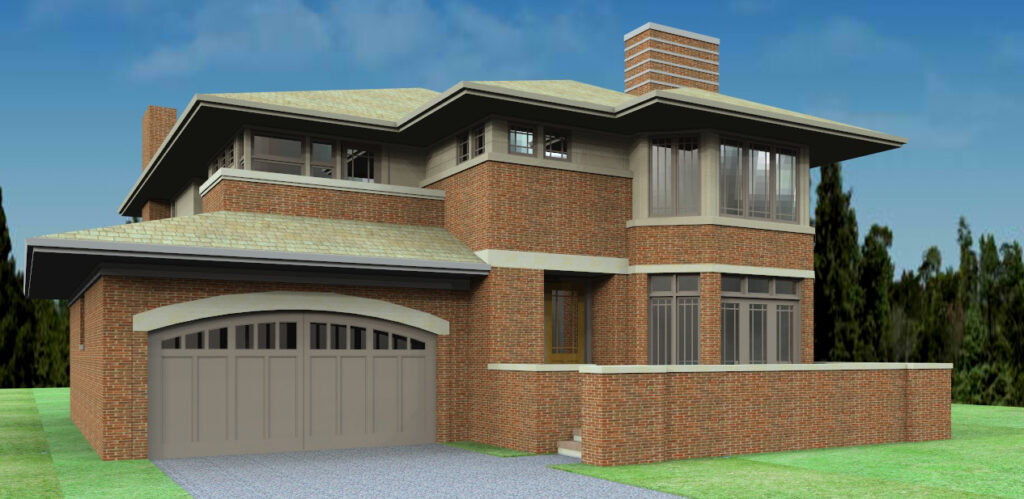
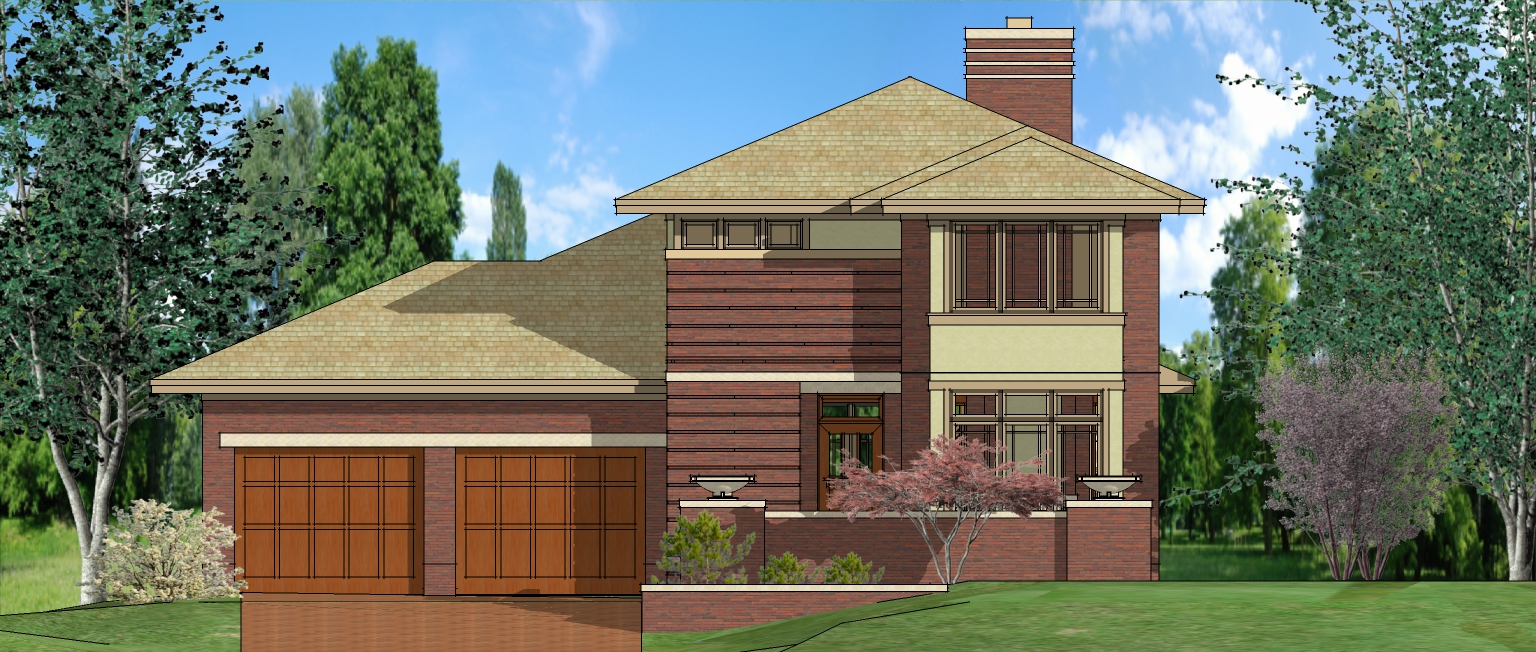
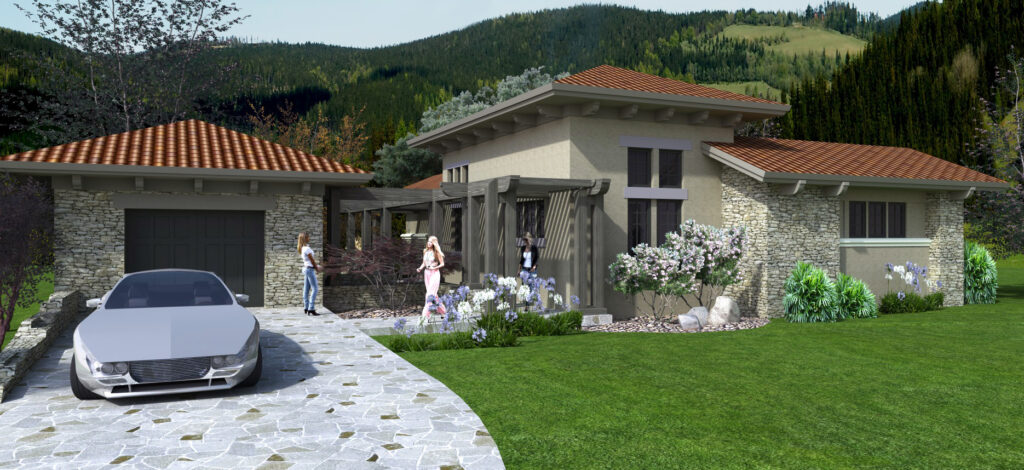
Create Rendering Style Drawings with SketchUp (and Photoshop)
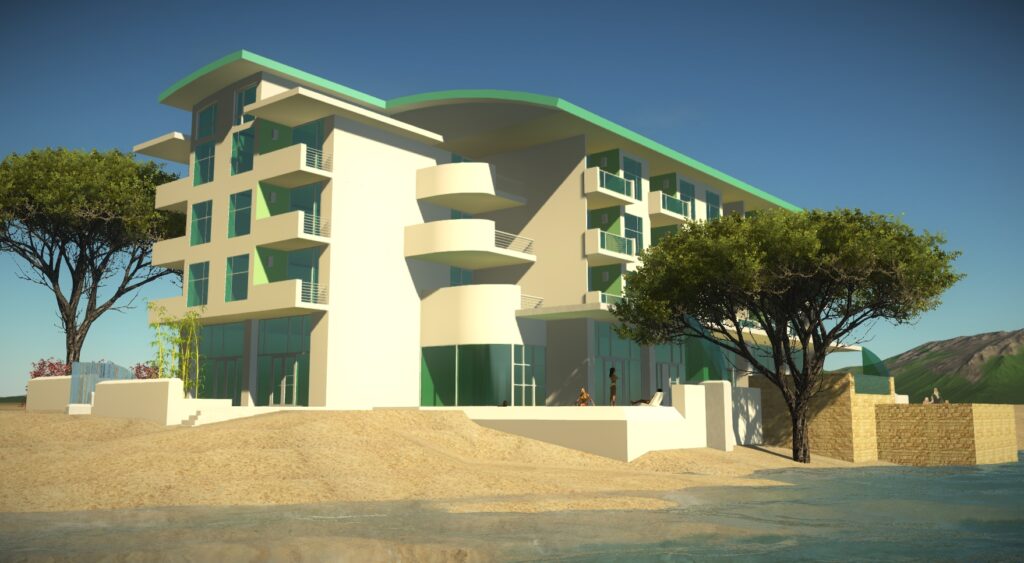
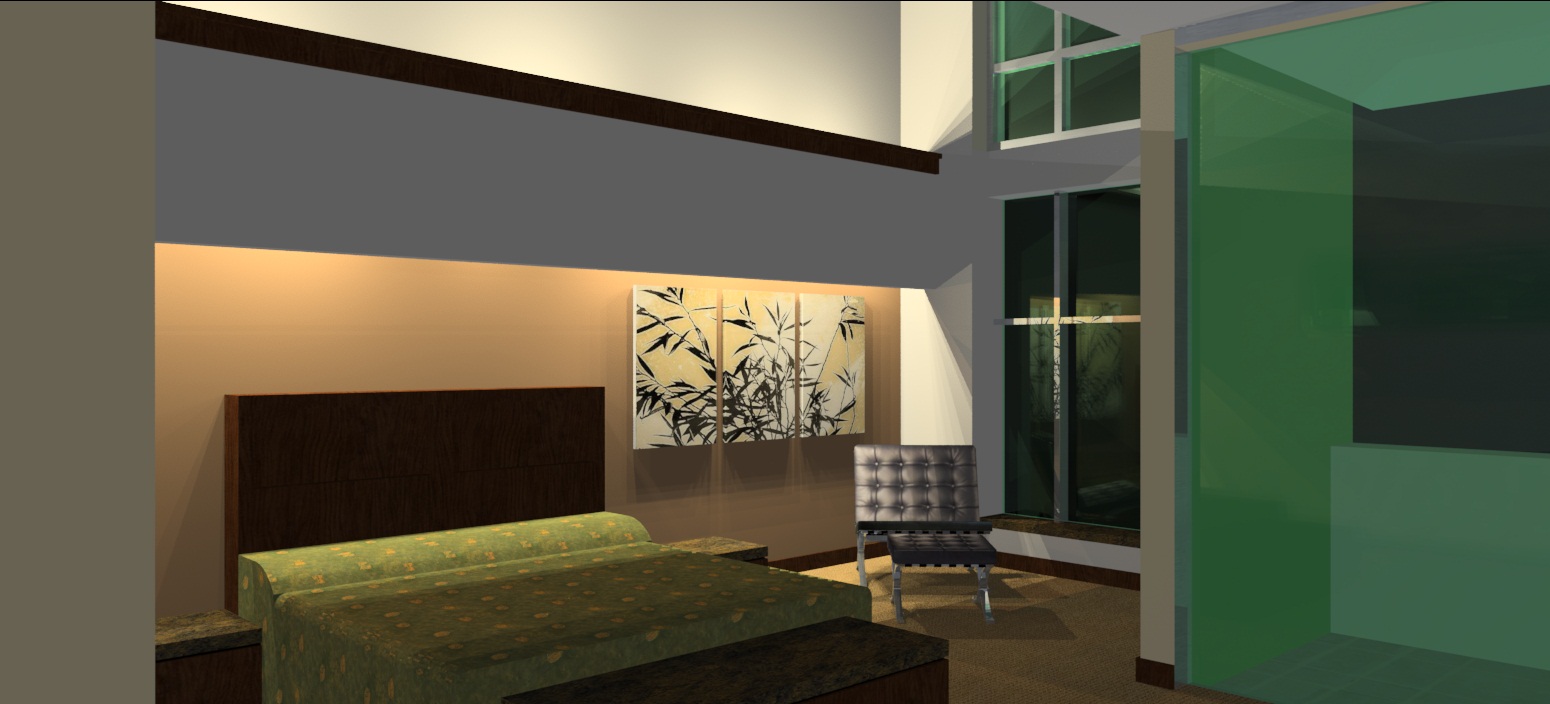
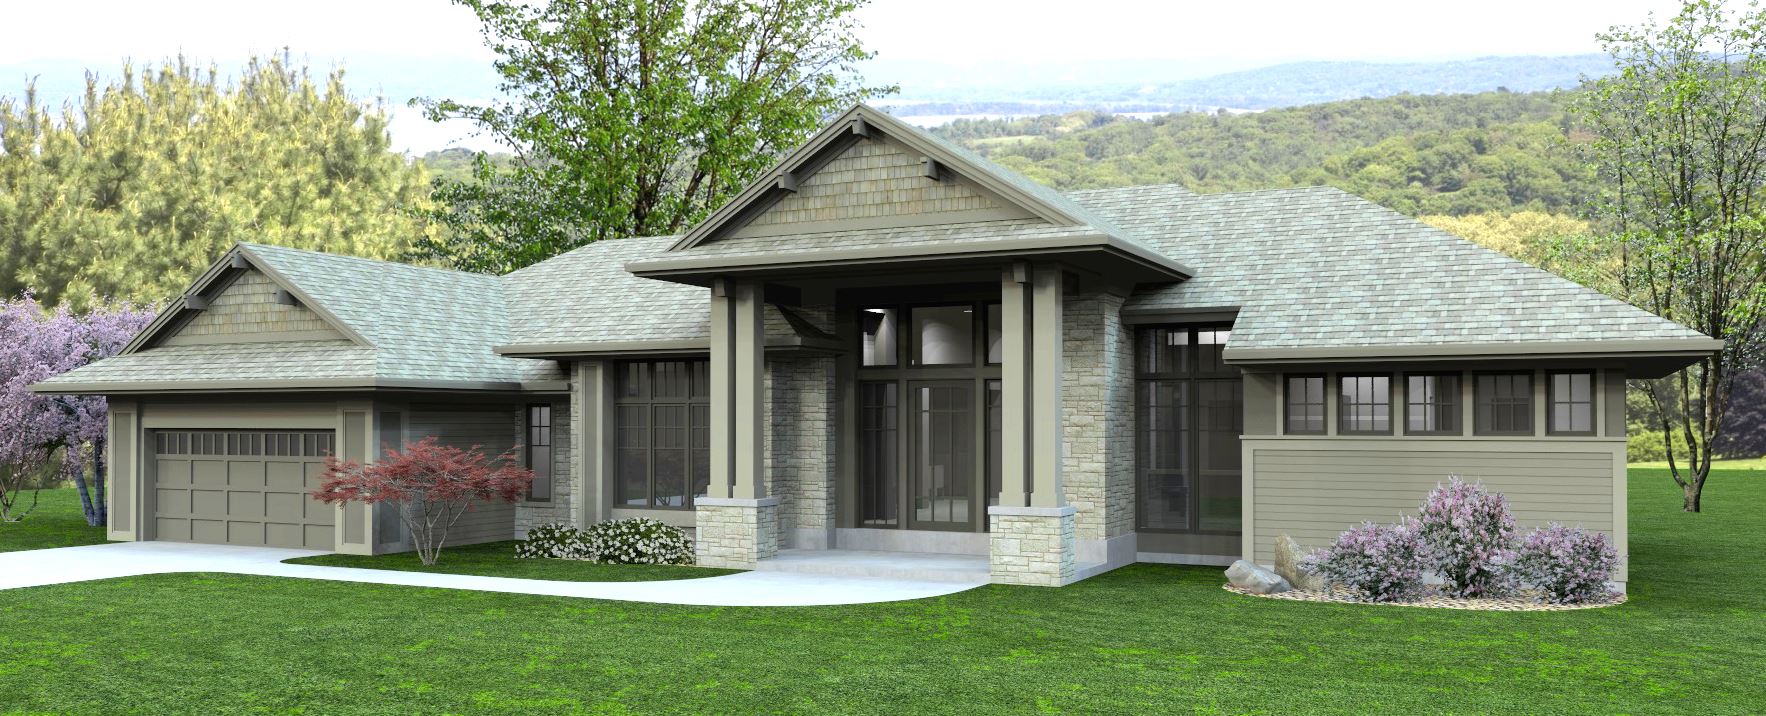
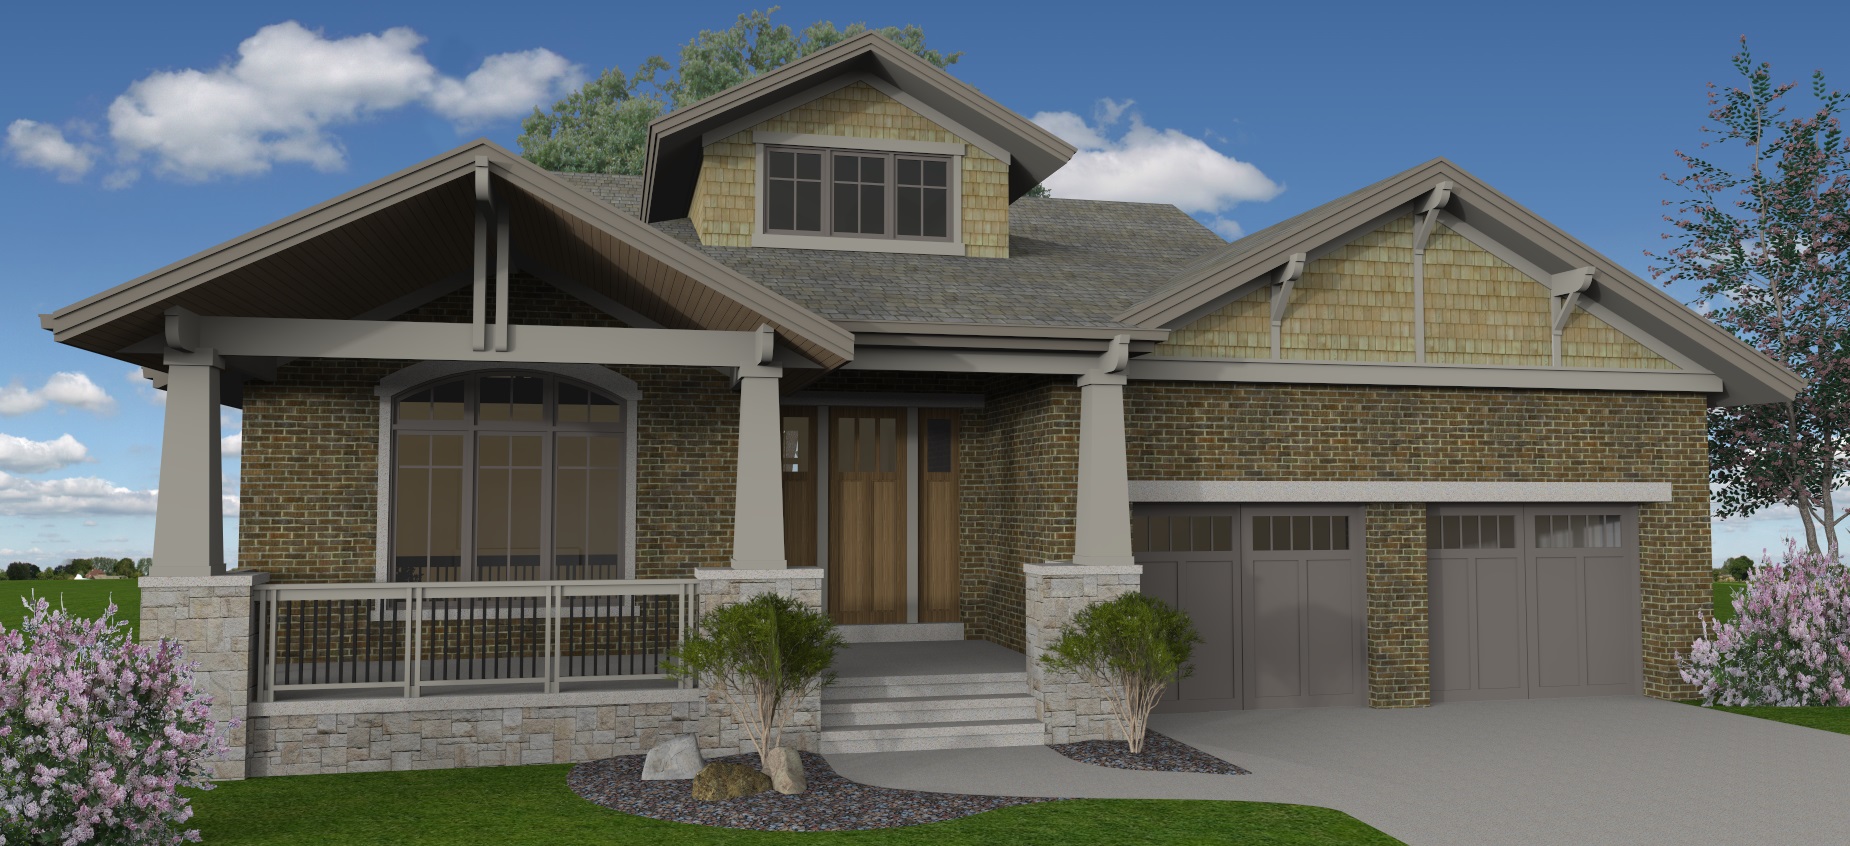
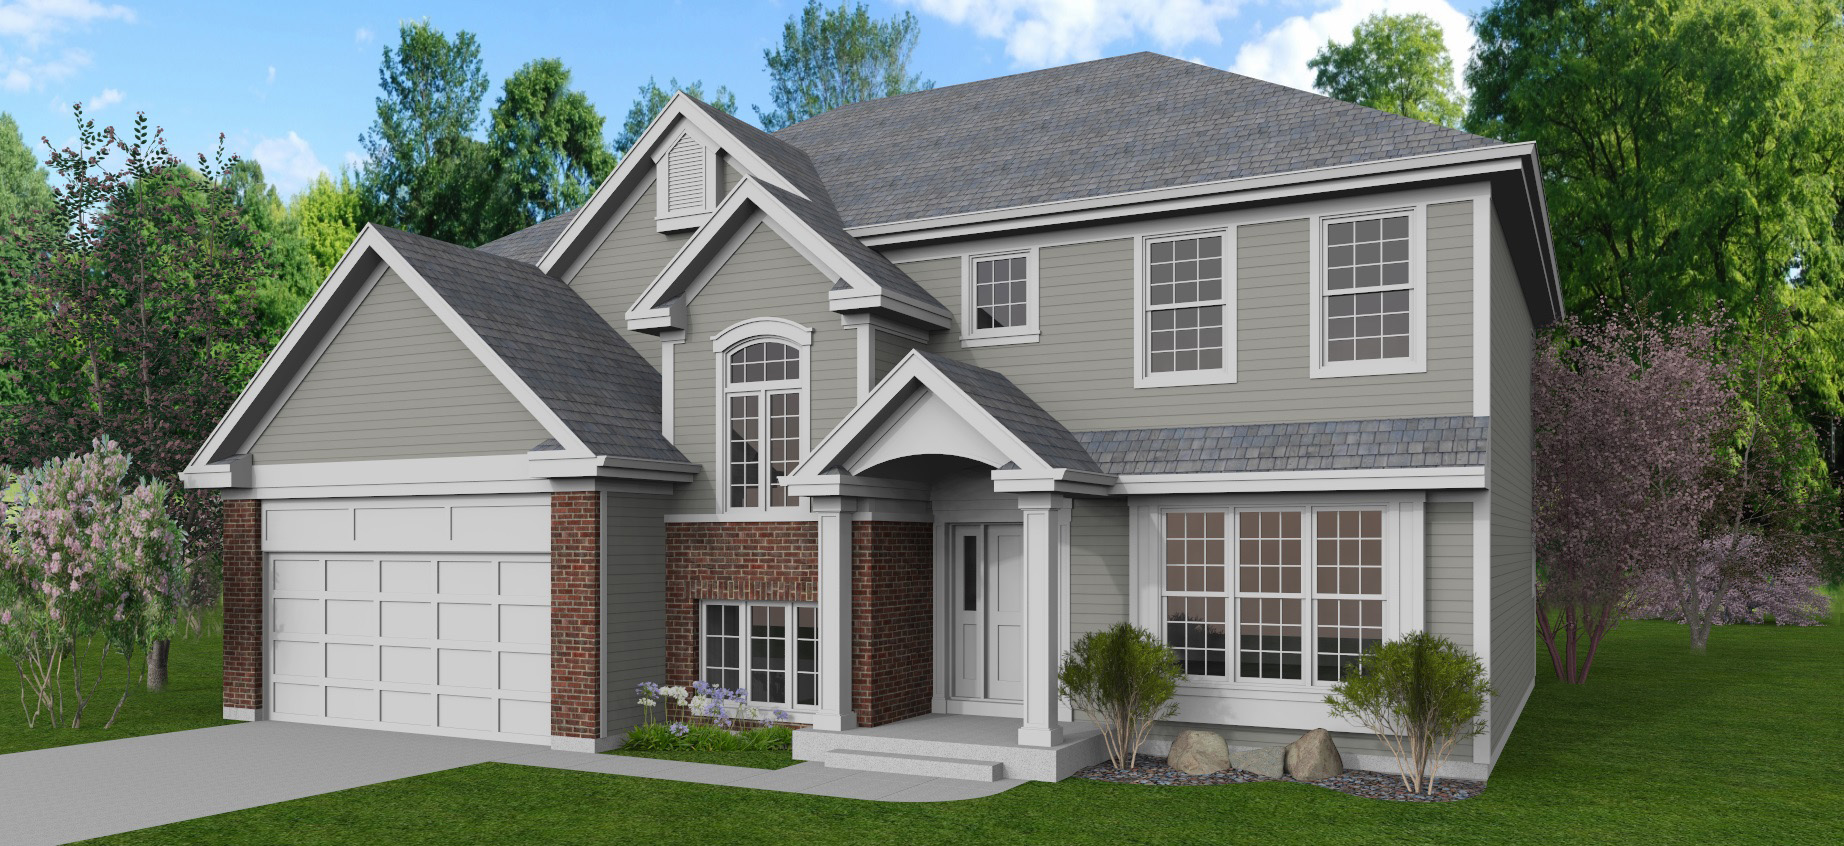
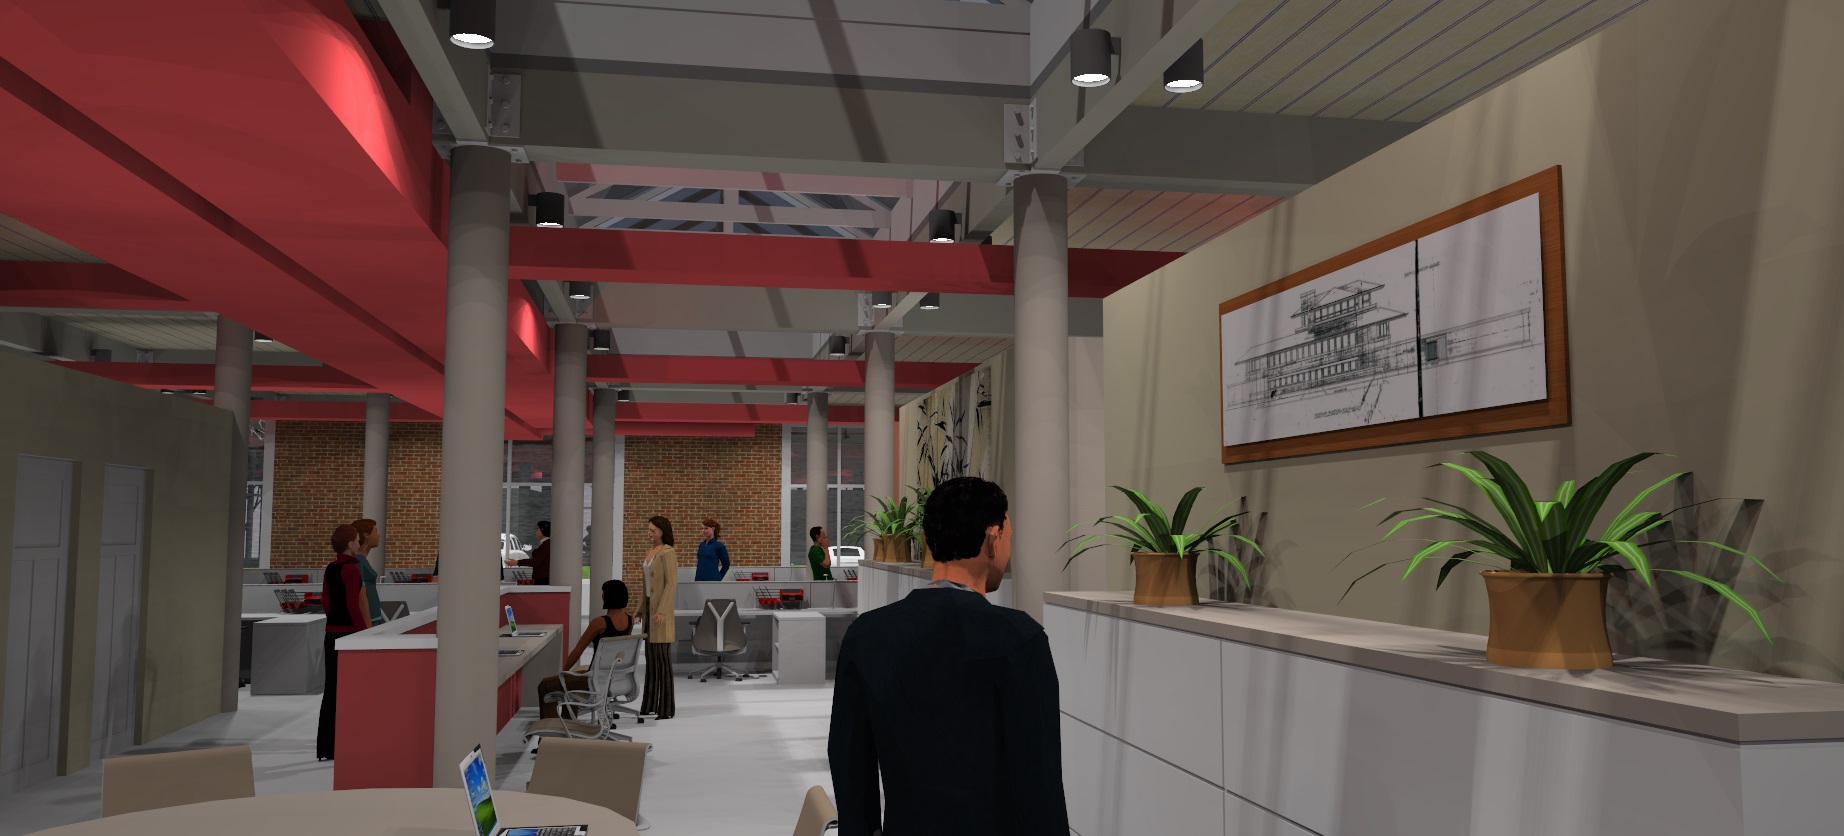
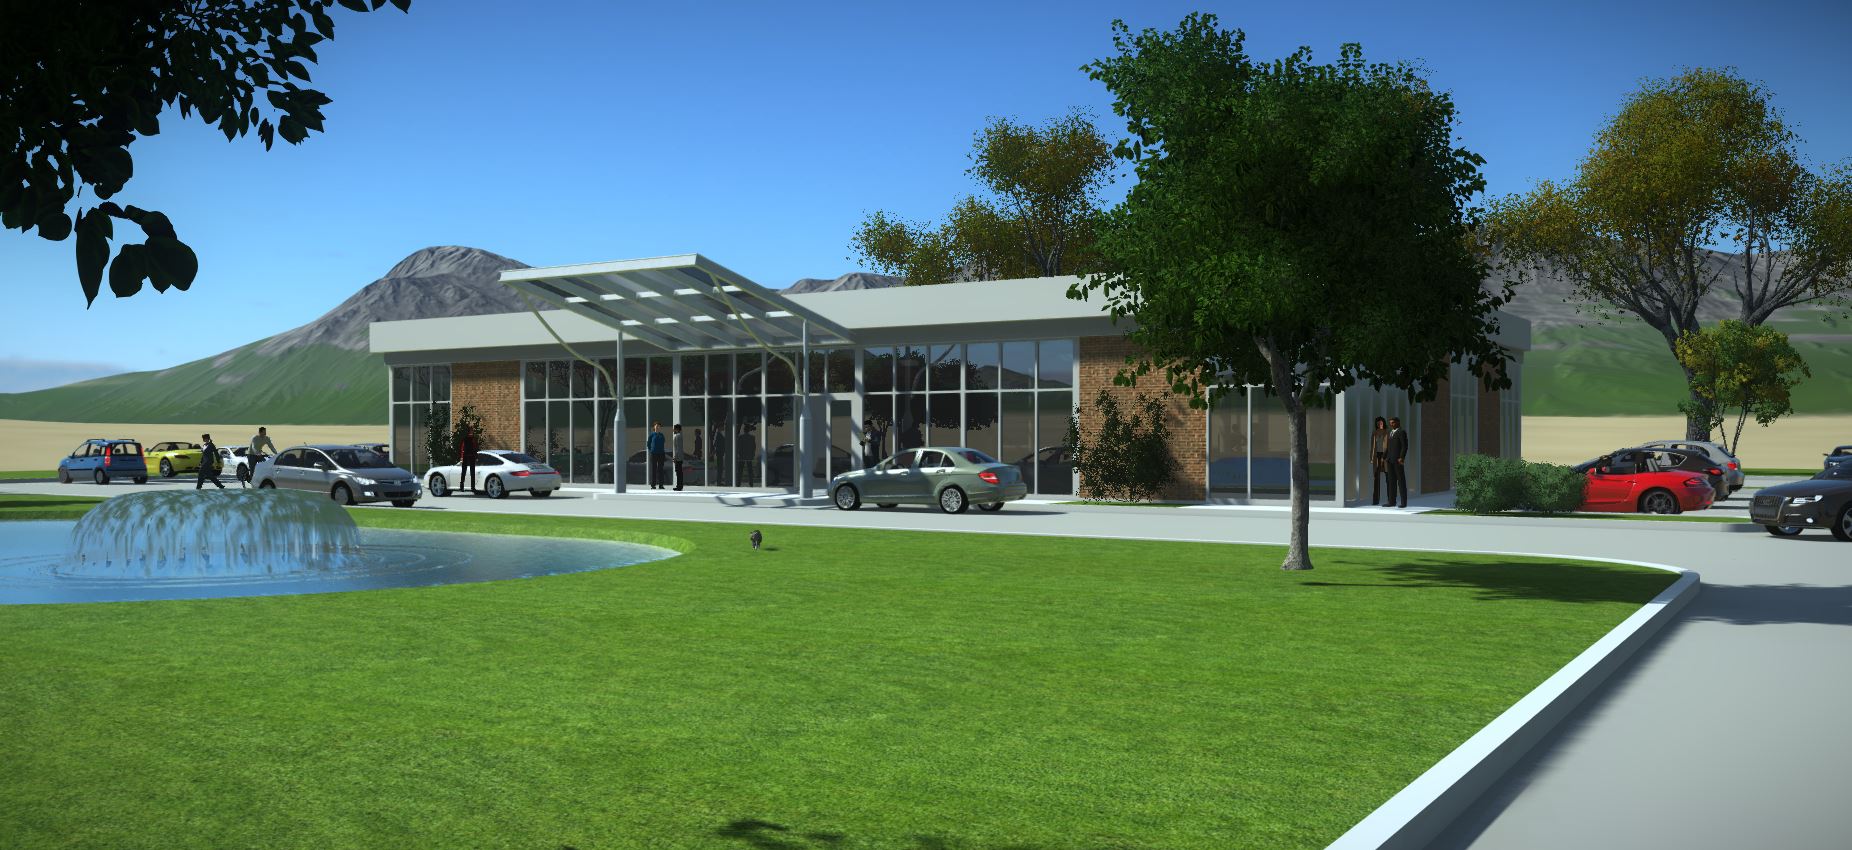
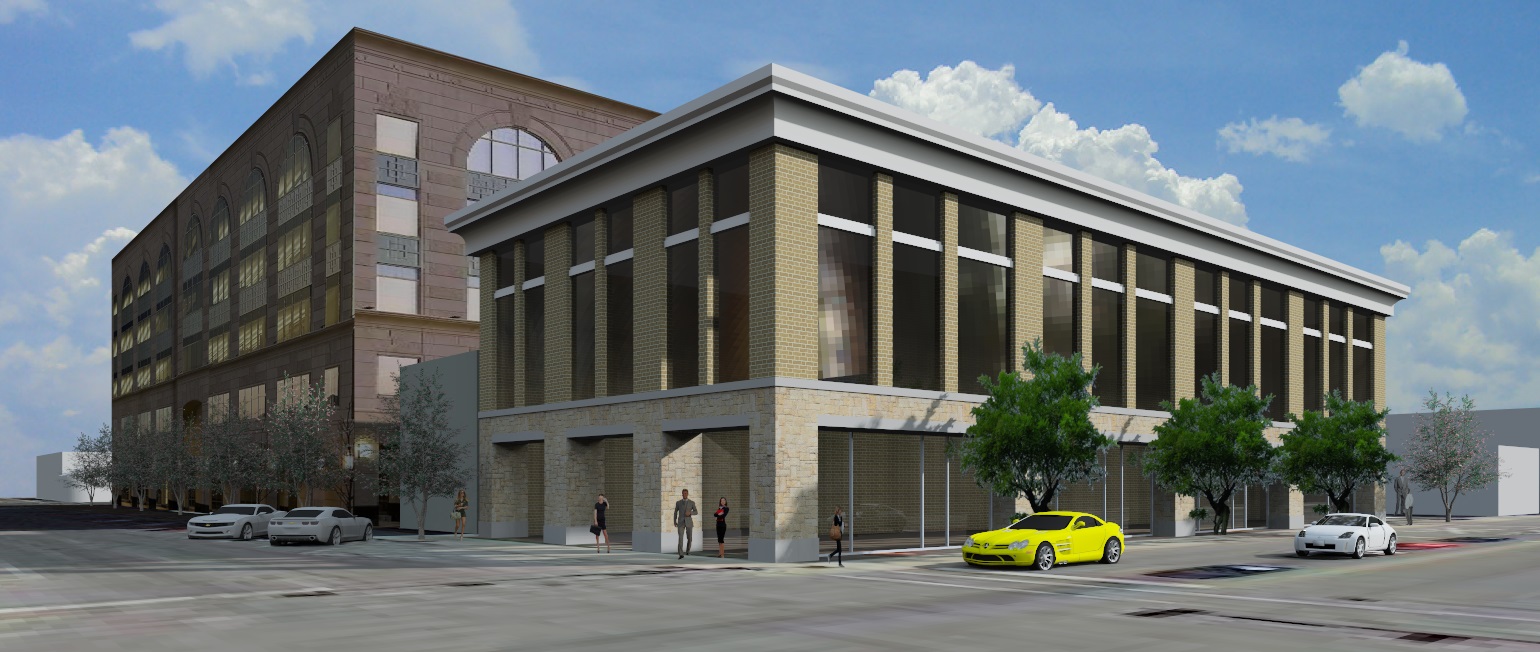
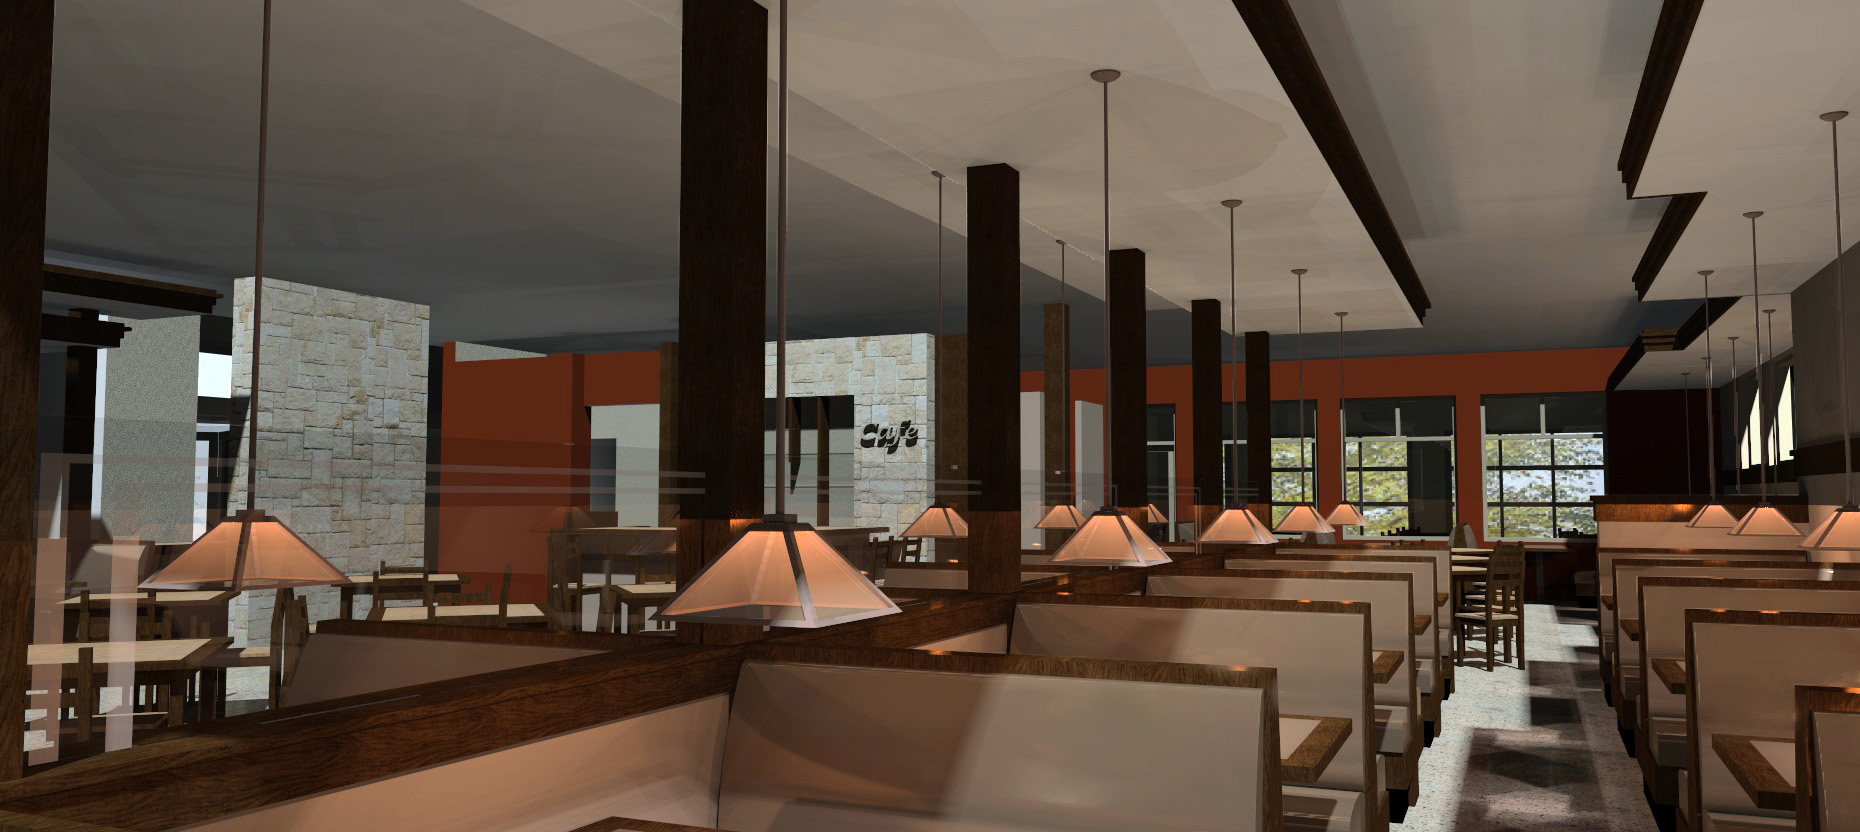
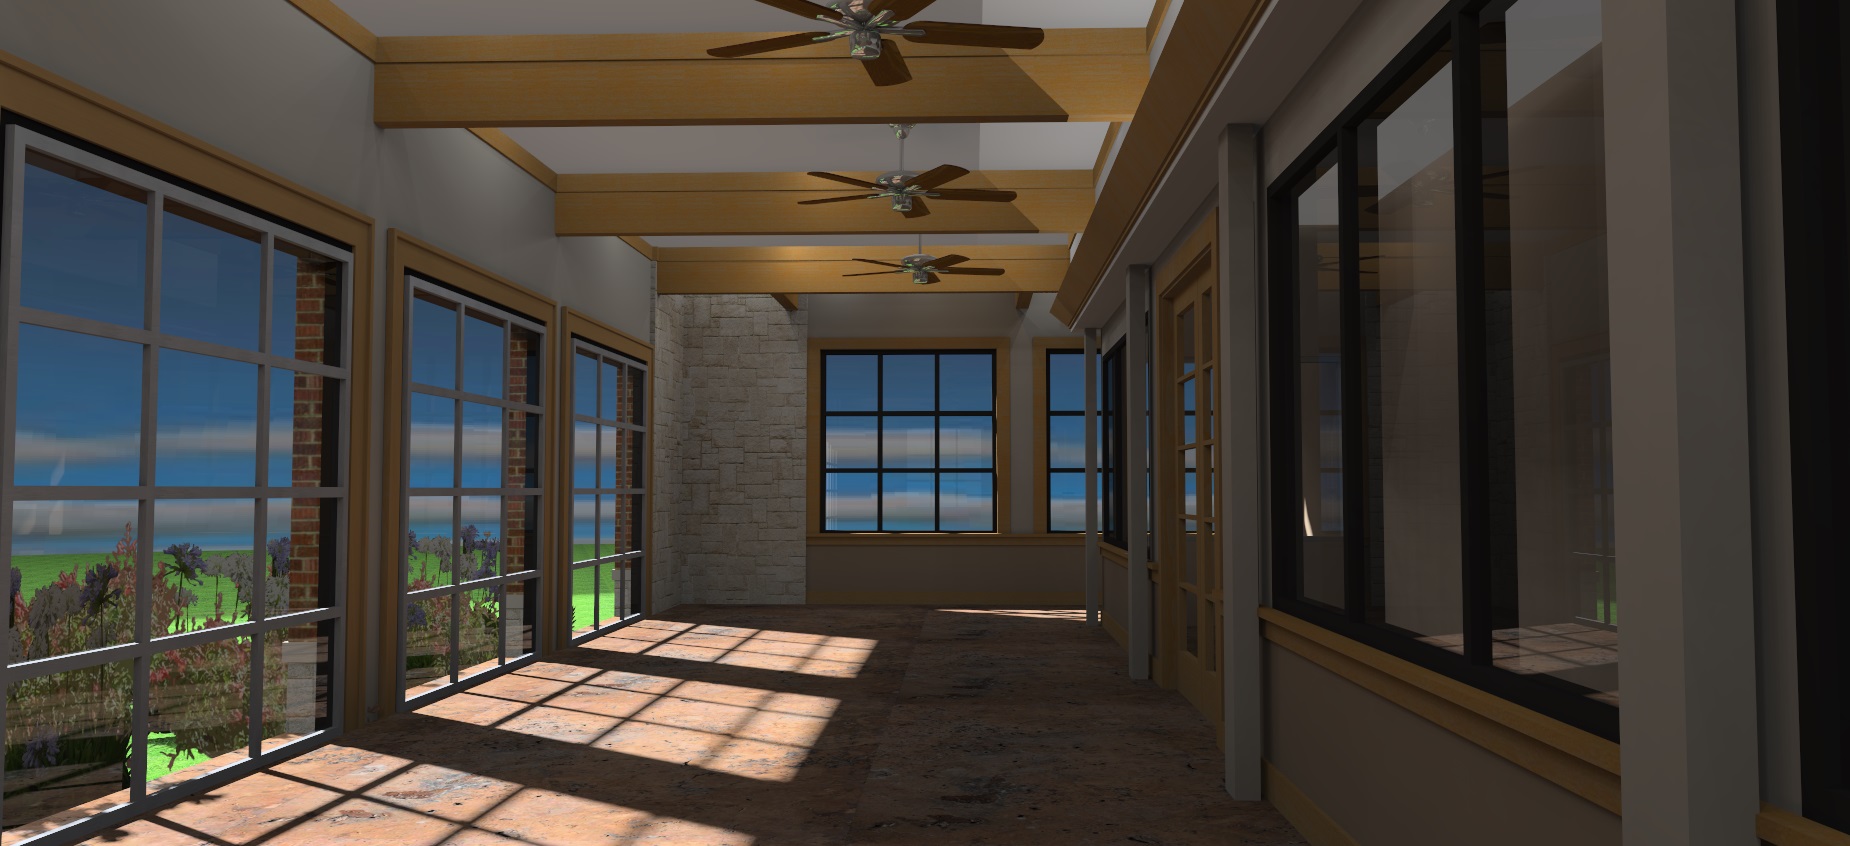
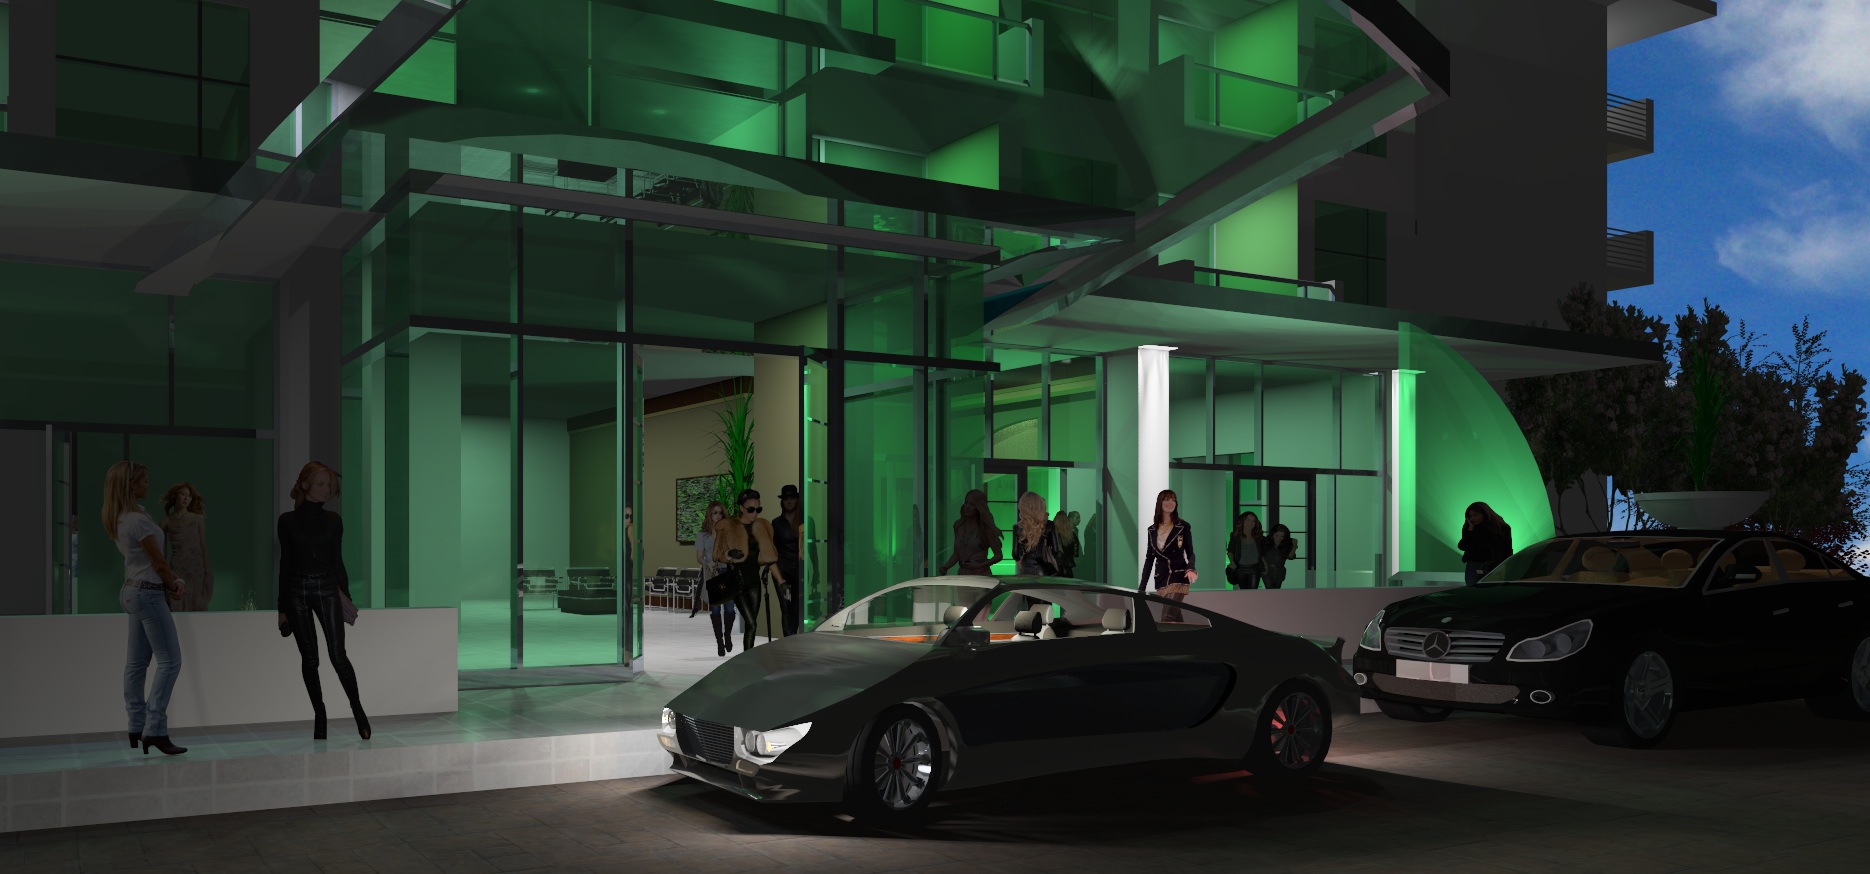
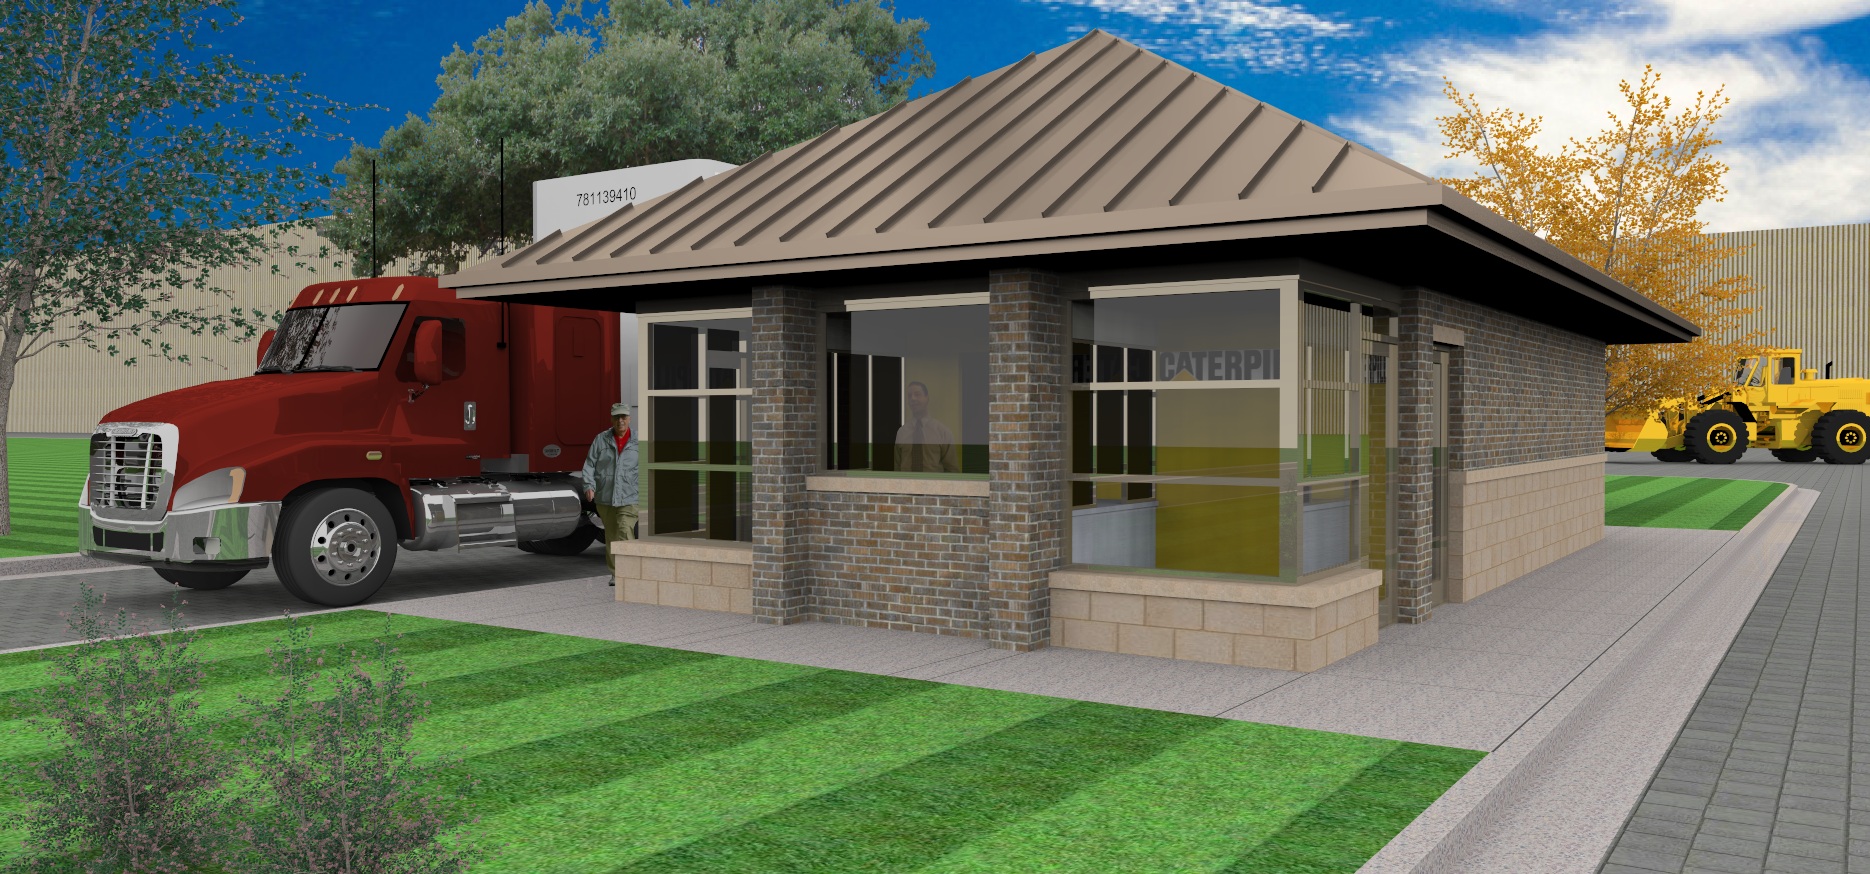
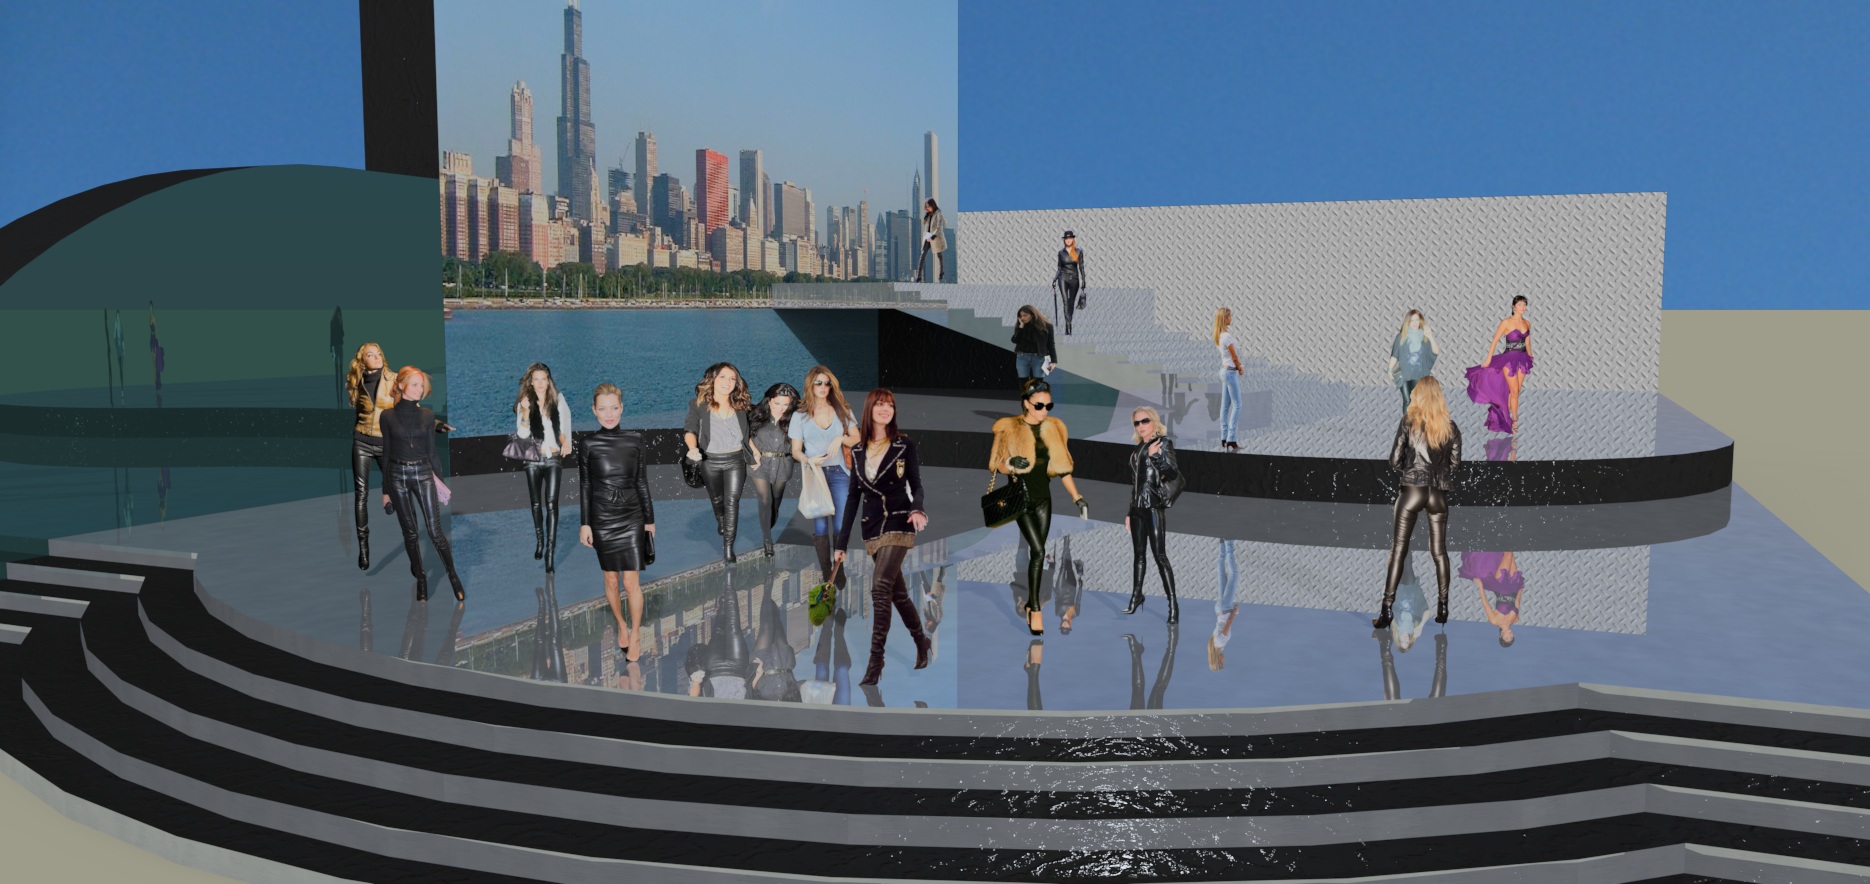
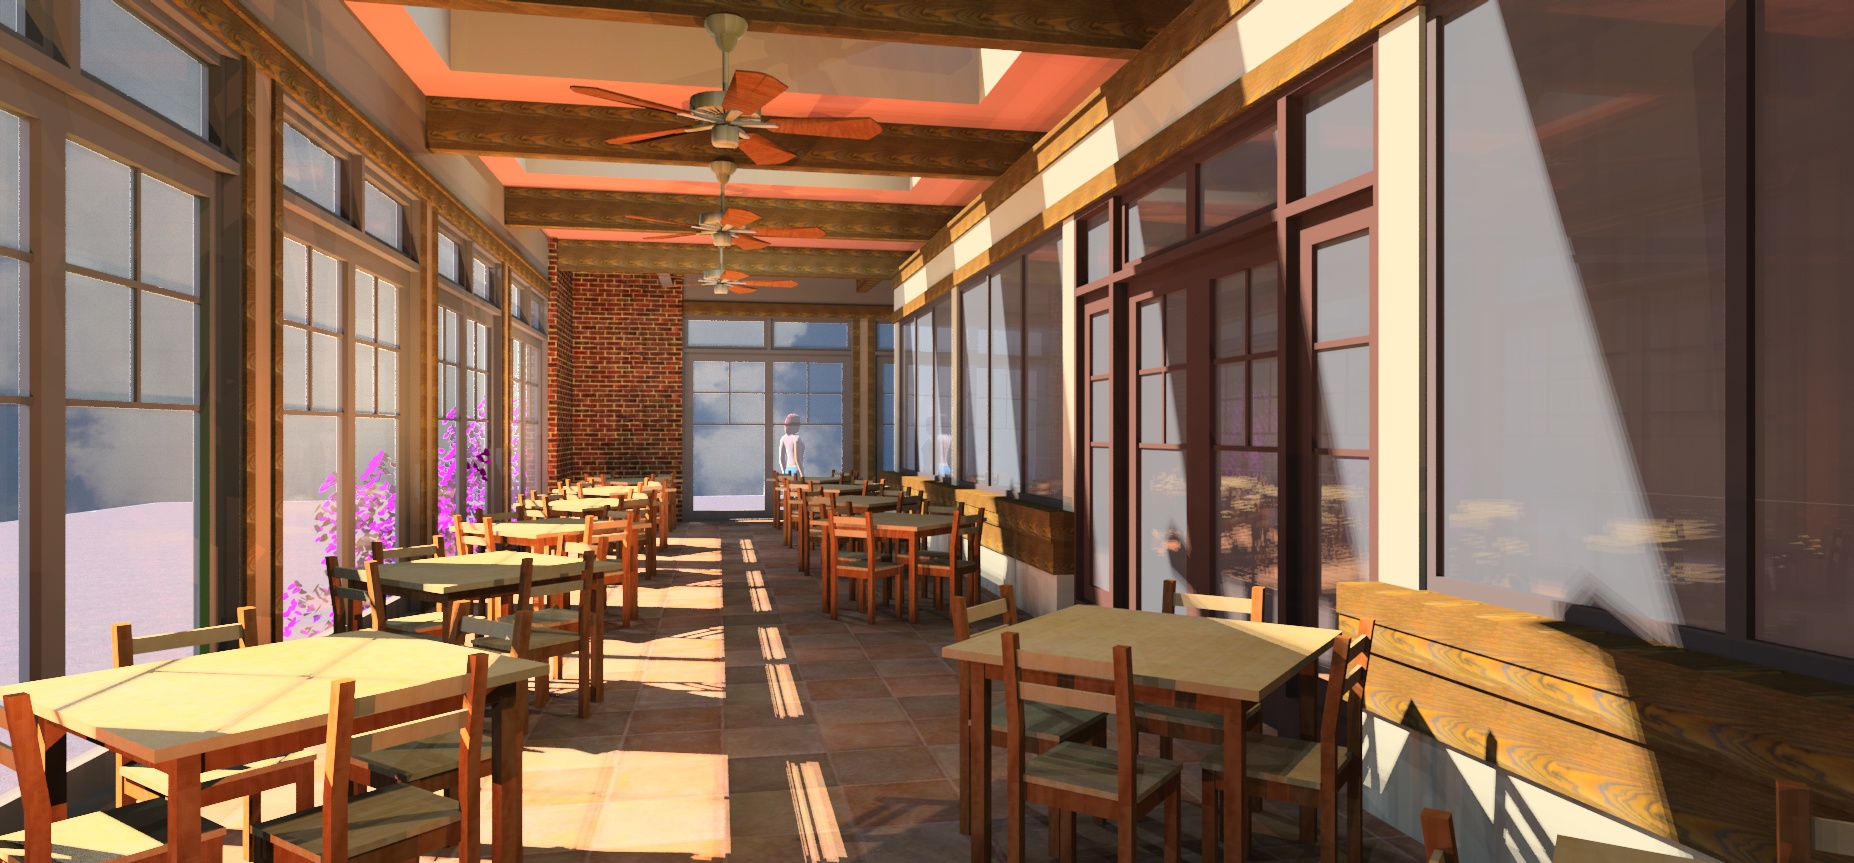
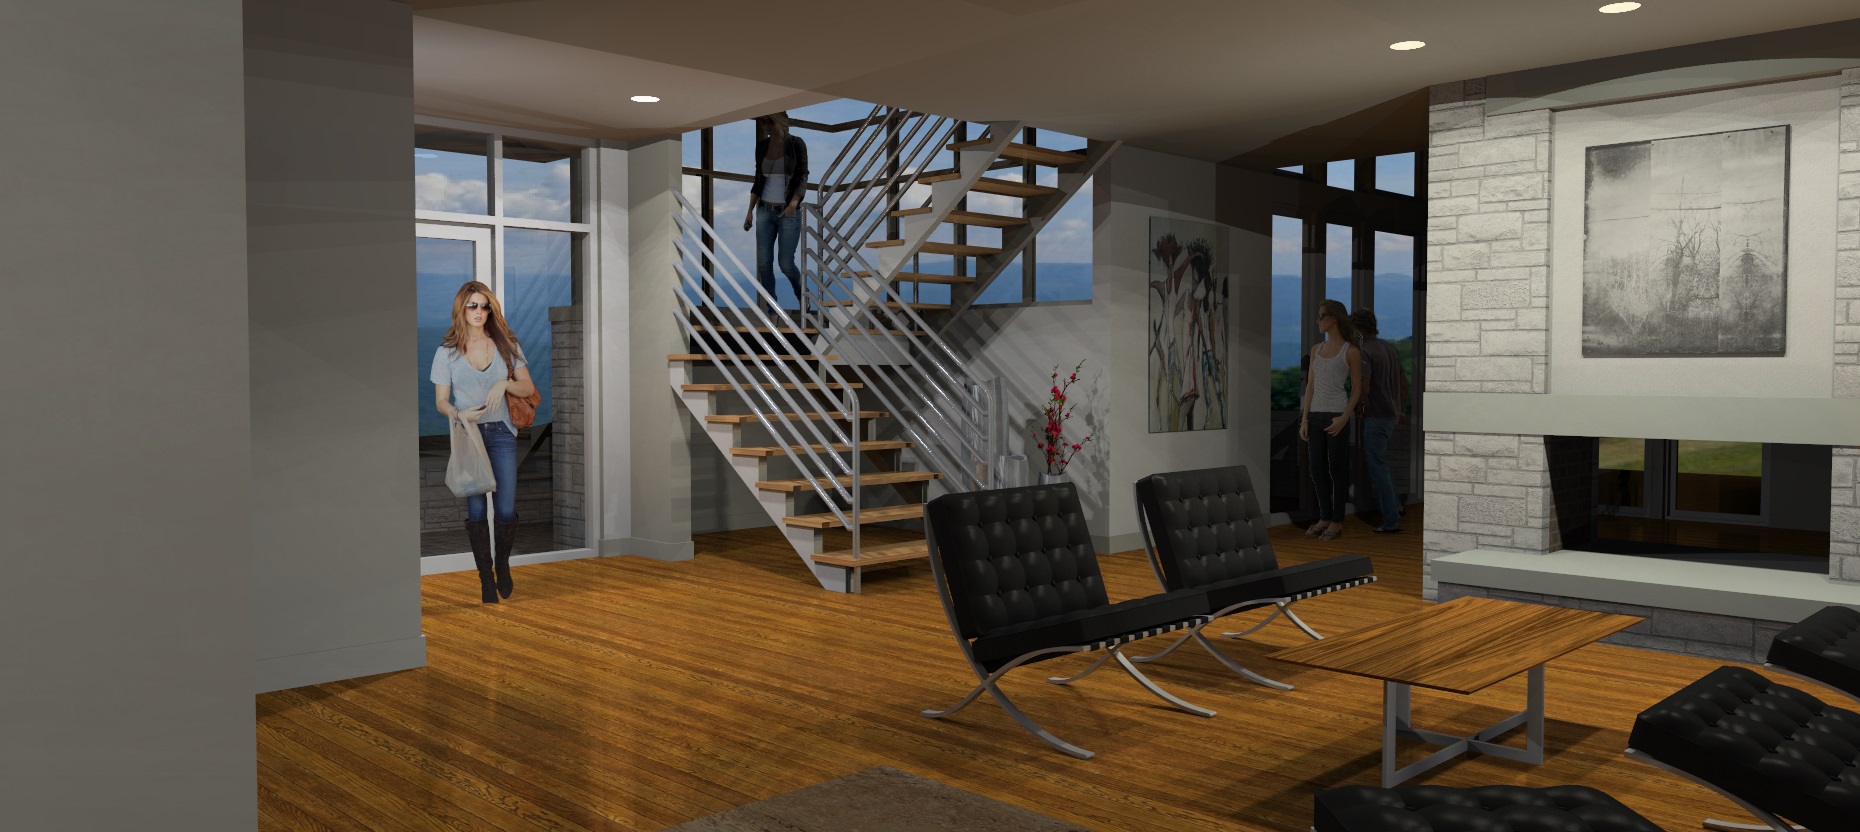
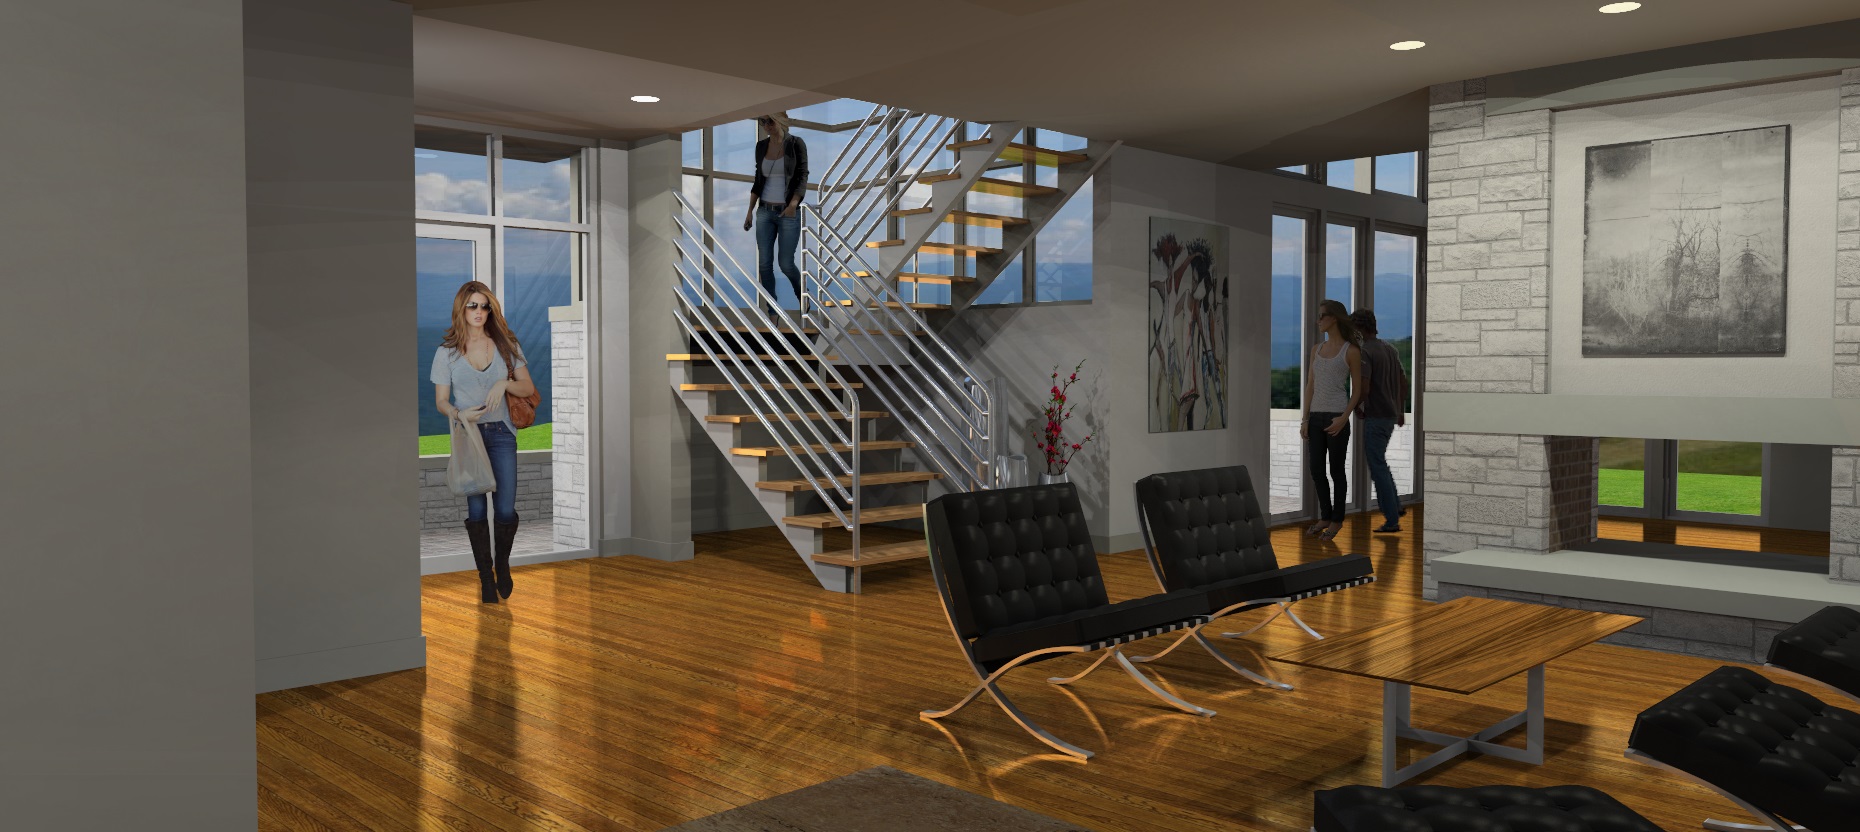
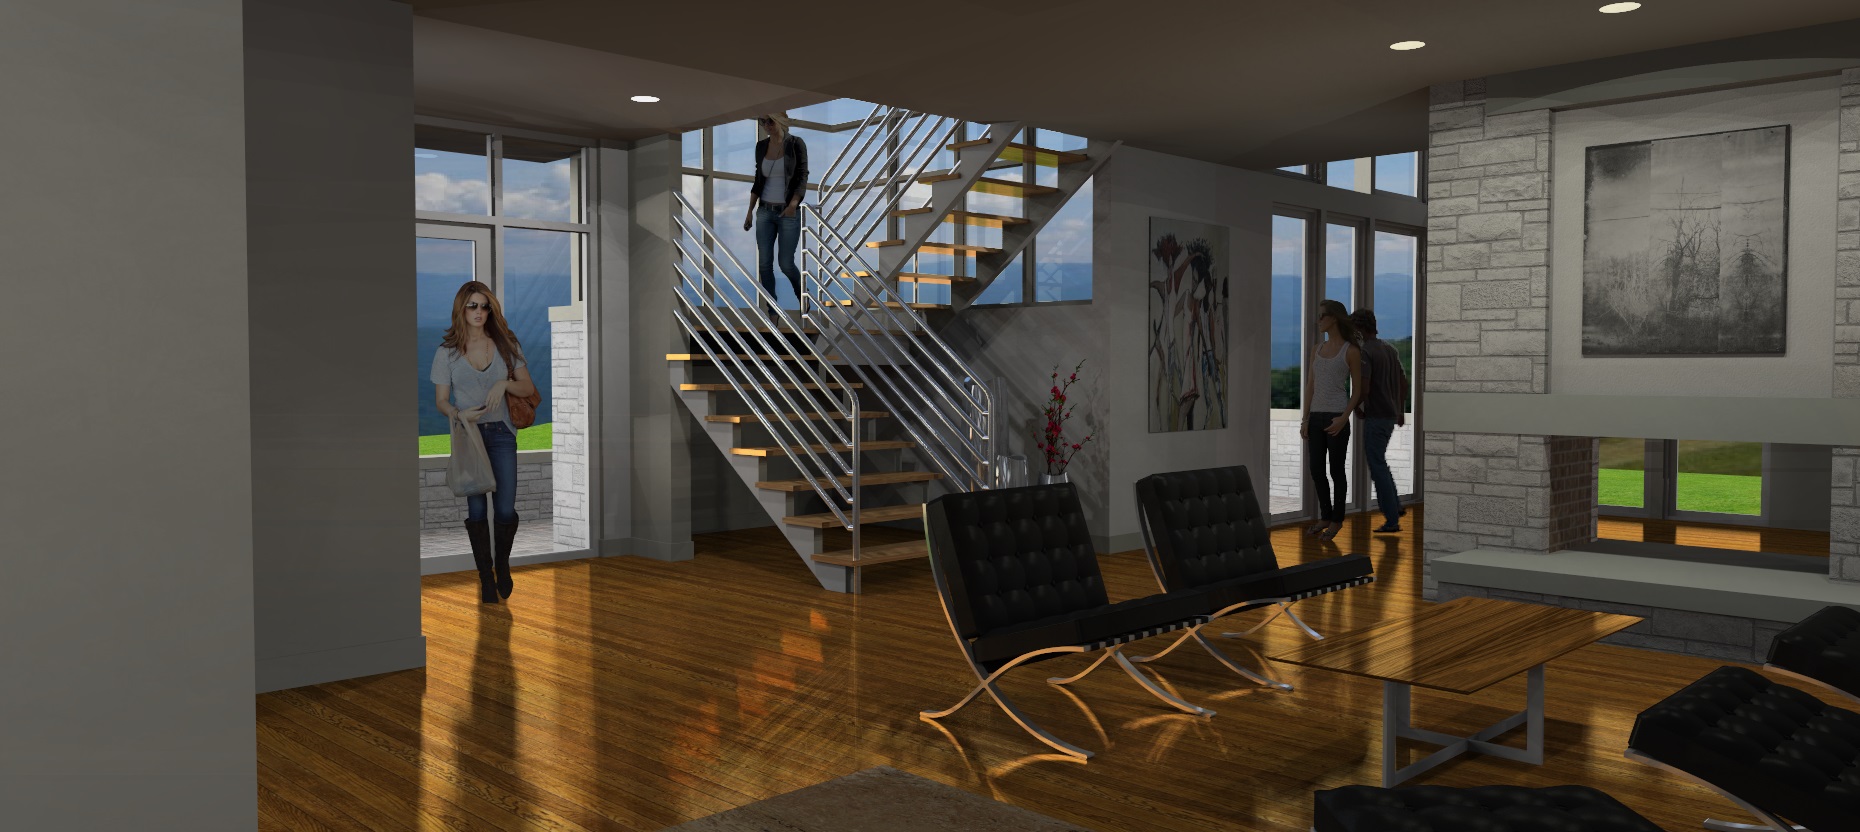
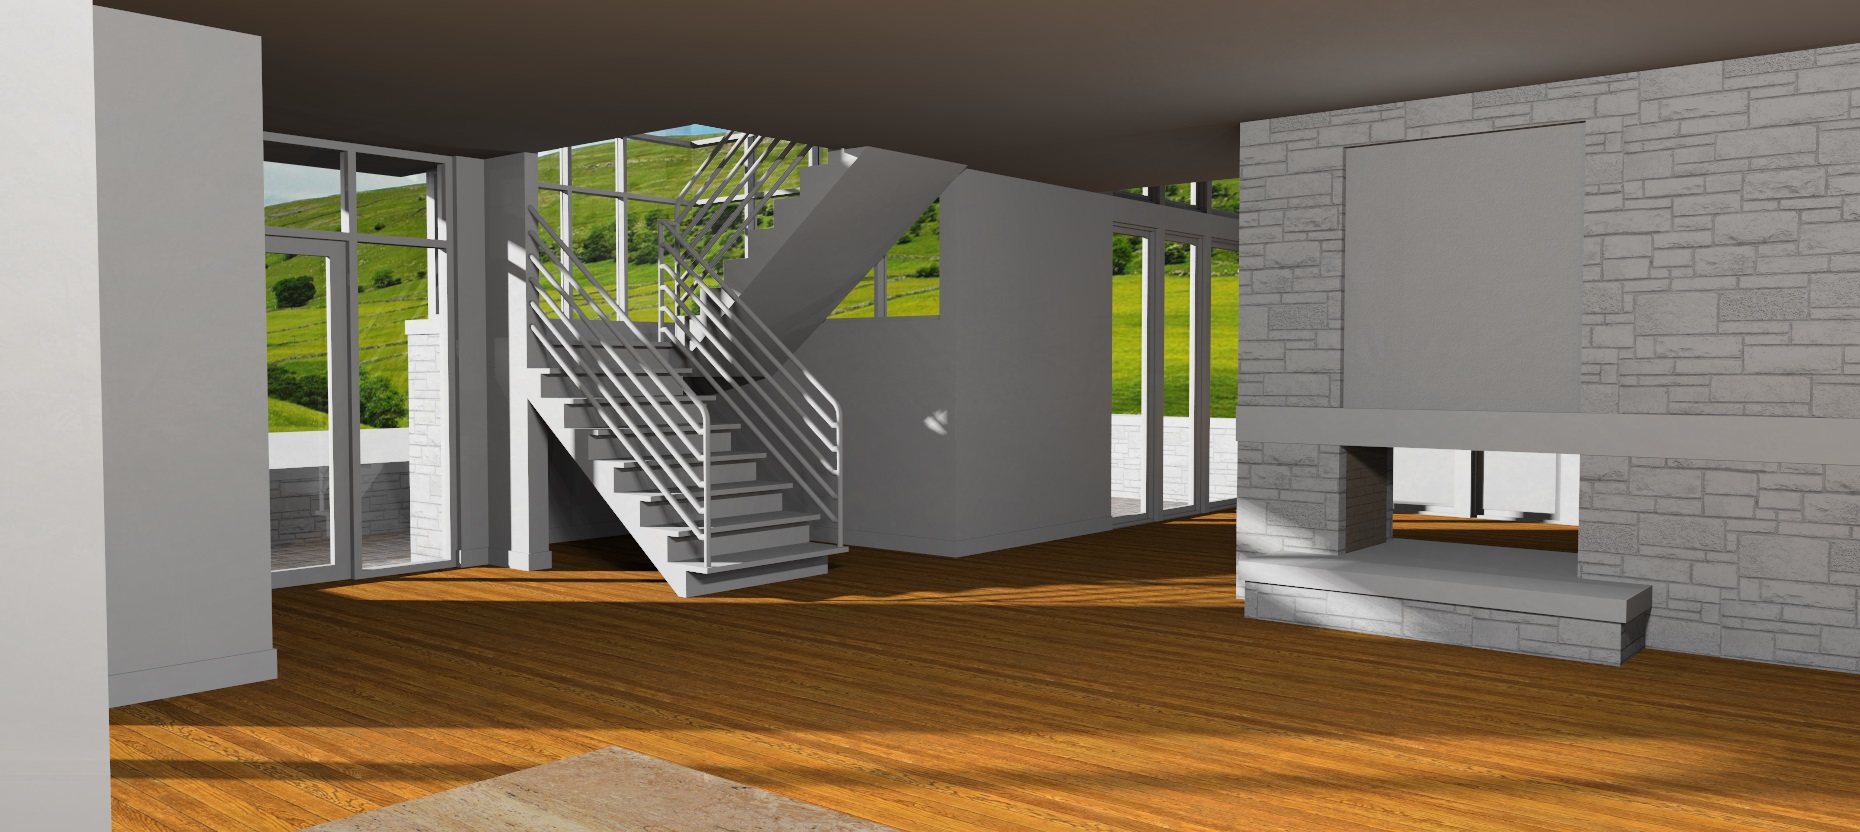
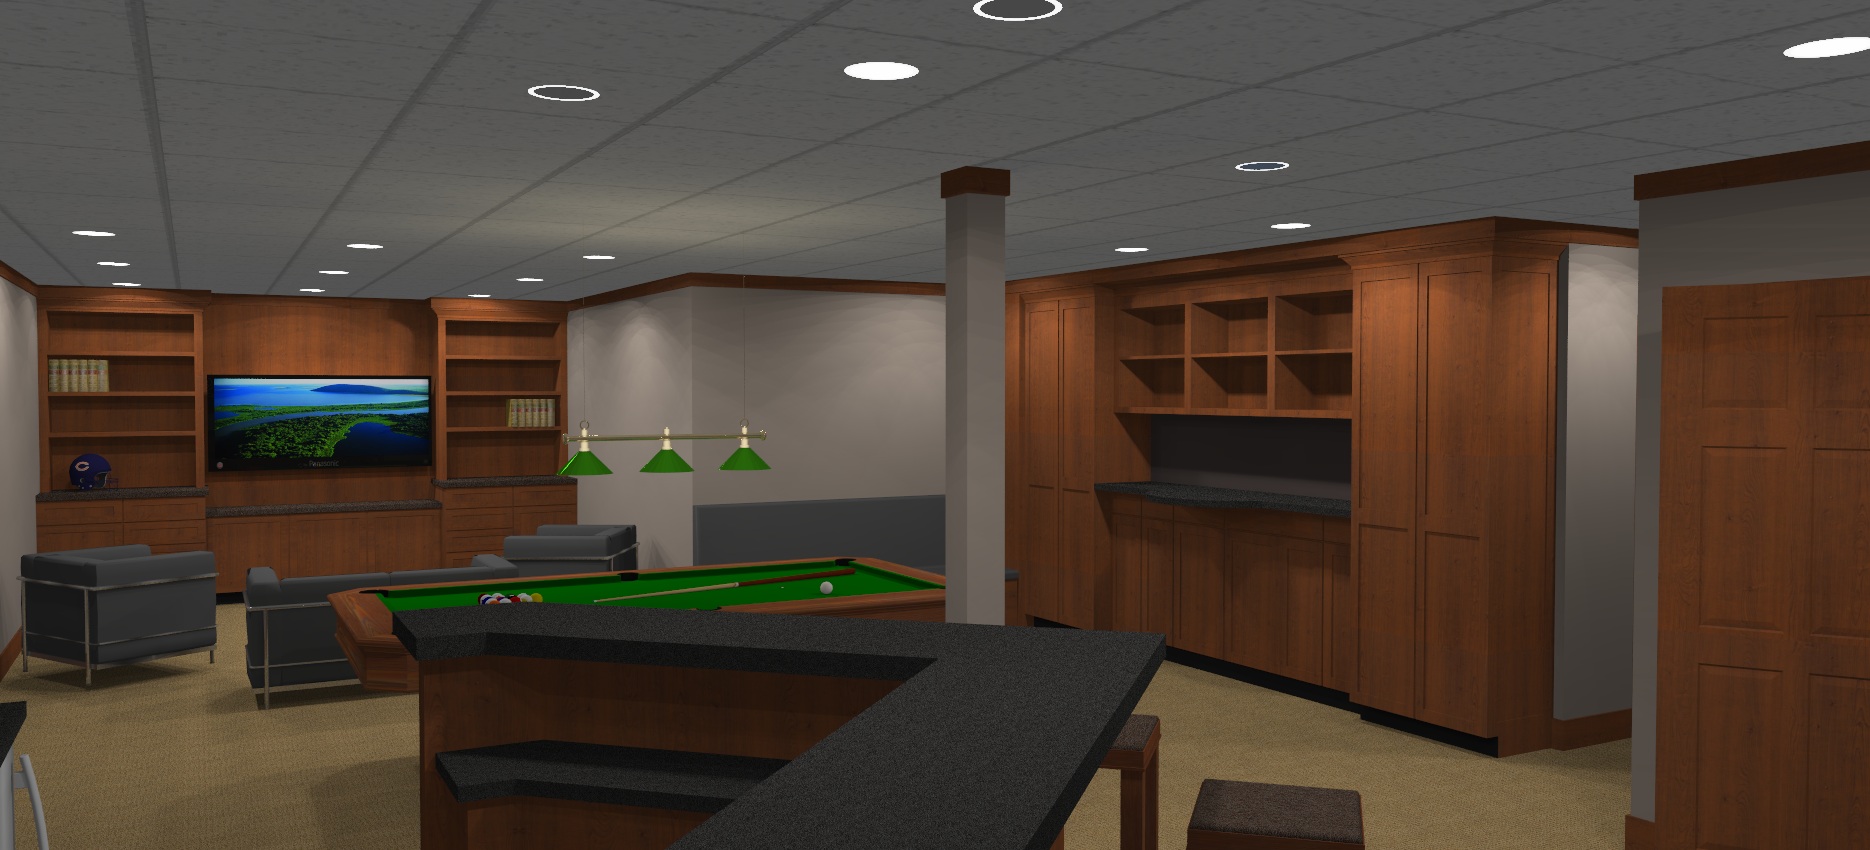
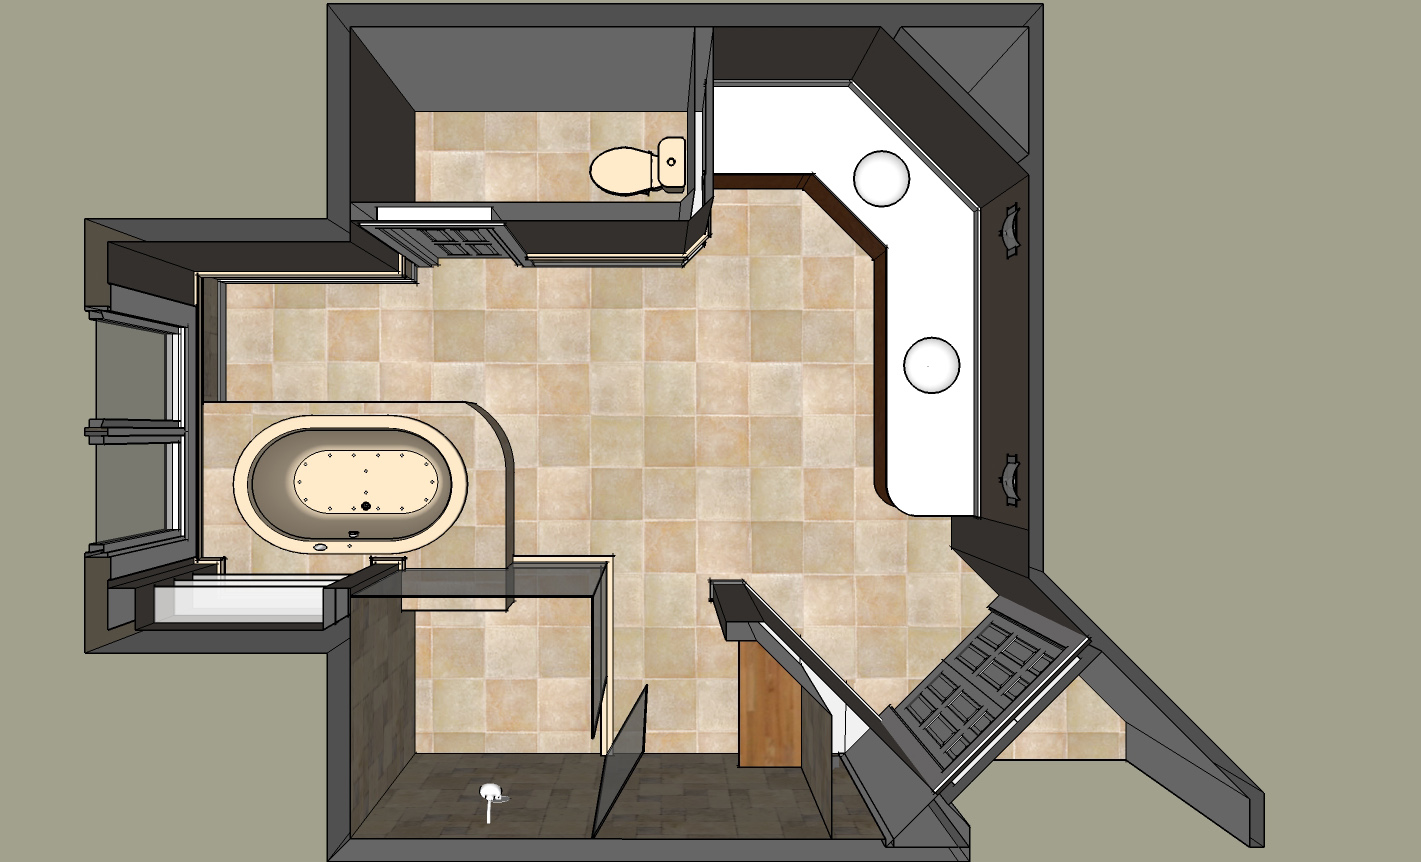
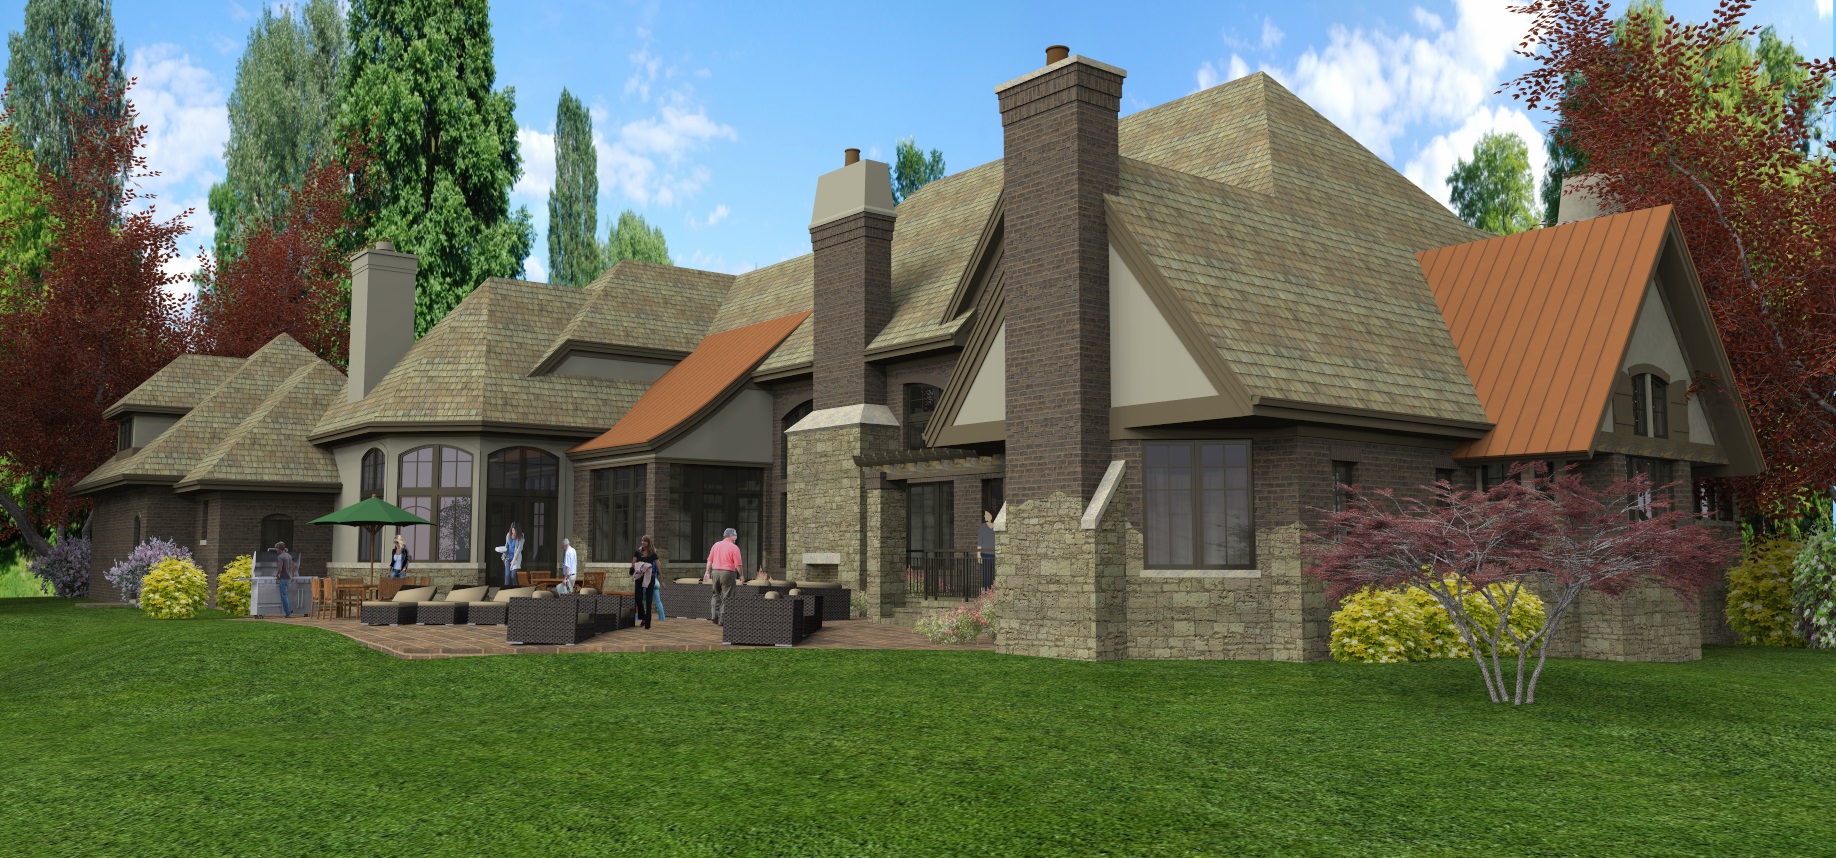
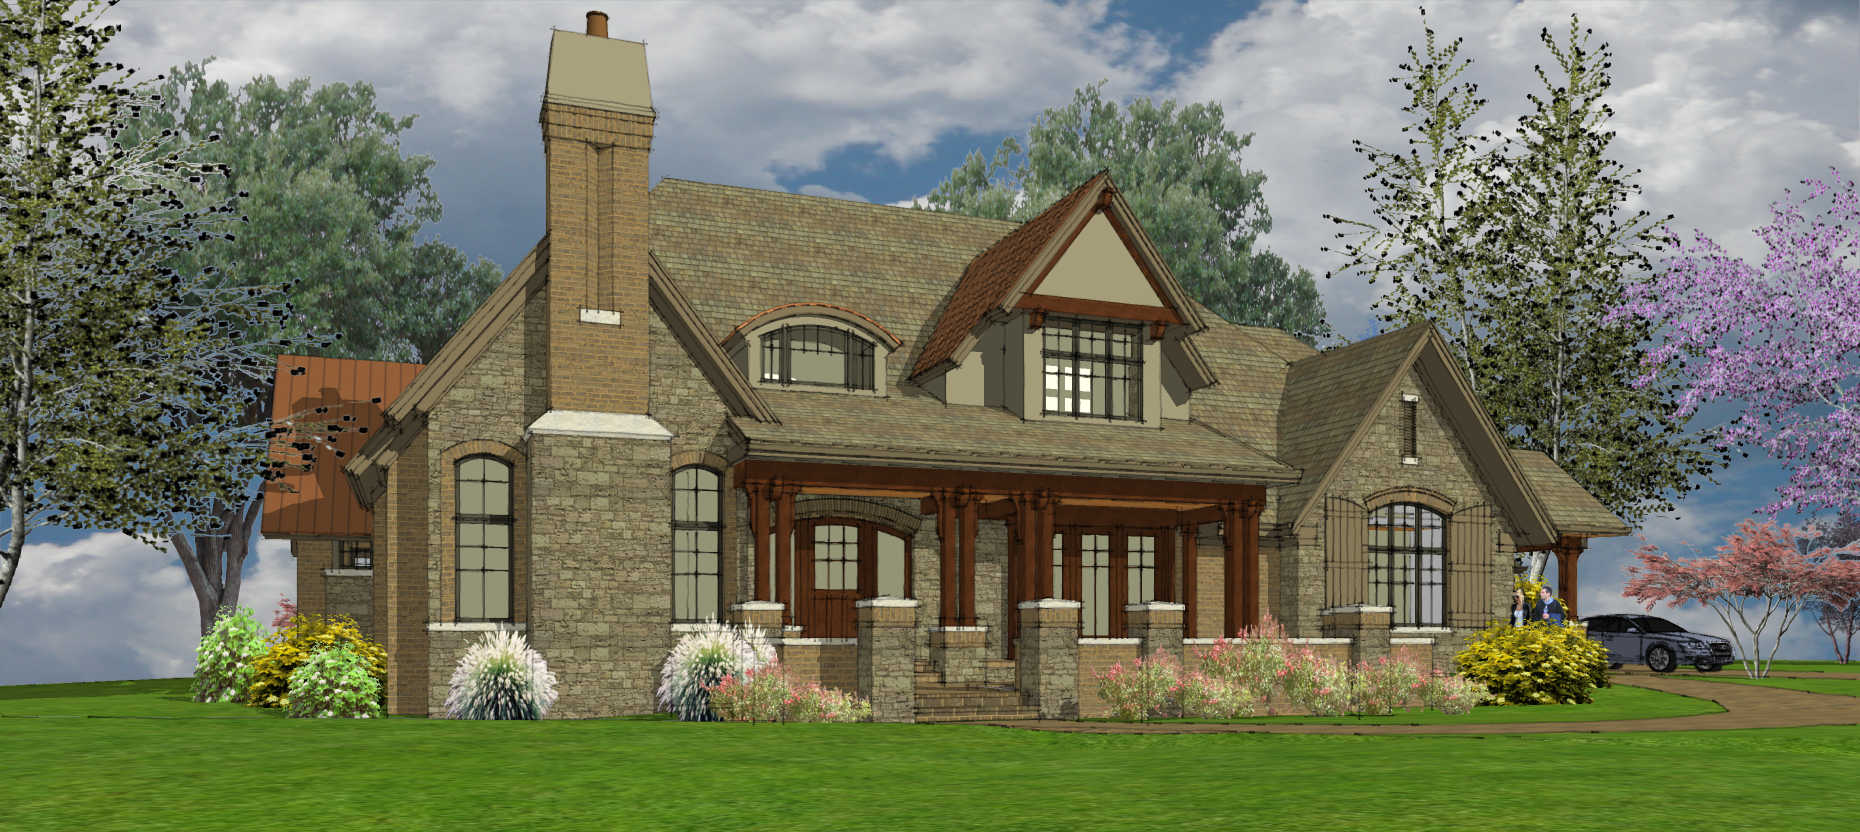
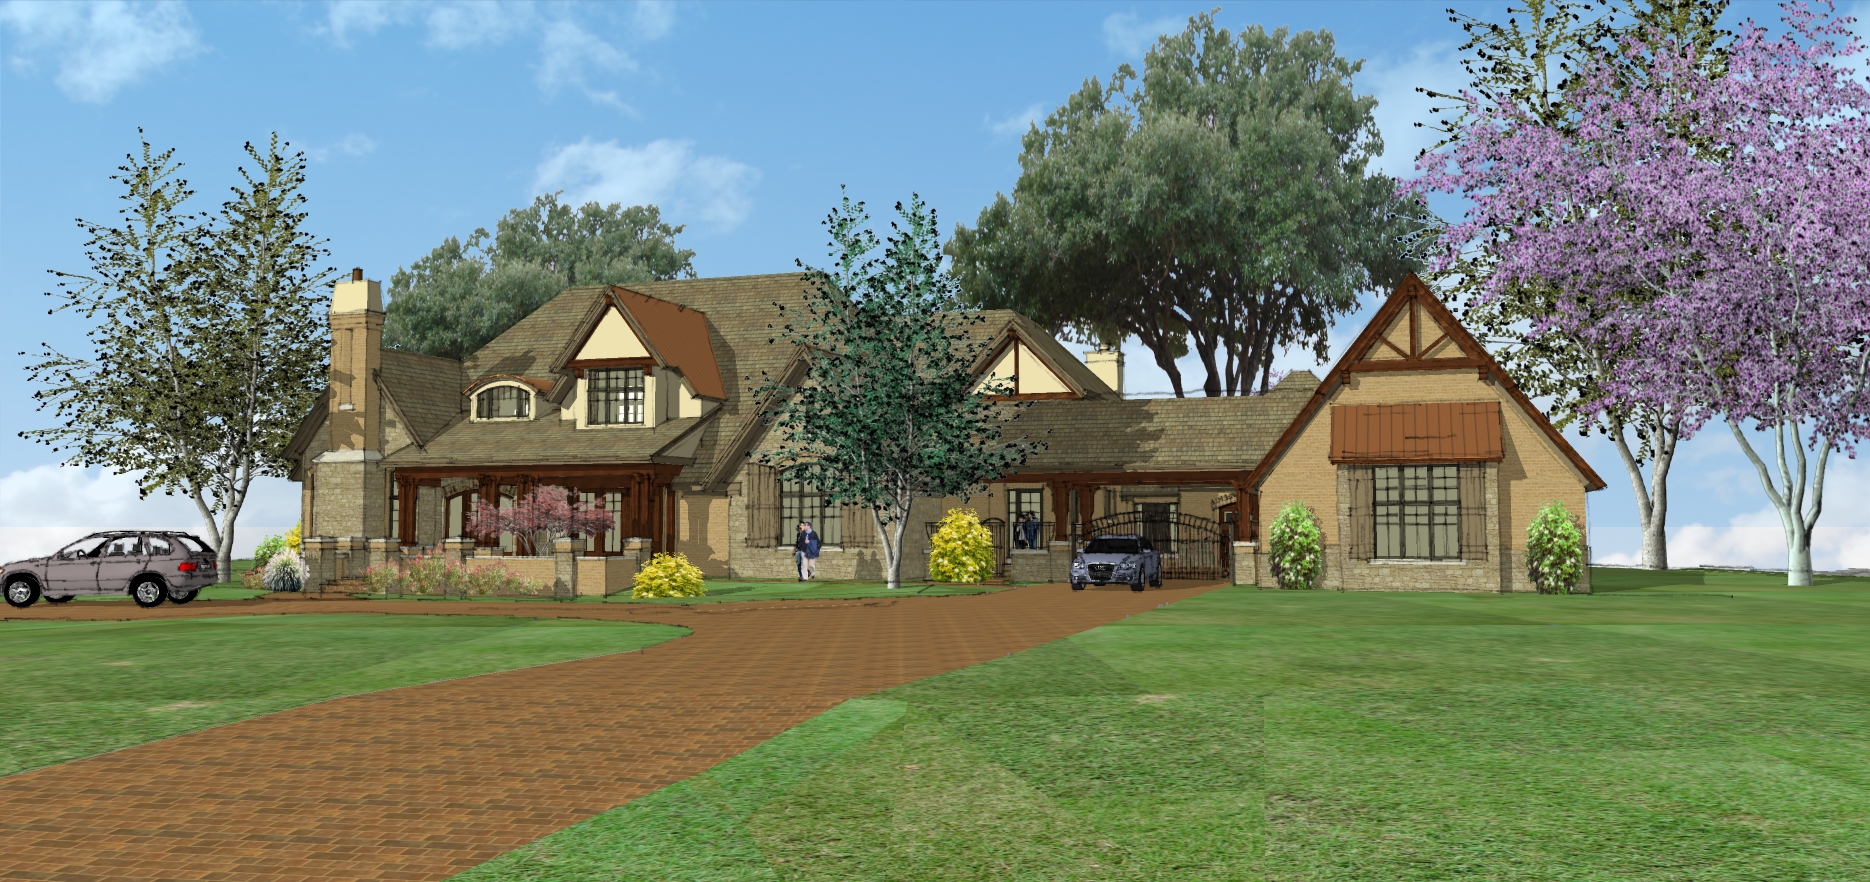
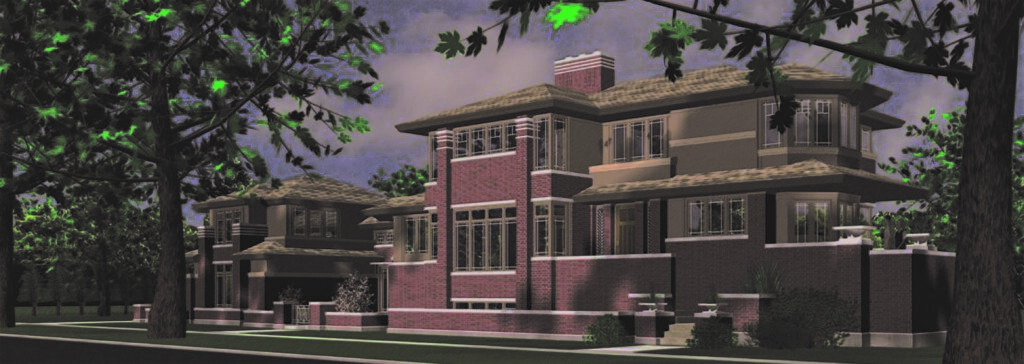
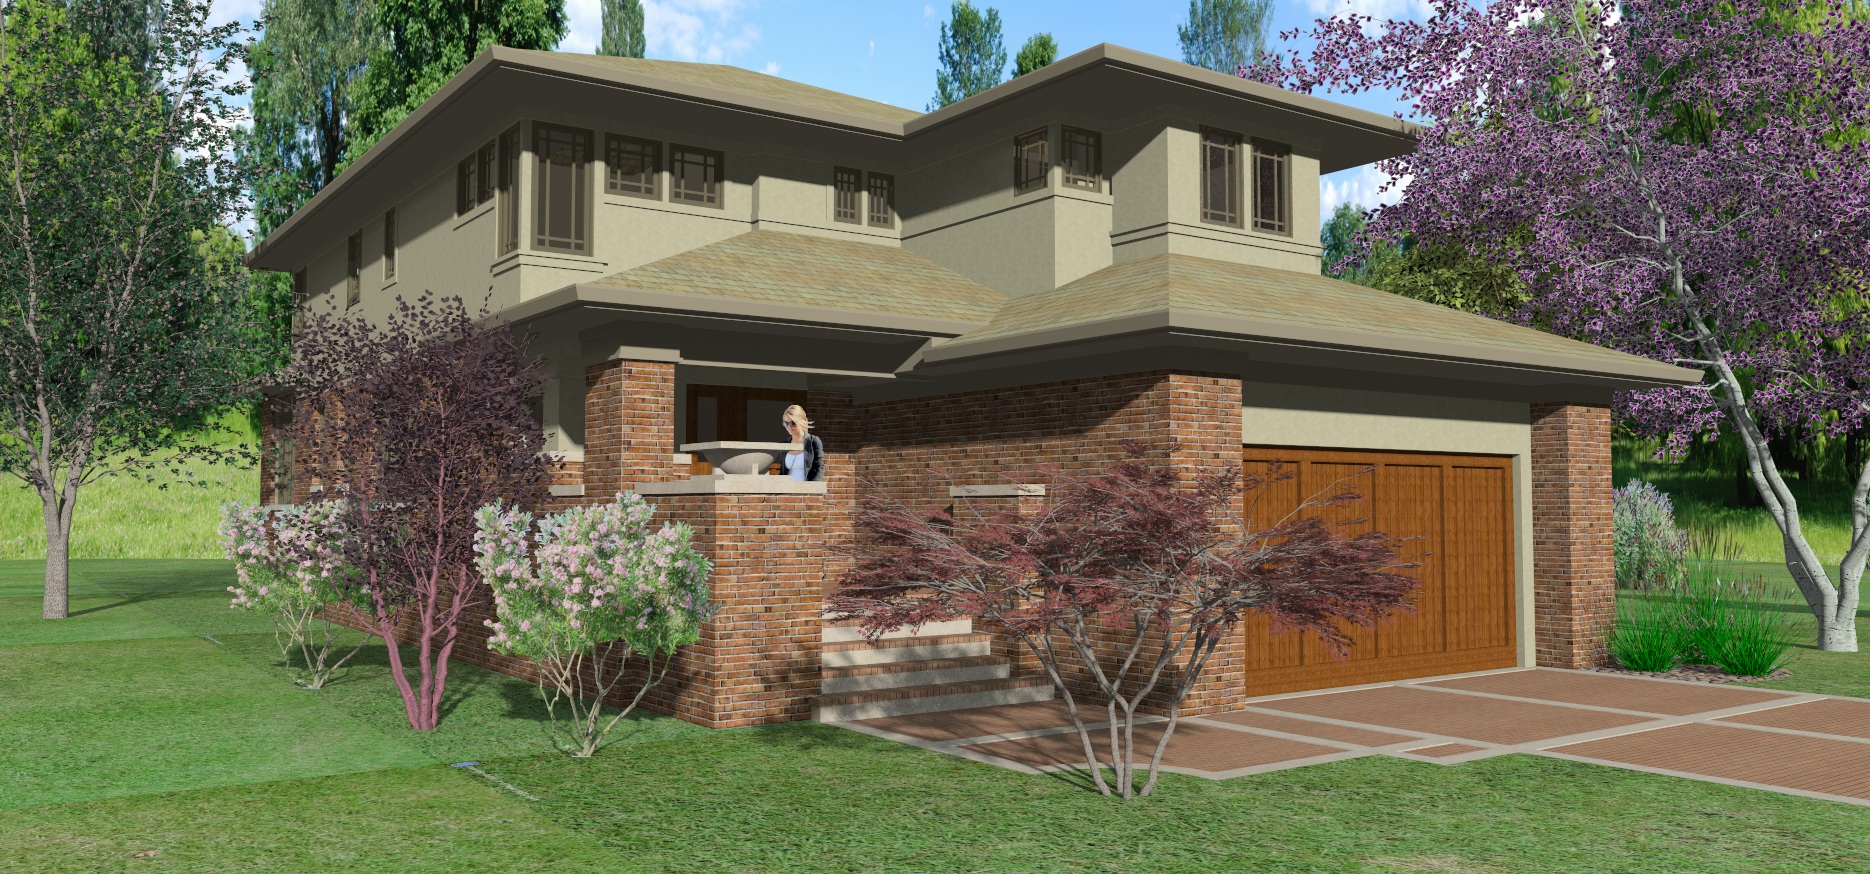
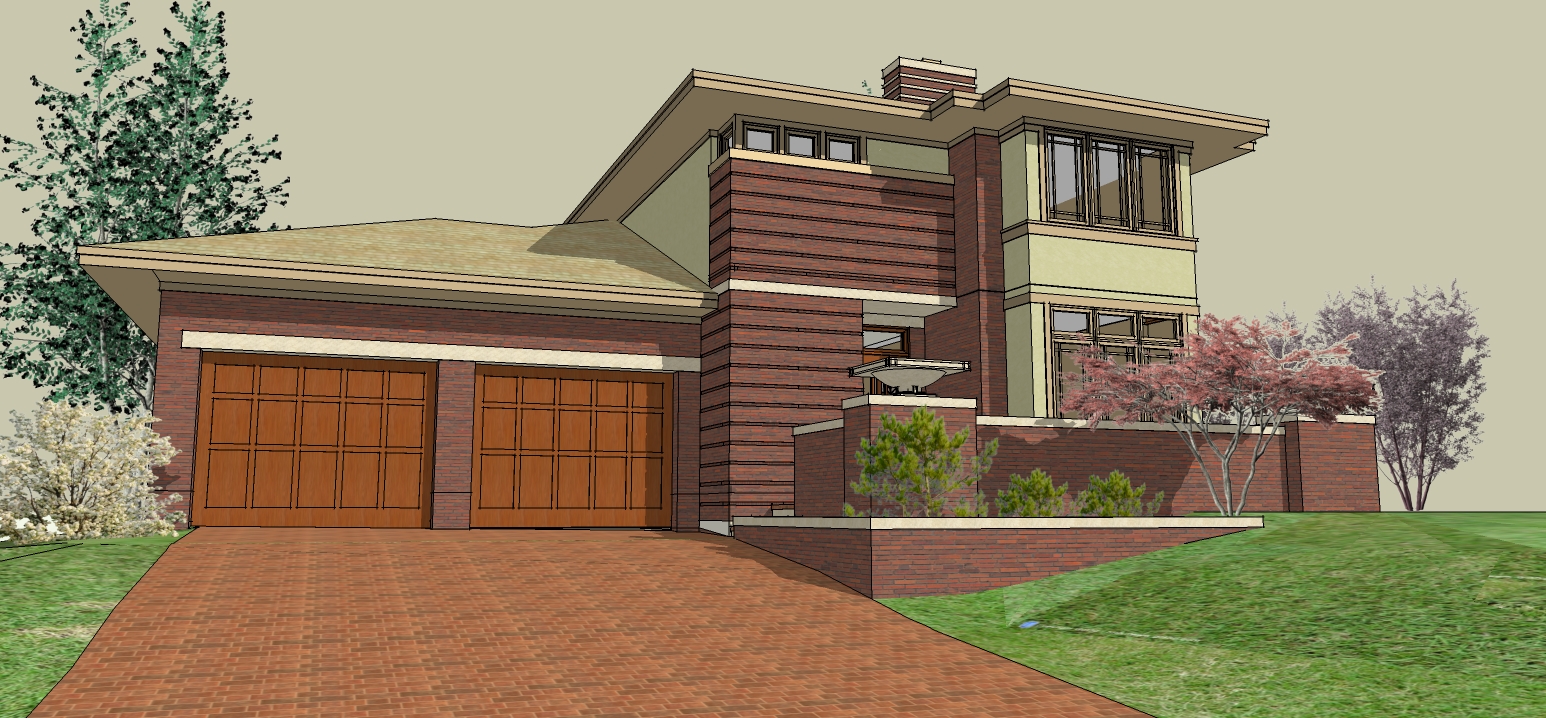
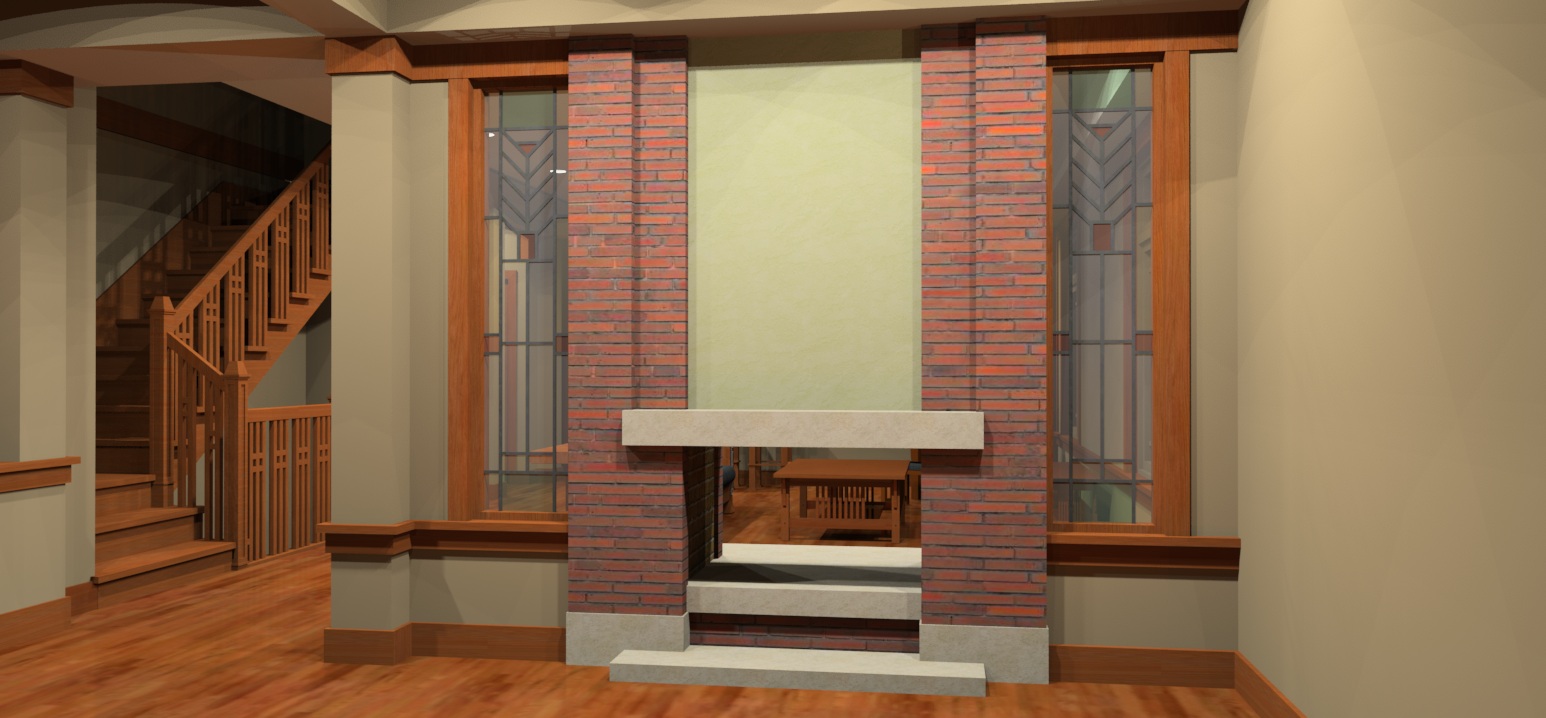
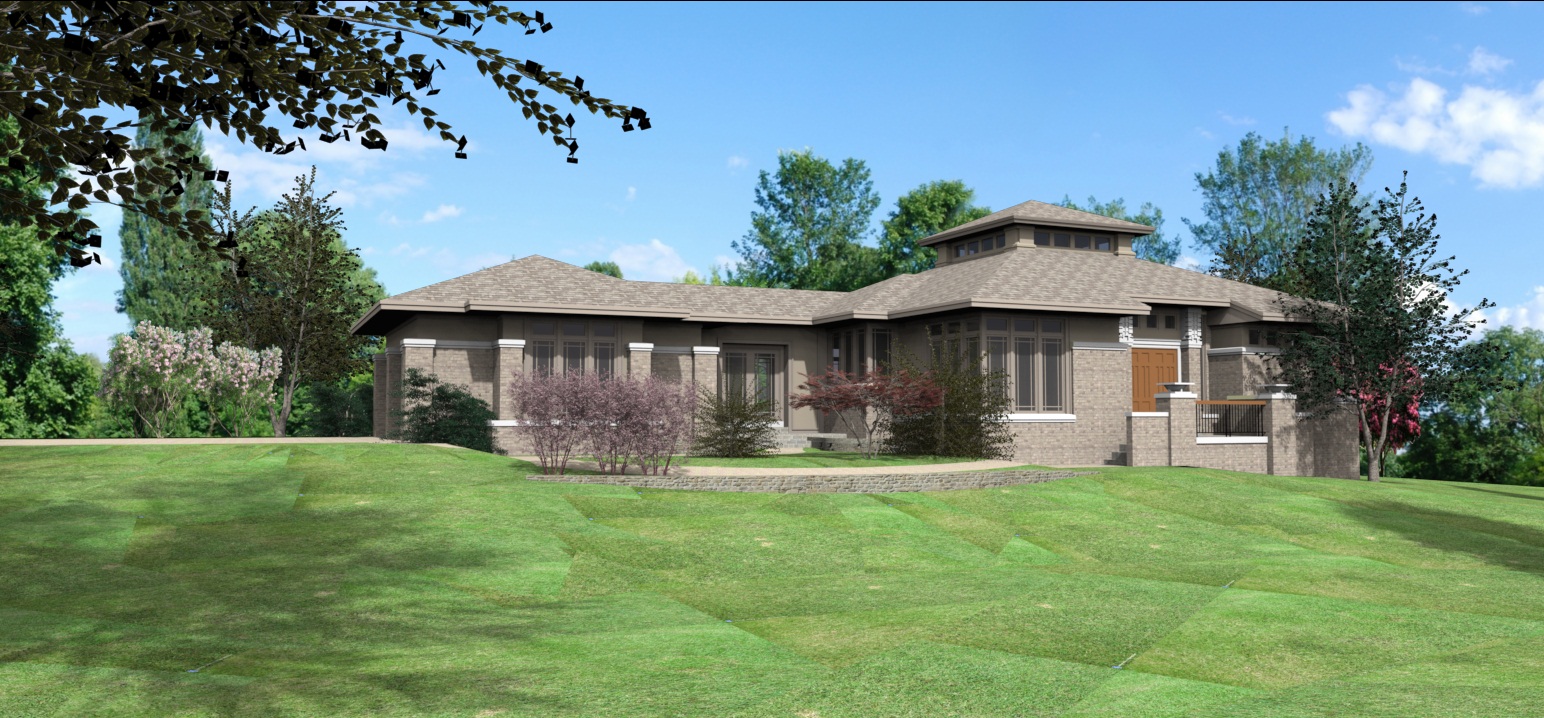
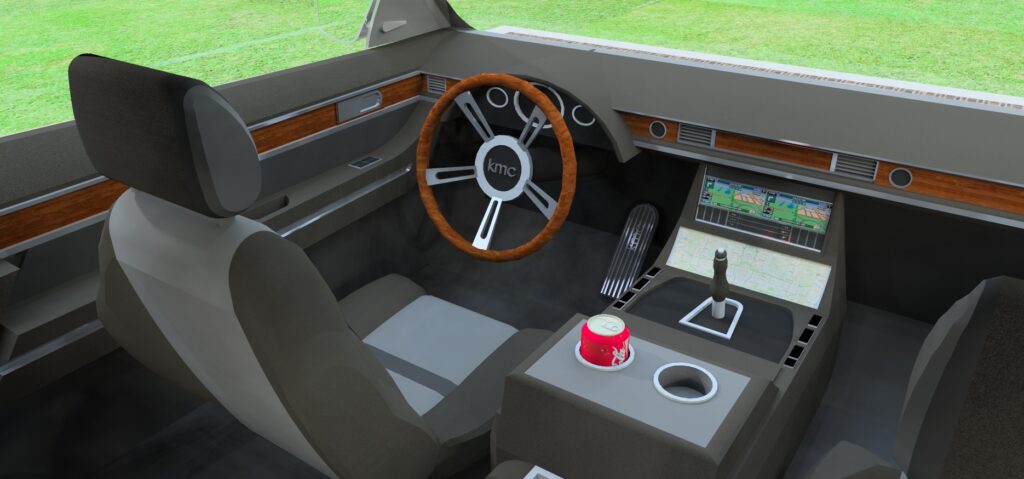
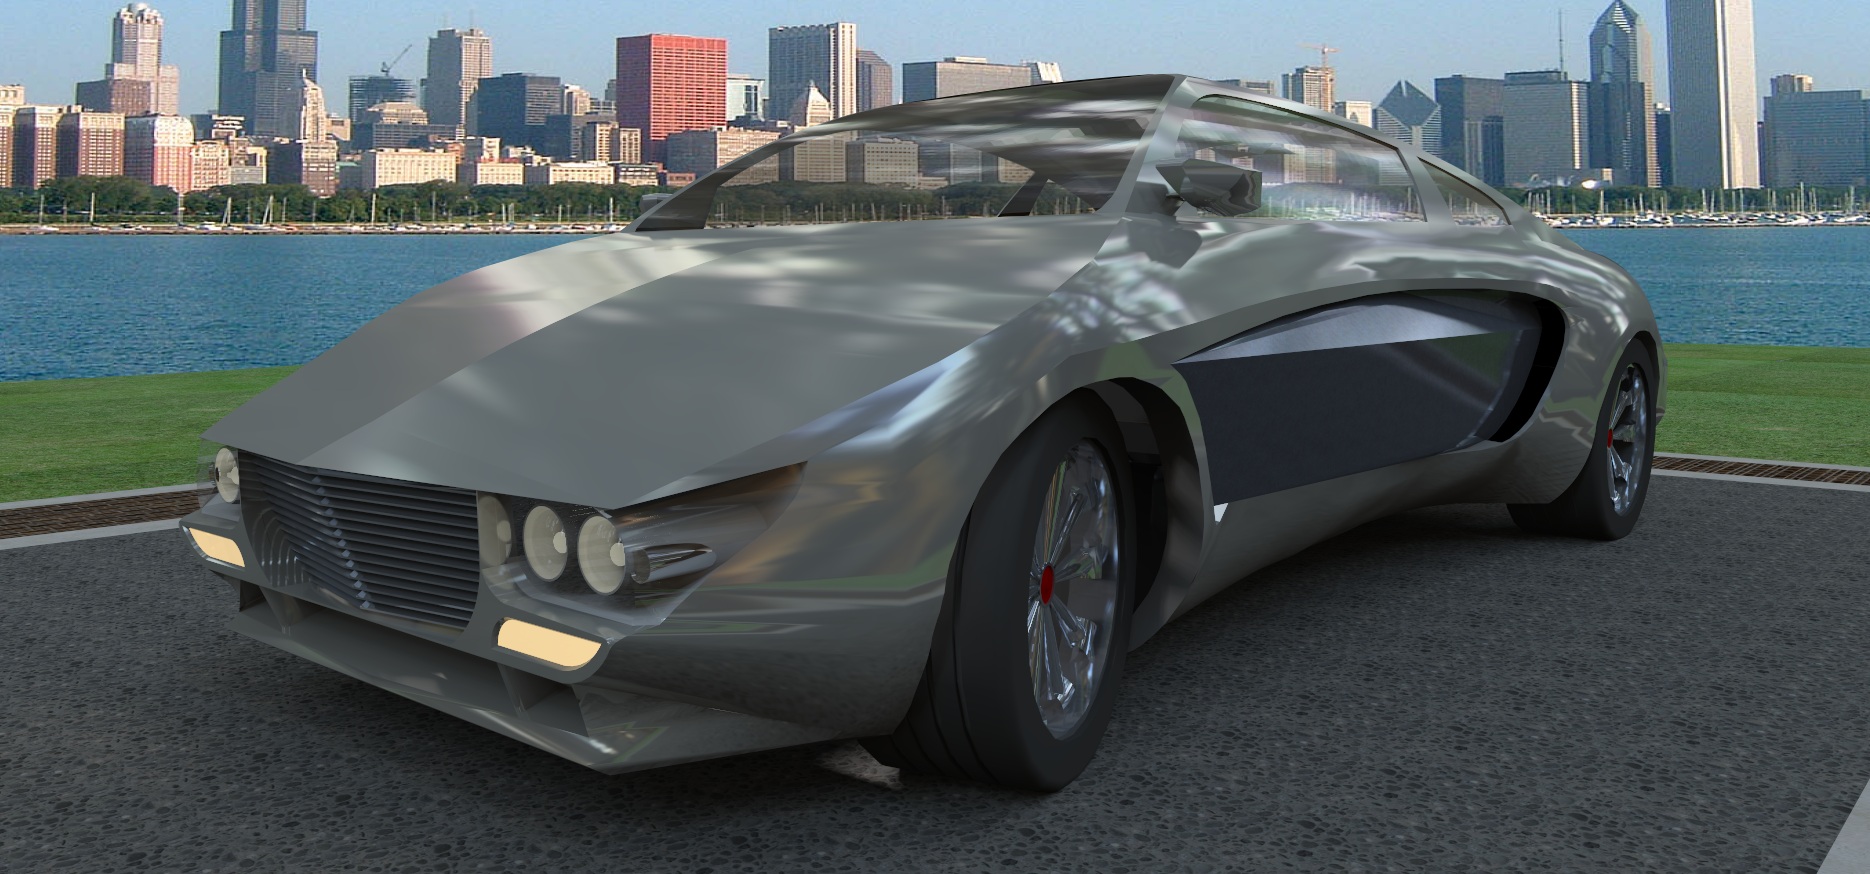
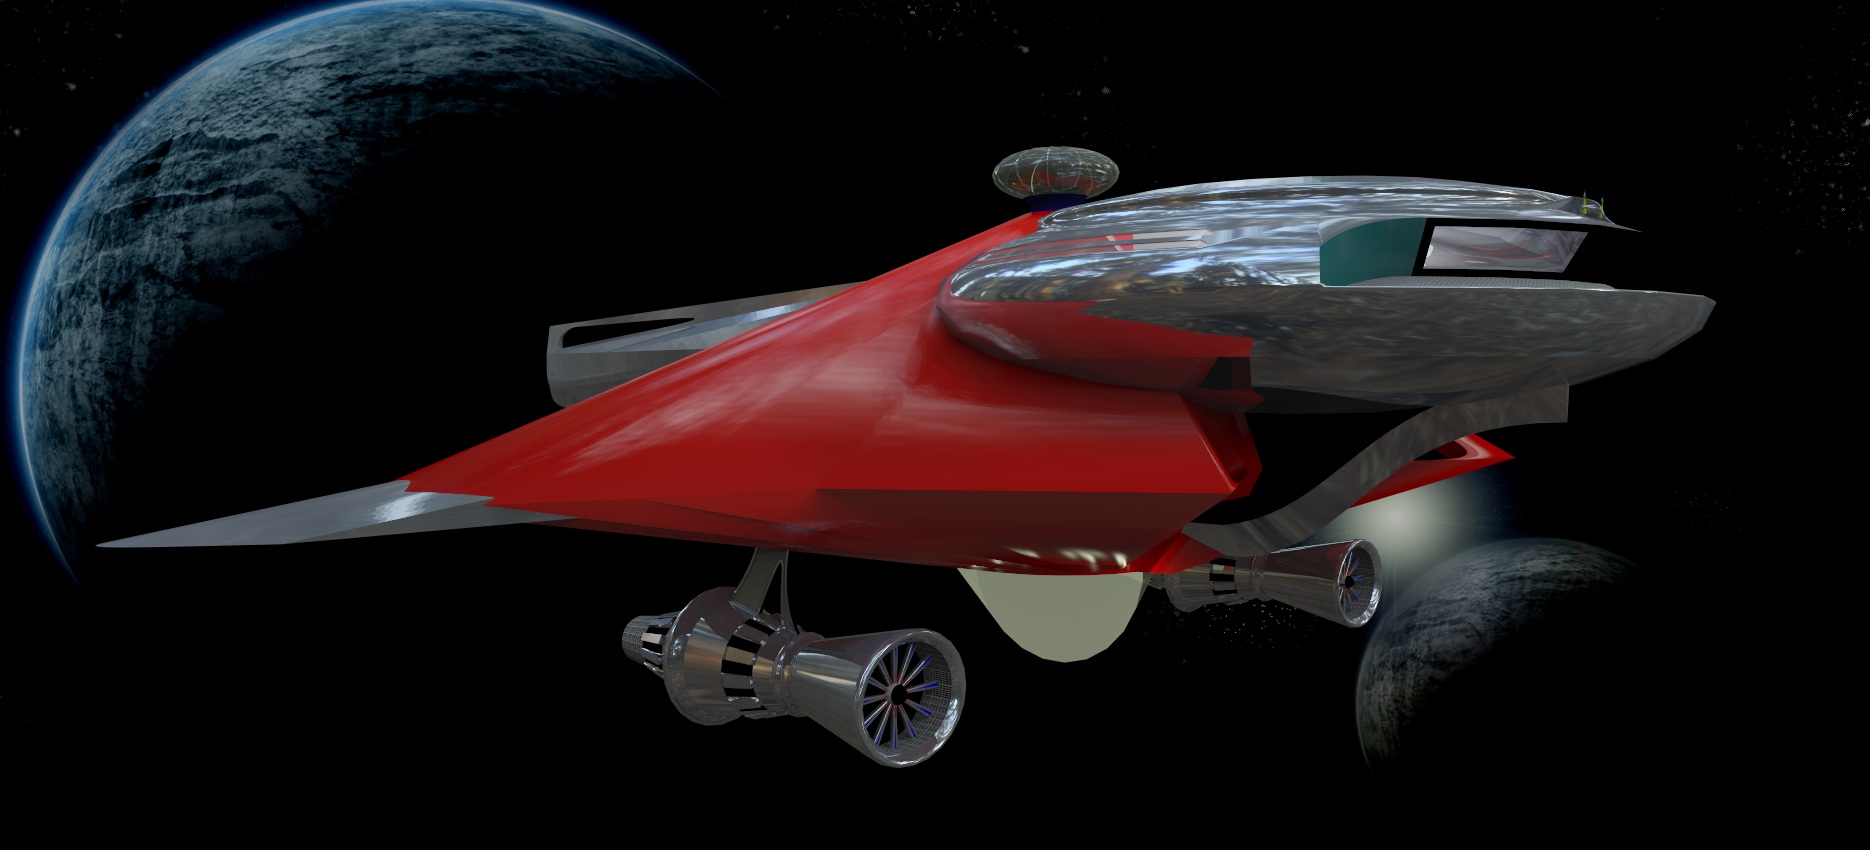
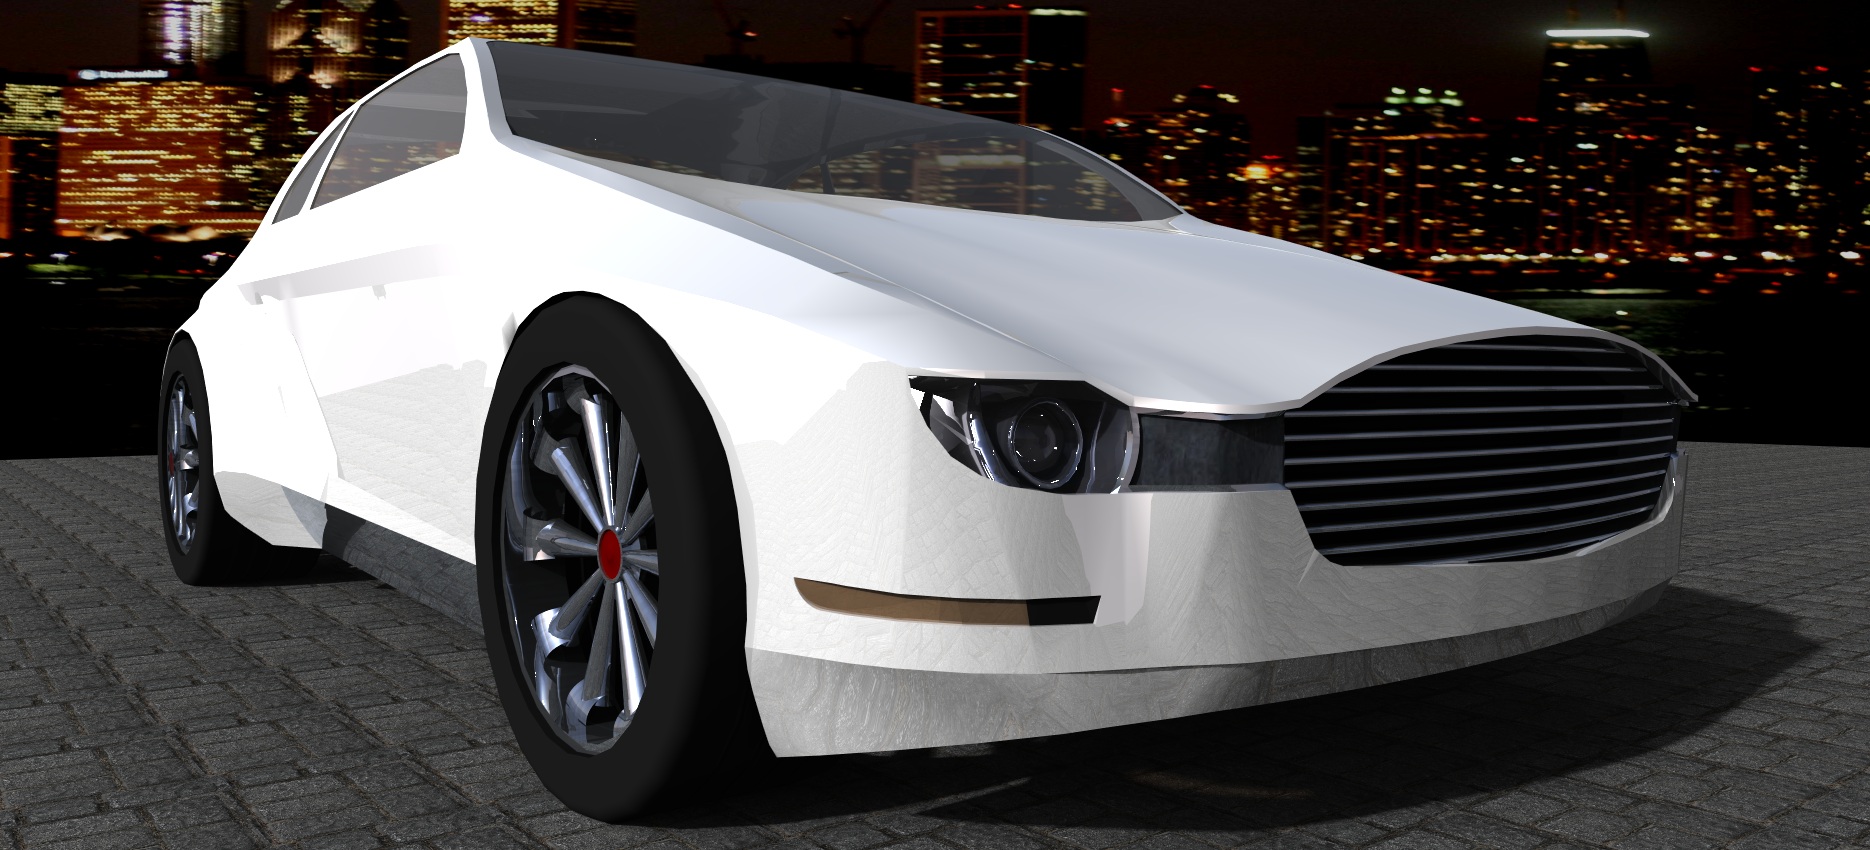
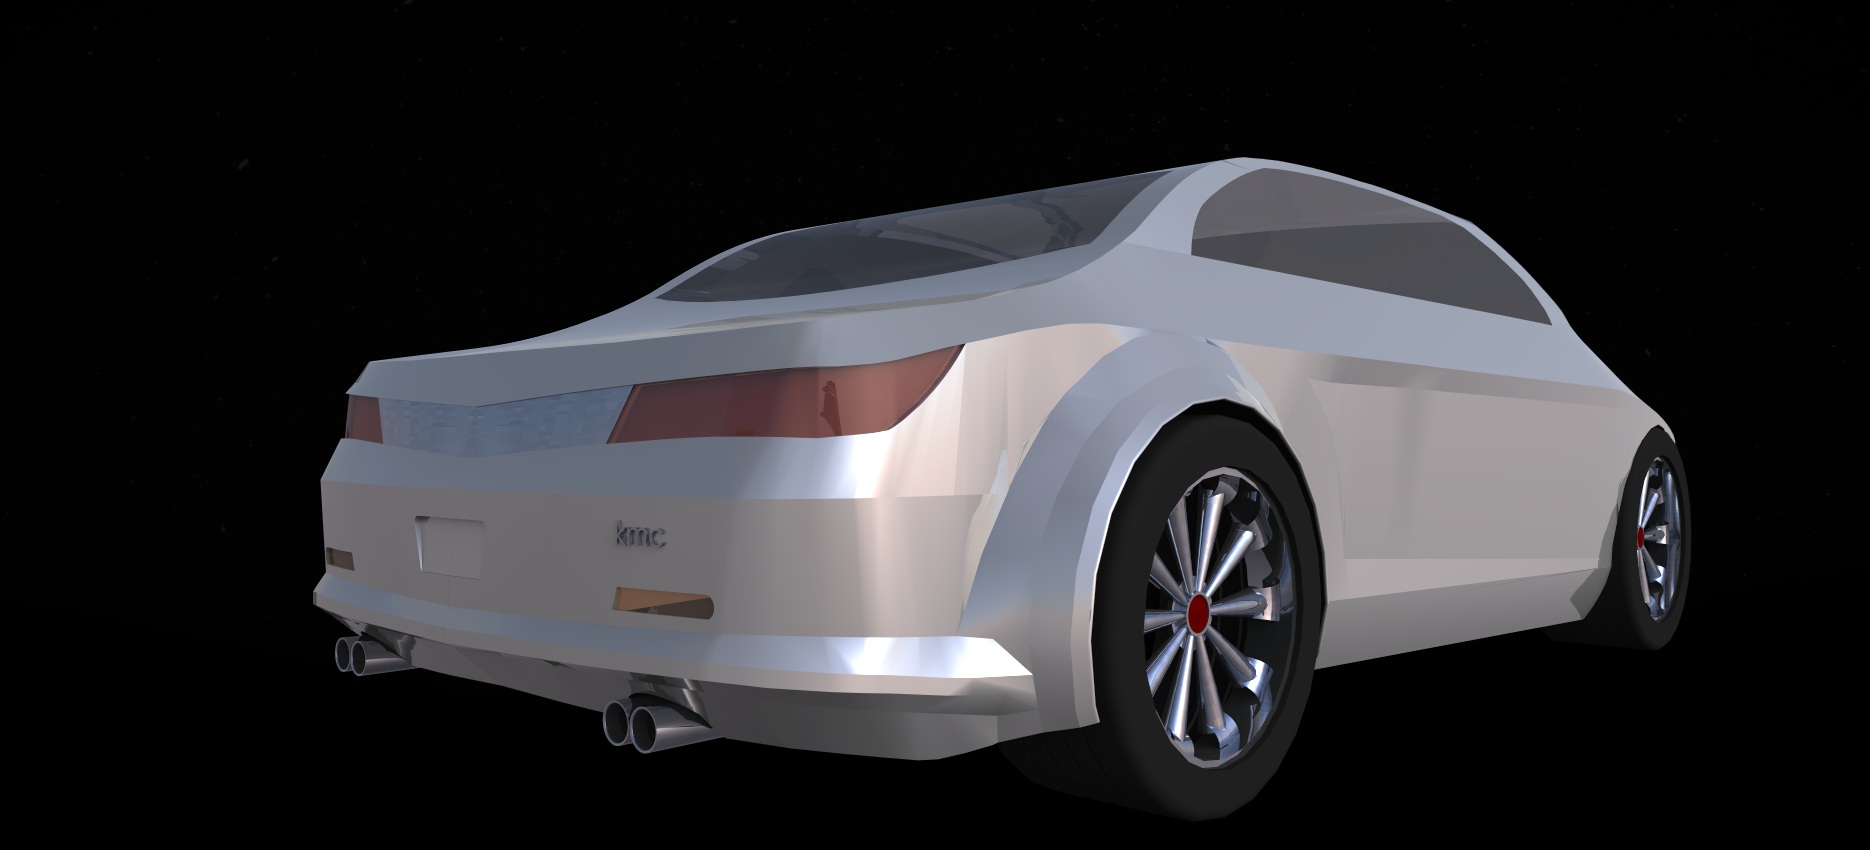
Examples of Photorealistic renderings using add-on programs
Introduction to LayOut :
Develop 2D presentations and construction drawings directly from a linked SketchUp File (Pro Only)
Examples of LayOut Drawings and Presentations
5 minute break
BONUS Q and A Small Group of interested attendees – Christopher Krupp will take
Questions from attendees who remain and/or continue with the LayOut segment